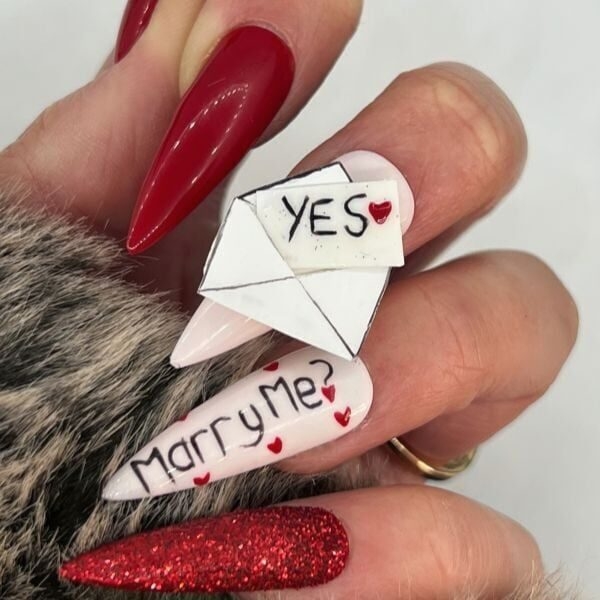
Valentine’s nail tutorial: 3D yes/no engagement nails
Seasonal & Occasions, Step by Step
Lecenté educator, Laura Peat, shows how to create this Valentine’s nail design, complete with yes and no options to a love-ly question.
Step 1
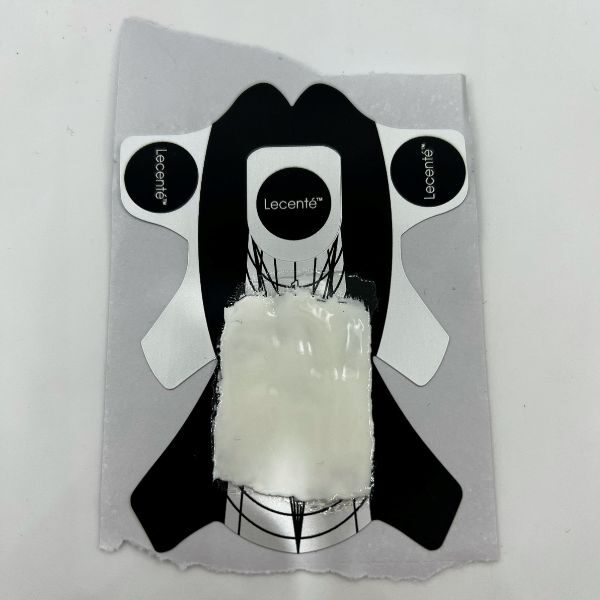
On a nail form, paint two coats of Lecenté Gel Polish in White Magic, curing between each layer. Apply Lecenté Rubber Top Coat and wipe the inhibition layer.
Step 2
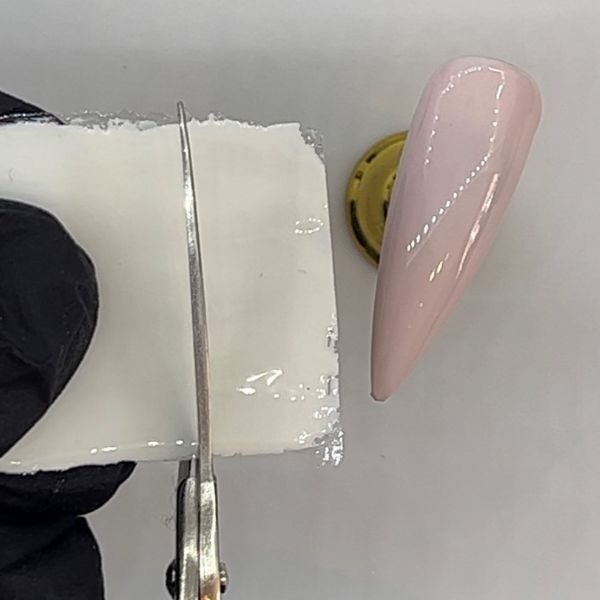
Use scissors to cut out the envelope and answer card shapes from the cured product.
Step 3
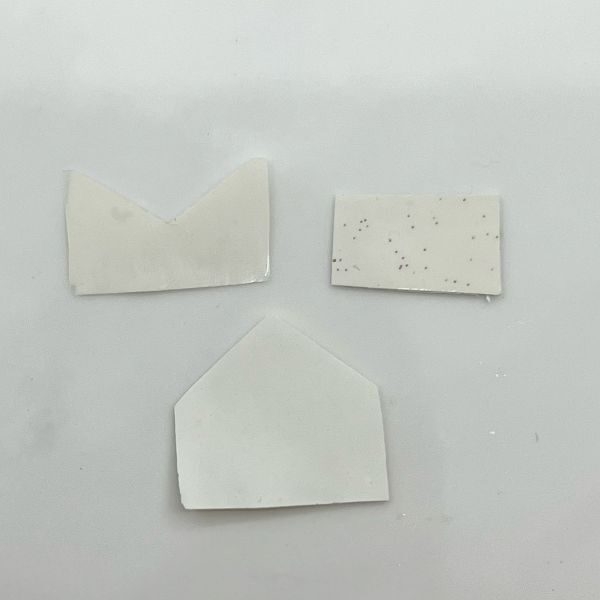
Trim the shapes of the envelope and answer card.
Step 4
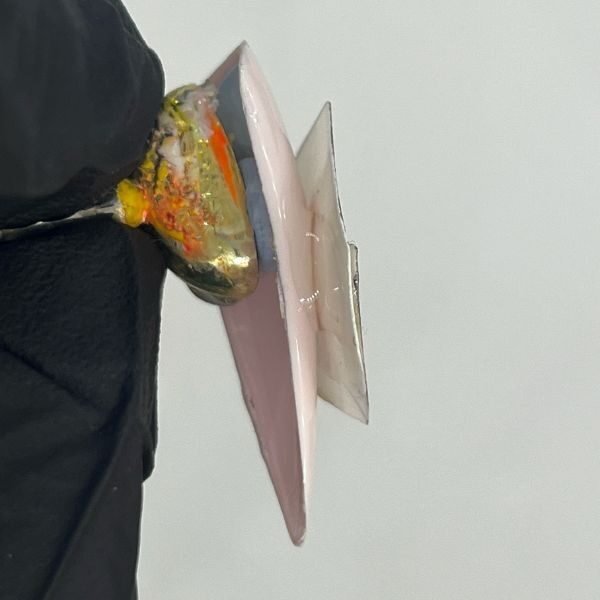
Fix the large envelope base to the nail using your chosen Lecenté top coat, and cure. Use the top coat to fix the top of the envelope around the two sides and bottom edge, therefore leaving it open.
Step 5
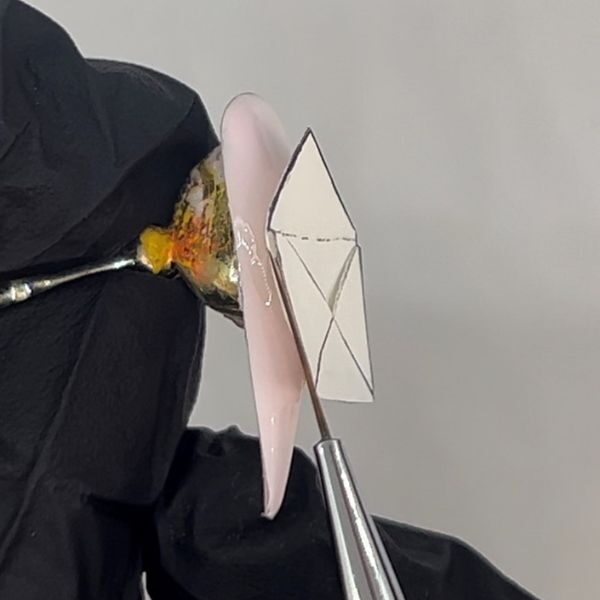
Paint details onto the envelope and cure.
Step 6
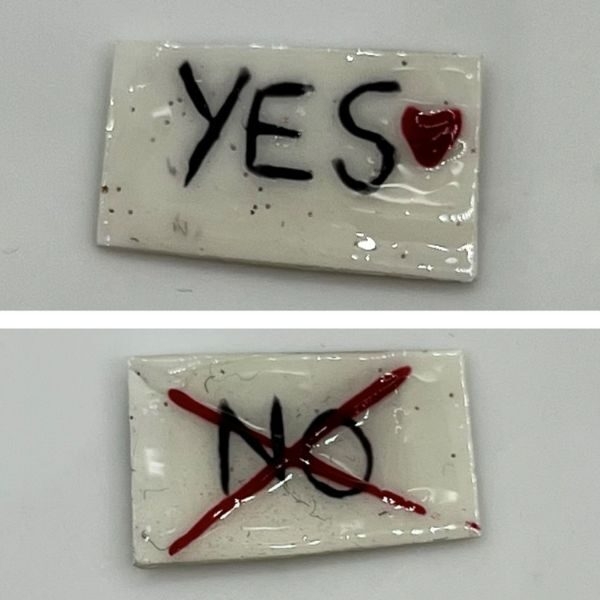
Paint a 'Yes' on one side of the answer card, and 'No' on the other. Cure.
Step 7
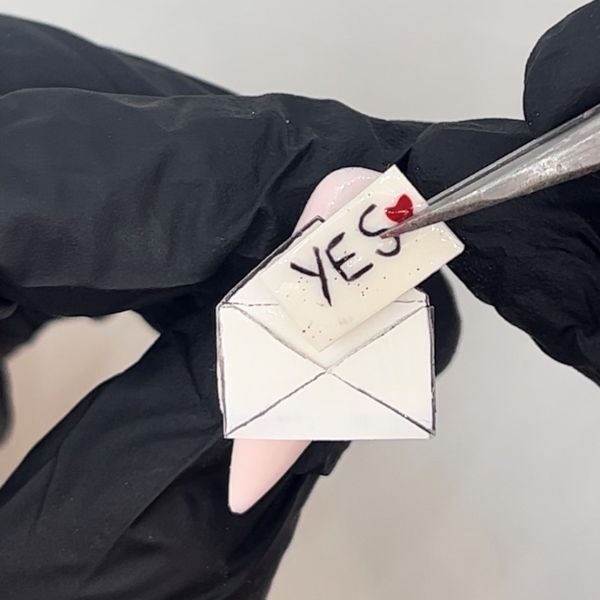
Place the card shape into the envelope on the nail.

Read the latest issue


