Winter embellishments step-by-step
Step by Step
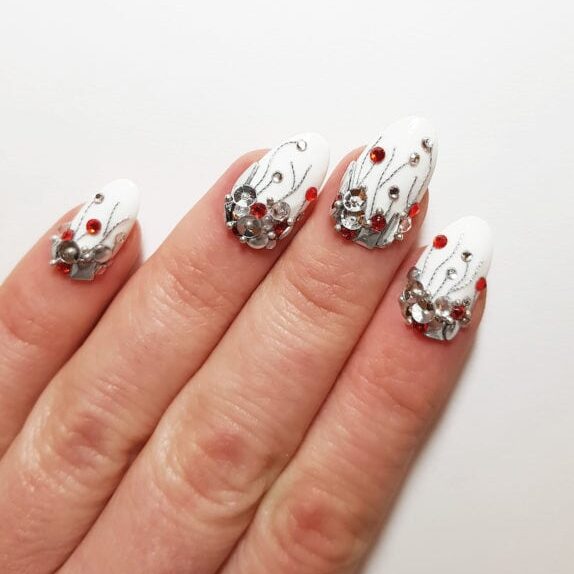
‘Tis the season for sparkle, so have a go at recreating this eye-catching nail look by Sophie Harris-Greenslade…
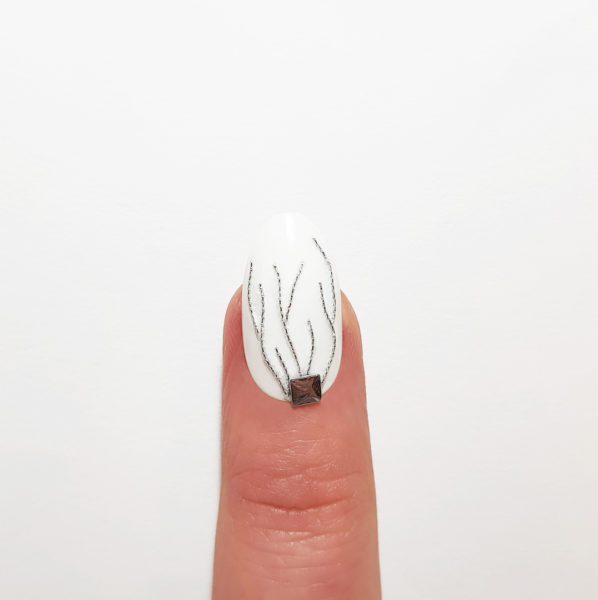
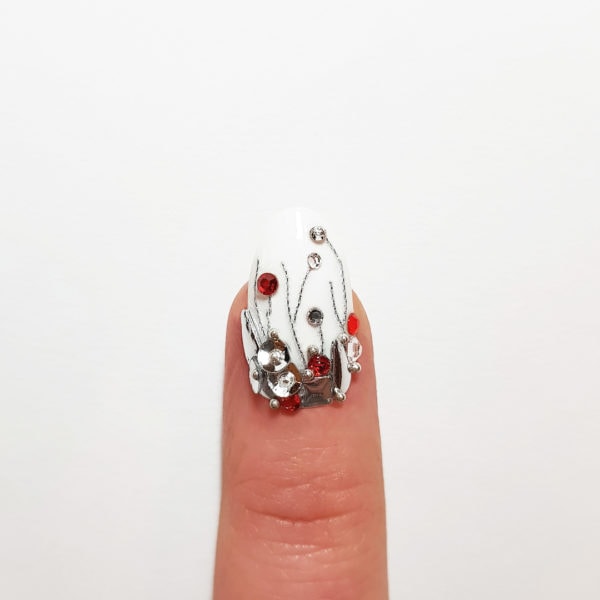
“I’ve had an image of a beautiful dress from a Chanel Haure couture show pinned on one of my Pinterest boards for a while, as I thought it would make for an amazing nail art design. The dress is white with embellished sleeves of gold thread and beads interspersed with tiny red crystals. It reminds me of winter berries on branches or baubles on a Christmas tree branch, and in this design I have changed the gold thread to a silver for a more wintry feel. It adds a great texture to the design and I have also used tiny silver sequins for a 3D metallic effect. You can use nail art glue to stick the thread and embellishments onto the nail or encapsulate them in gel or L&P acrylic.”
You will need:
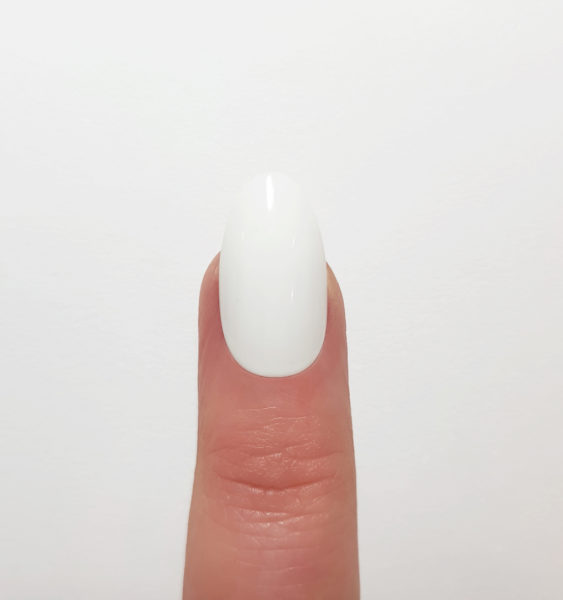
- Alpine Snow Nail Lacquer by OPI
- Nail glue
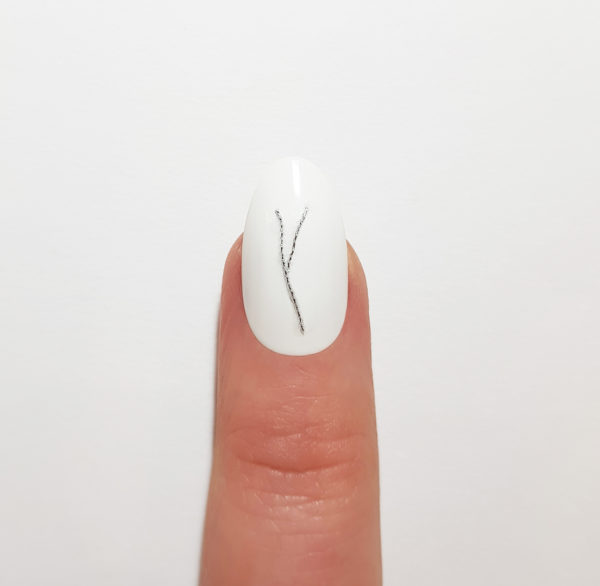
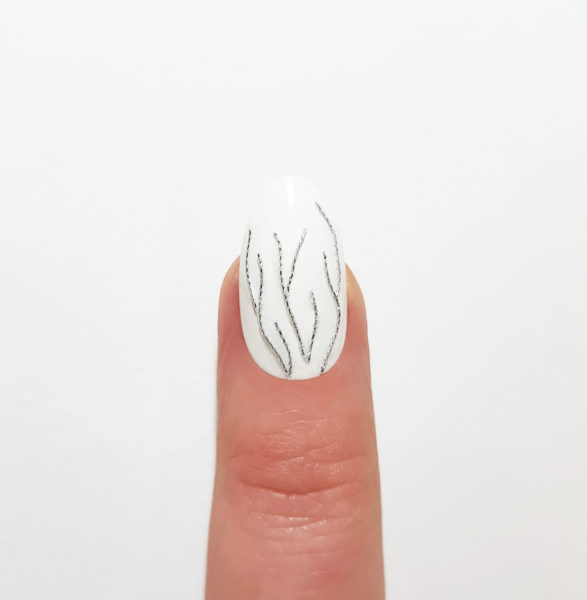
- Silver metallic thread
- Small red crystals
- Clear crystals in assorted sizes
- Small silver sequins
- Silver bullion beads
- Round metallic silver studs in various sizes
- Teardrop-shaped metallic silver studs
- Square metallic silver studs
- Cuticle sticks to apply embellishments
- Top coat



Read the latest issue
