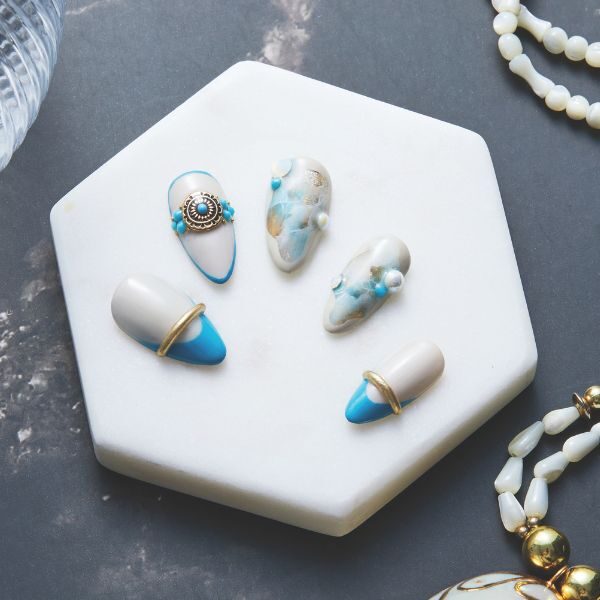
How to create turquoise marble gel nail art
Step by Step
Dazzle and delight with this hidden turquoise marble gel nail art design, which can be recreated in nine steps.
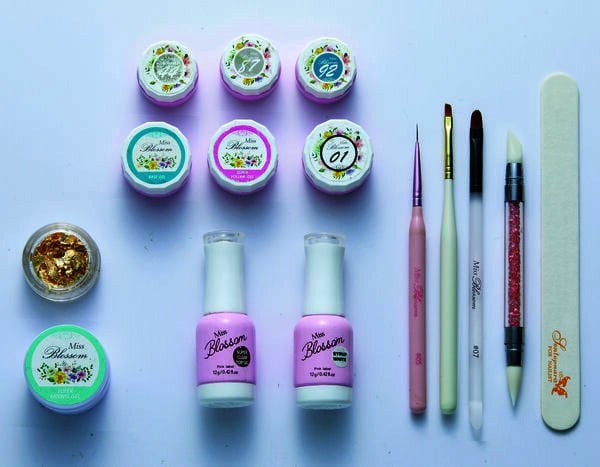
Kim Kyongha, MISS BLOSSOM founder, shares how using products from the brand’s portfolio, available via www.sontopnara.kr

Originally published by Nailholic.
Editor: Hyun Sun Photo: Kim Sung Sun
Step 1
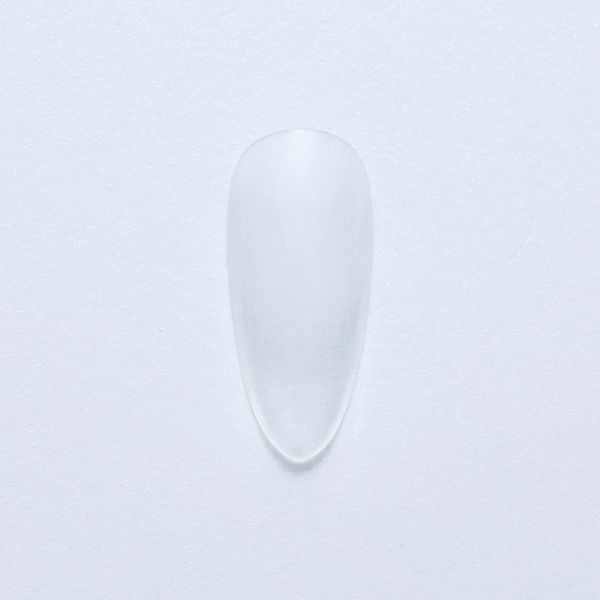
Prep the nail, apply Super Base Gel and cure.
Step 2
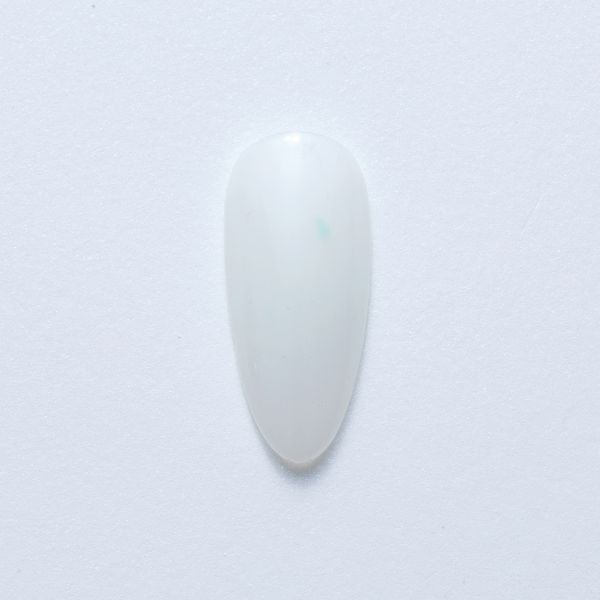
Apply a coat of Miss Blossom's Syrup White to the nail and cure.
Step 3
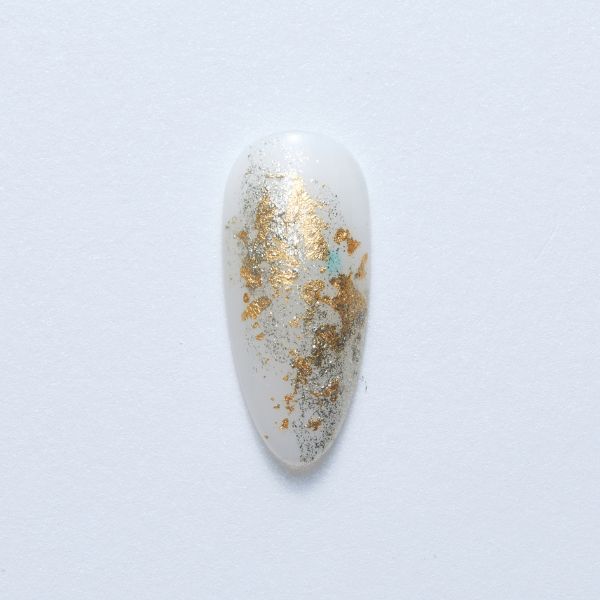
Apply gold leaf to the nail as desired and touches of glittery Miss Blossom gel (#44) around the gold leaf. Cure. Apply Top Gel and cure.
Step 4
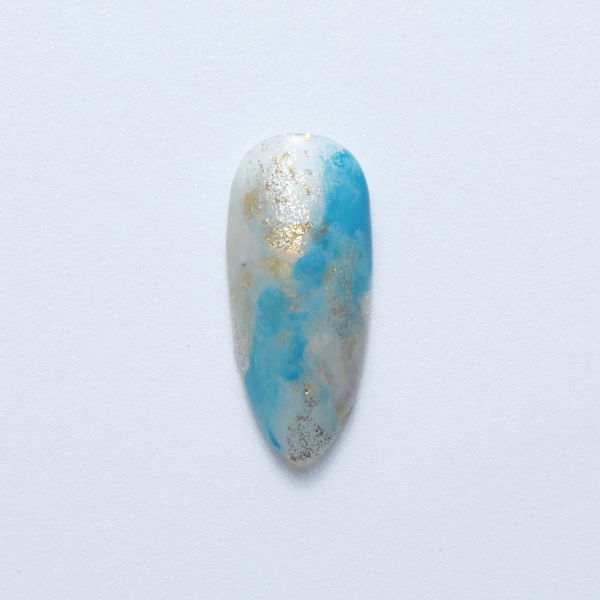
Mix gel shade #92 with a small amount of Gel Cleaner. Apply as desired onto the nail using the 07 Round Brush. Cure.
Step 5
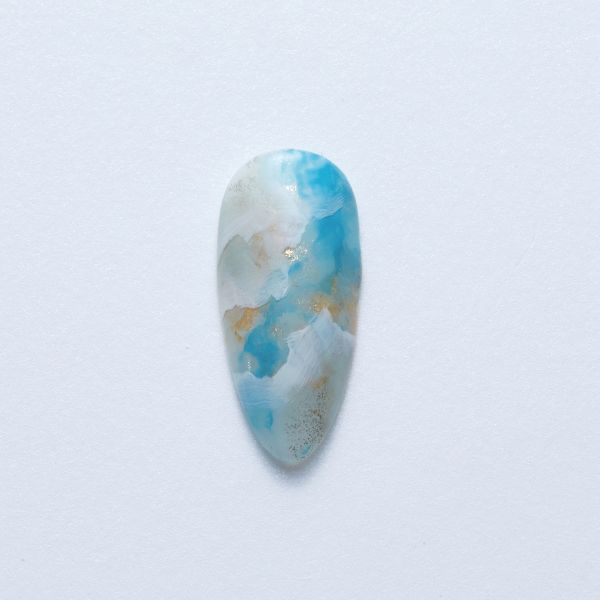
Mix gel shade #01 and Super Mixing Gel and apply onto the nail to create a marble texture. Cure.
Step 6
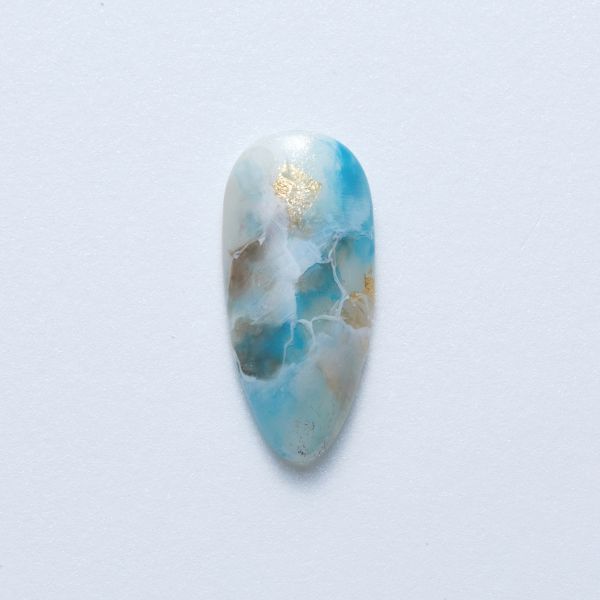
Add details using the 01 and 05 Liner brushes and a white shade, then cure.
Step 7
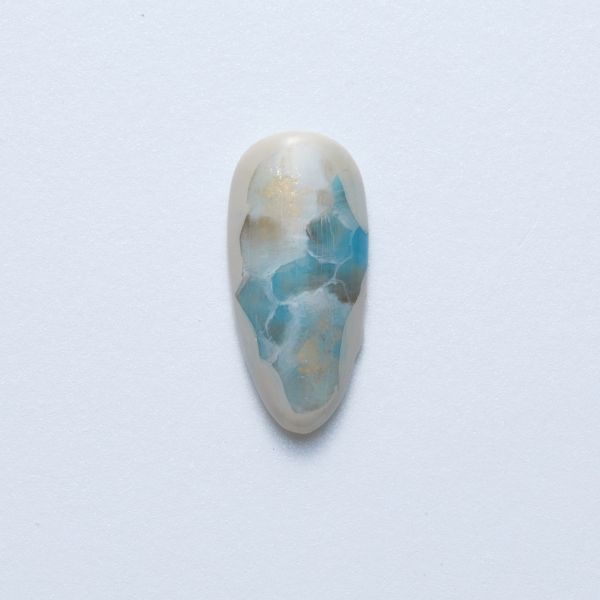
Paint an a irregular frame around the design using a thin brush and gel shade #87. Cure.
Step 9
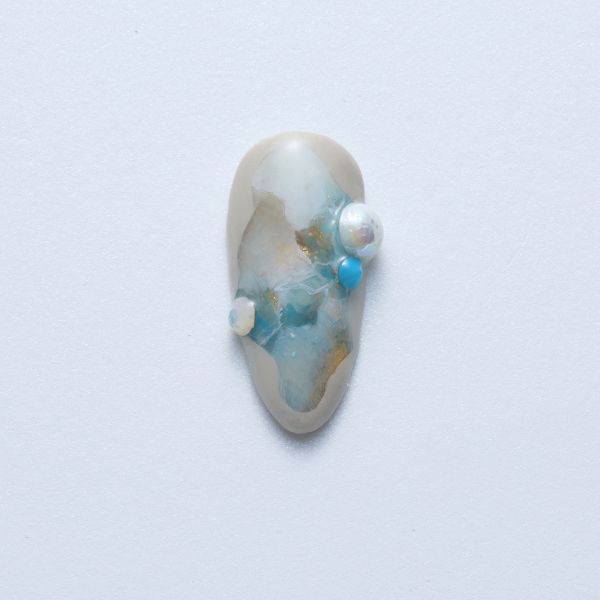
Adhere your chosen stones and gems to the nail using Super Volume Gel. Cure.
Step 9
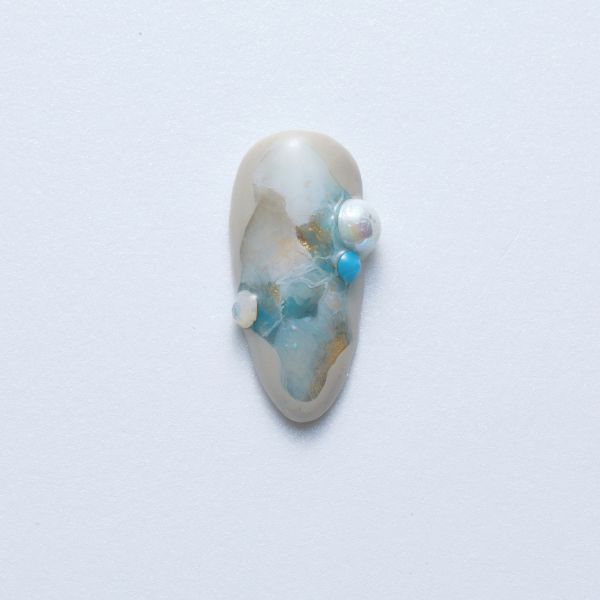
Apply Non-wipe Super Clear Top Gel. Cure.

Read the latest issue


