

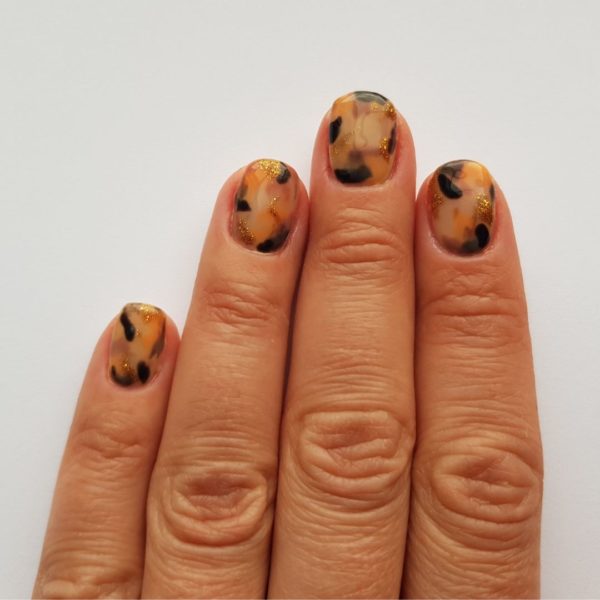
Tortoiseshell nail art

Animal print, Step by Step
Salon System nail expert, Karen Louise, reveals how to create a tortoiseshell design using Gellux products, available from wholesalers nationwide.
Step 1
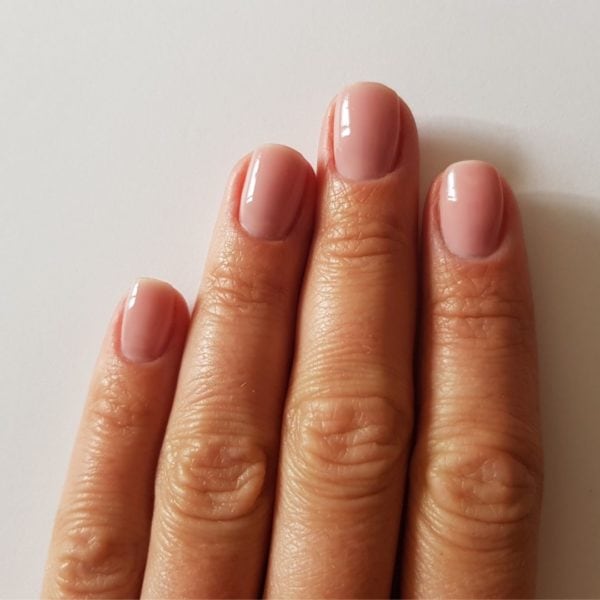
Prepare the nails. File to shape and push back cuticles and buff nail plate. Cleanse nails with GELLUX Prep + Wipe and apply GELLUX Fast Bond. Allow to dry, then apply GELLUX Cover Pink Base Coat to the nails and cure.
Step 2
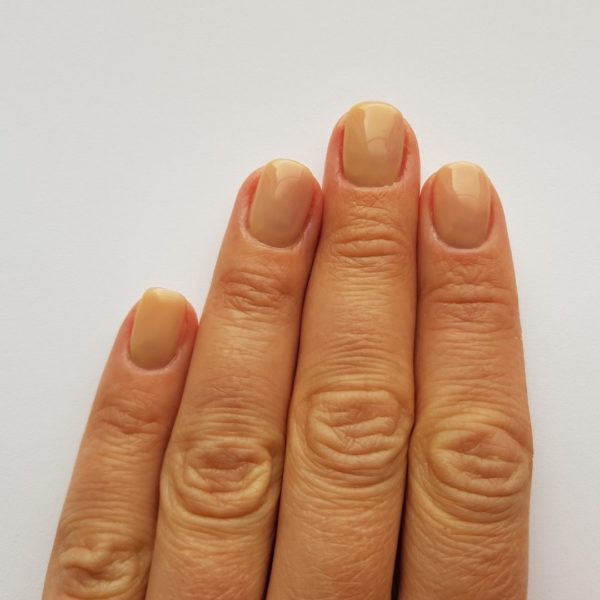
On a piece of foil, put some GELLUX Matte Base/Top Coat (about the size of a 10p), add in GELLUX Lemon Sorbet and mix together. Apply over the base to get a sheer coverage using a gel brush and cure, apply a second coat and this time do not cure.
Step 3
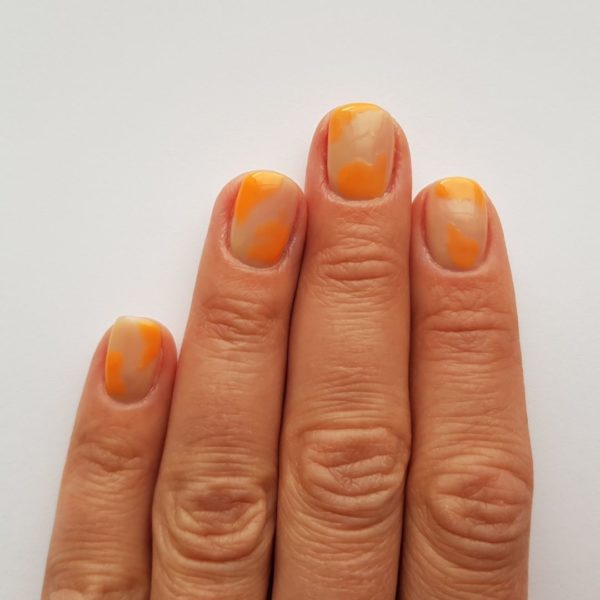
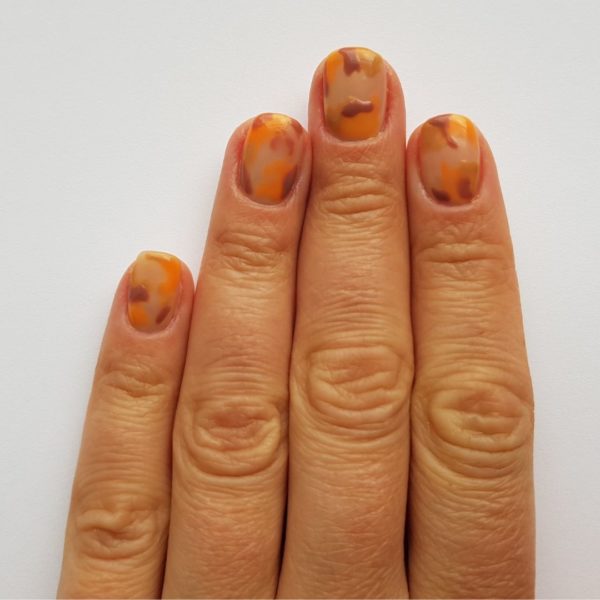
On a piece of foil put some GELLUX Matte Base/Top Coat (about the size of a 10p), add in the GELLUX Orange-A-Peel and mix together. Apply some random patches to the nails, trying not to smudge.
Step 4
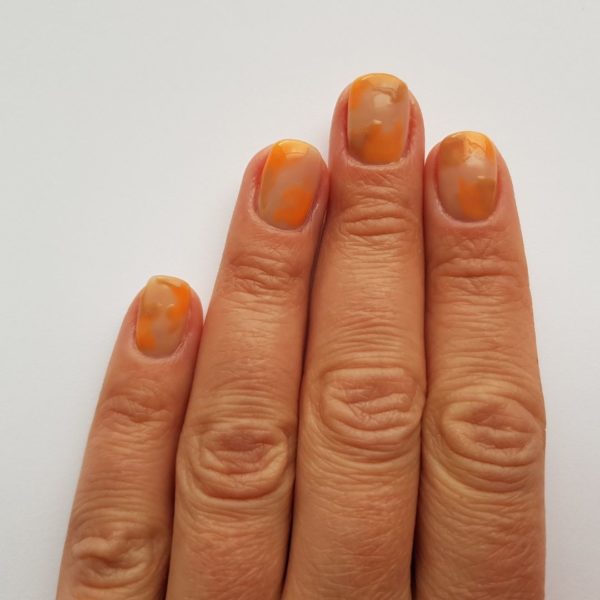
On a piece of foil put some GELLUX Matte Base/Top Coat (about the size of a 10p), add in the GELLUX Choco-latte and GELLUX Lime Sorbet and mix together. Layer over the sides of the GELLUX Orange-A-Peel, and apply random patches, and flash cure.
Step 5
On a piece of foil pop a drop of the GELLUX Choco-latte, repeat the last step using a small amount on the brush and dab over the colours to start building a layered effect.
Step 6
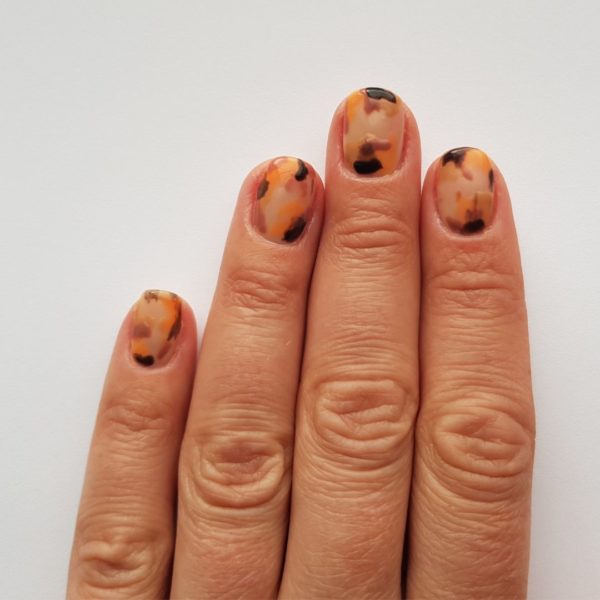
On a piece of foil put some GELLUX Matte Base/Top Coat, add in the GELLUX Black Onyx and mix together. Repeat the last step, then cure.
Step 7
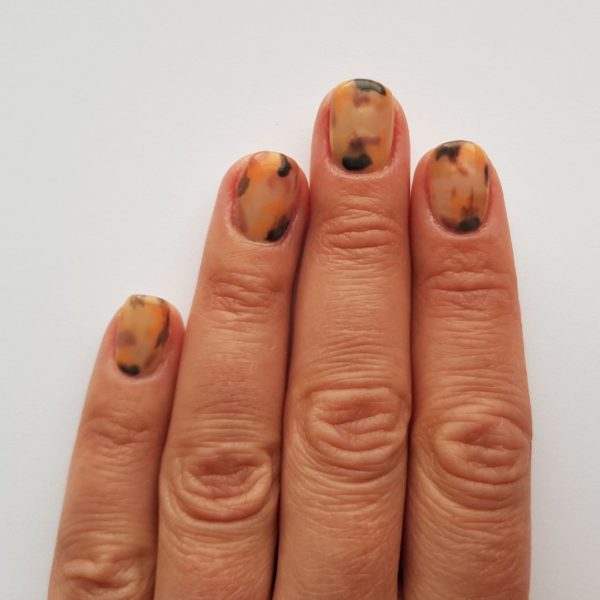
Using your GELLUX Matte Base/Top Coat and GELLUX Lemon Sorbet, layer over the entire nails and cure.
Step 8
Apply dabs of GELLUX Black Onyx over parts of the nails to give more depth and a layered illusion, and cure.
Step 9
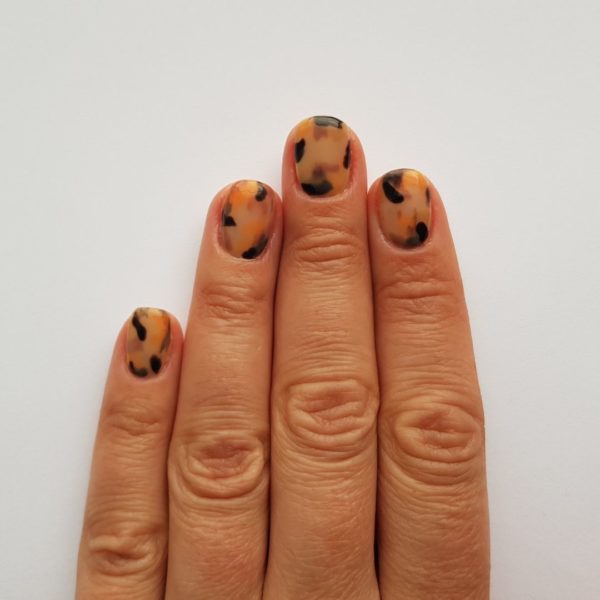
Add a little glitter by adding small details with GELLUX Let’s Party, and cure. Then apply GELLUX Shiny Top Coat.
Step 10
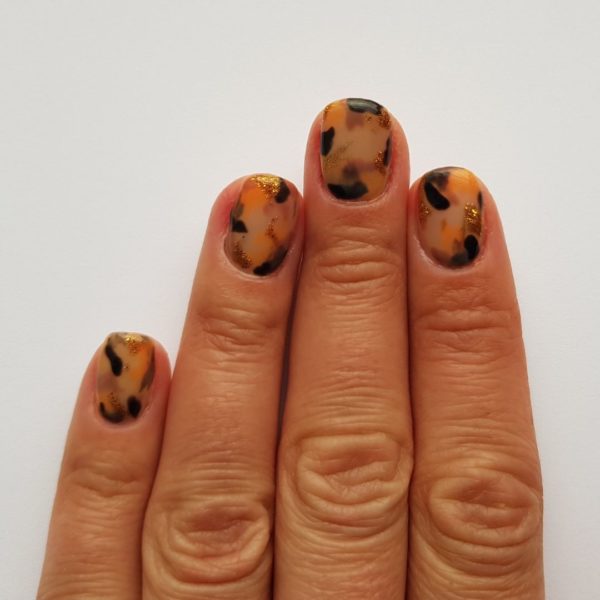
Use the GELLUX Prep + Wipe to wipe the nails, and massage in the GELLUX Nail & Cuticle Oil to finish.

Read the latest issue


