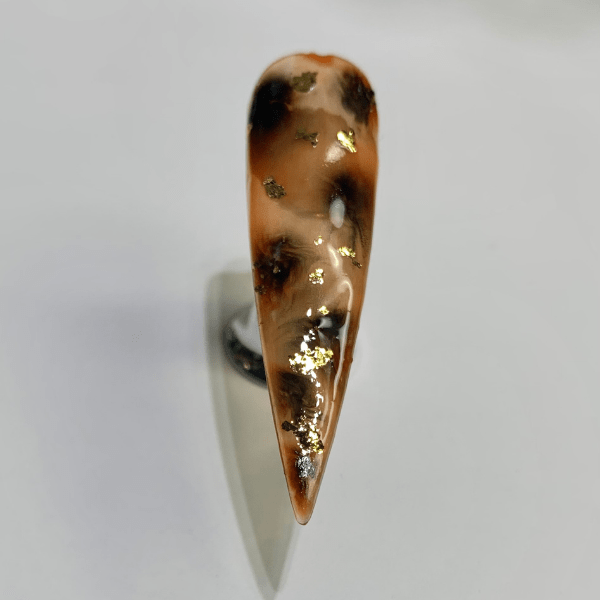
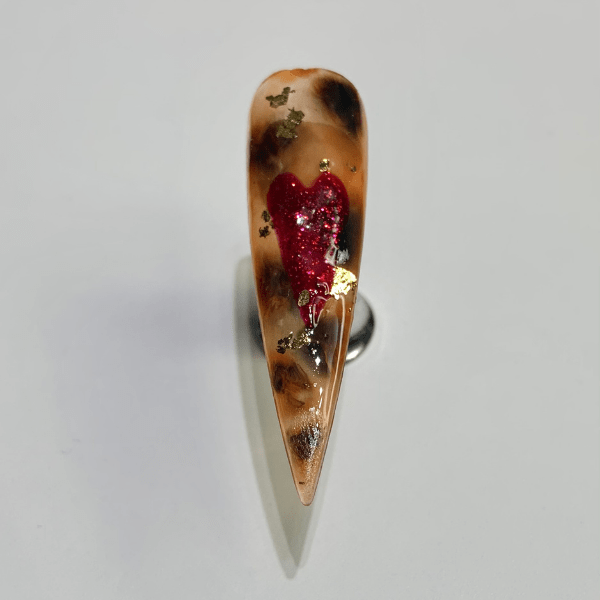
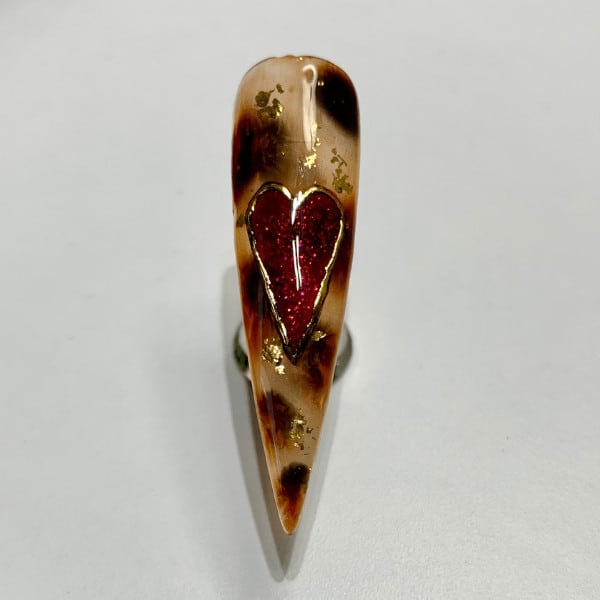
Tortie heart nails

Step by Step
Vanessa Armitage of Nailicious by Vanessa has created this stunning tortoise shell nail art design, finished with a heart, using products from The Manicure Company.
Step 1

Mix base coat with a small amount Free Spirit (153) and a smaller amount of Brunette Bombshell (036) to create a glass effect, apply thinly to tip and cure.
Step 2

Apply a thin second coat and cure.
Step 3

Apply layer of base coat and do not cure. Add blobs of Brunette Bombshell (036), leave for a few seconds to bleed, then cure.
Step 4

Apply a layer of base coat again and do not cure. Then, add smaller blobs of Blackout (001) on the inner side moving, over into outer edge of brown blobs and again allow to bleed for a few seconds, then cure.
Step 5

Apply a thin layer of the glass effect you made in step one, then gently add Gold Glam Flakes from Essence Glitter and cure.
Step 6

Draw the heart in the chosen colour - I used Holiday Glam (207) - then cure. You can do two layers of the heart if required.
Step 7

Apply a thin layer of Velvet Matte Top Coat and cure. Outline heart with (black) Stick-it from Nail Stamping Queen, and cure.
Step 8

Press gold foil - I used foil from Magpie Beauty - onto cured stick-it. If you want a smooth finish, add a layer of Builder Base Clear BB02 and cure, and to finish, apply No Wipe Top Coat and Cure.

Read the latest issue


