Tokyo-inspired nails by Cheryl Garner

Step by Step
“I love the traditional art of Japan but equally love the crazy, cute Harajuku style as well as the neon signs found in the city,” says Cheryl Garner, of Pretty Painter. “Incorporating all of this in my design, I’ve included the Sakura cherry blossoms, kimono patterns and of course the koi carp, found in traditional artwork.”
Step 1

Paint a black or dark background. I chose to apply a matte top coat so I could see where was I painting the design better. I also find it helps to keep the gel polish from spreading.
Step 2
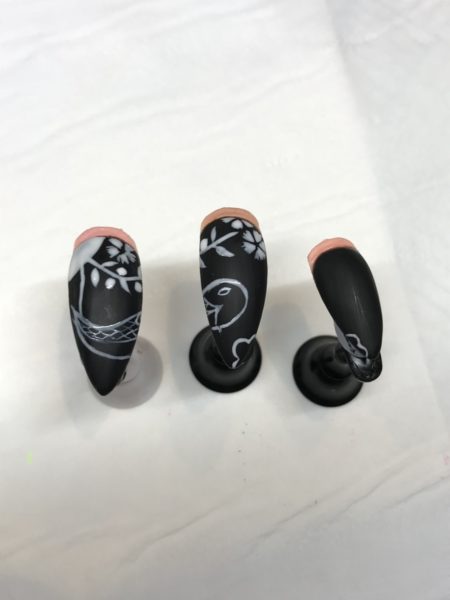
Paint your design with a white gel polish. I’ve used OPI’s Alpine Snow. I flash cure as I go along so my gel doesn’t spread and ruin the design. Try to keep the design thin so you don’t end up with thick, bumpy lines at the end.
Step 3
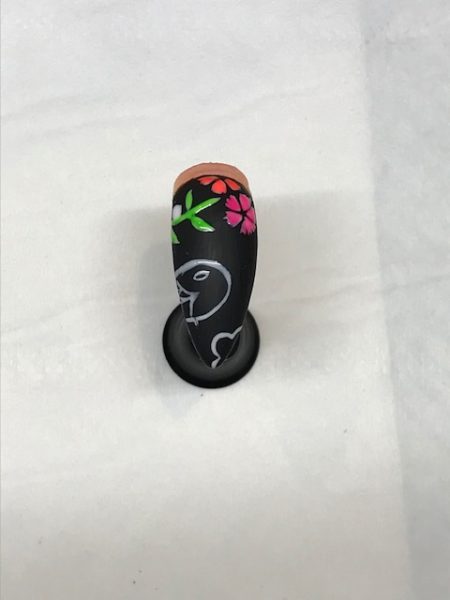
Paint over the design with neon gel polish or neon pigments, depending on your preference. Again, keep the paint thin.
Step 4

Neaten any edges and add details to your design with the base coloured gel. I’ve also added detail to the kimono patterns with my black hue. If you’re using pigments, top coat before doing this step.
Step 5
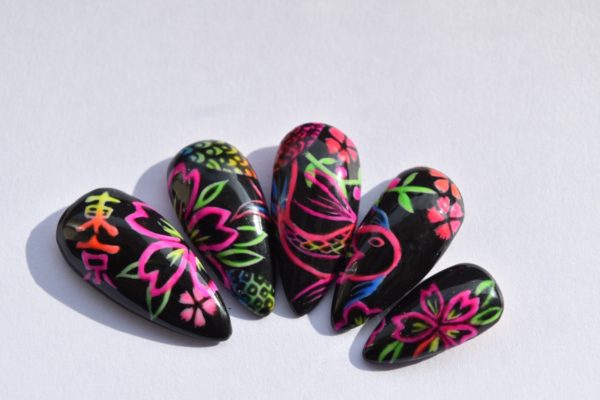
Once you’re happy with your design, top coat. If you find your design is slightly raised do a second top coat to even the surface.

Read the latest issue


