Thermal nail design
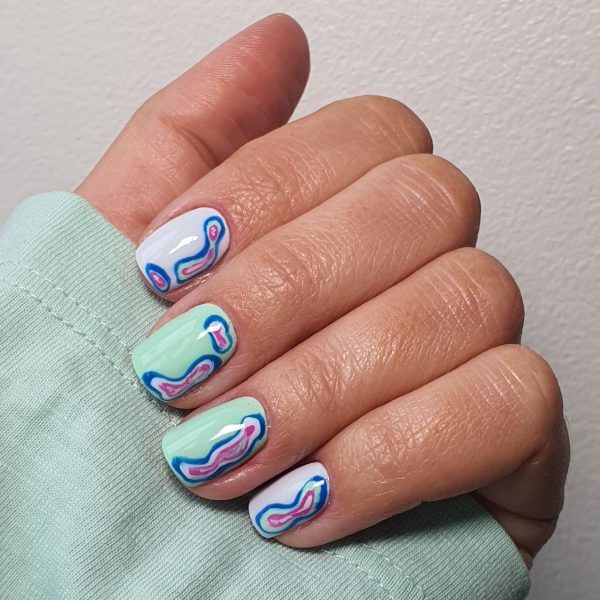
Seasonal & Occasions, Step by Step
Salon System nail expert, Karen Louise, has created a thermal nail art step-by-step using Gellux products, which are available from wholesalers nationwide.
Step 1
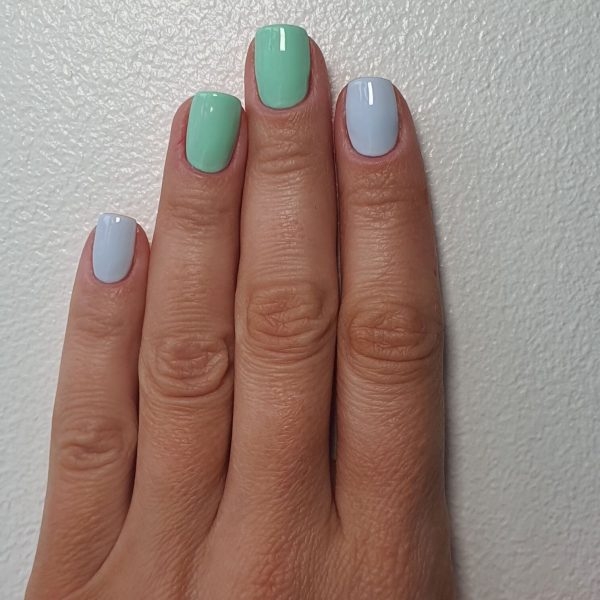
Prep the nails and wipe with Gellux Prep & Wipe. Apply a thin layer of Gellux Fast Bond and allow to dry. Apply Gellux Easy Off Base Coat and cure. Apply one coat of Gellux in Free Spirit to the thumb, index and little fingernails and apply Gellux in Go With The Flow to the middle and ring fingernails. Cure, apply a second coat, and cure.
Step 2
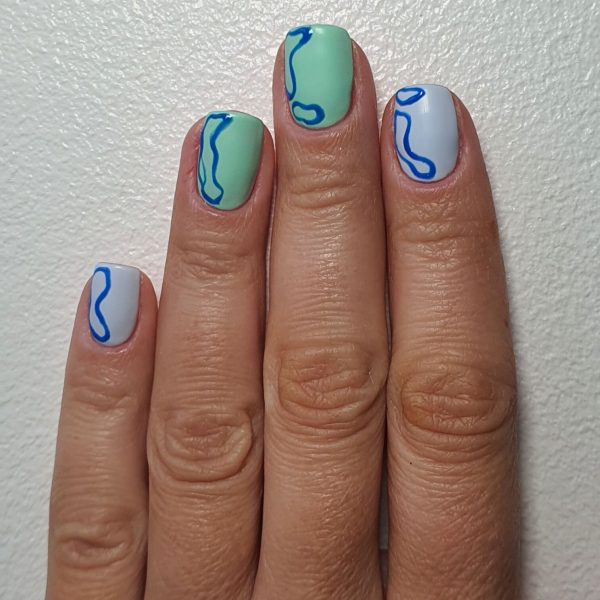
Using a fine detailer brush with Gellux in Joie De Vivre, paint the outline of the thermal shapes. Do not cure.
Step 3
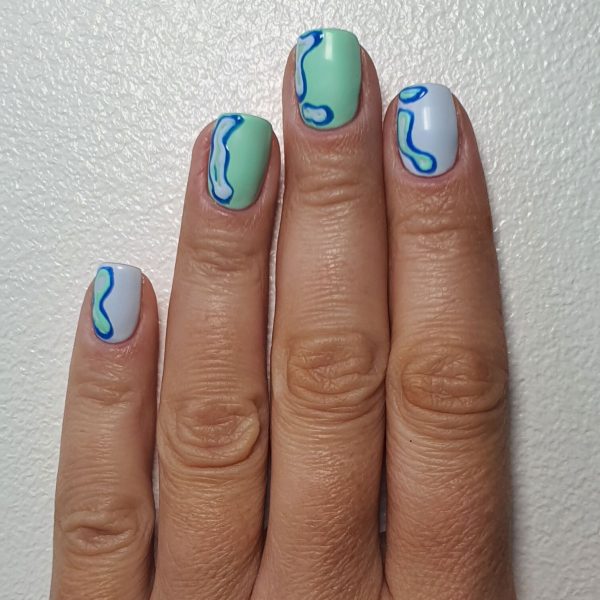
On the little fingernail, index and thumb nails, apply Gellux in Go With The Flow inside the shapes. Repeat with Gellux in Free Spirit on the middle and ring fingernails.
Step 4
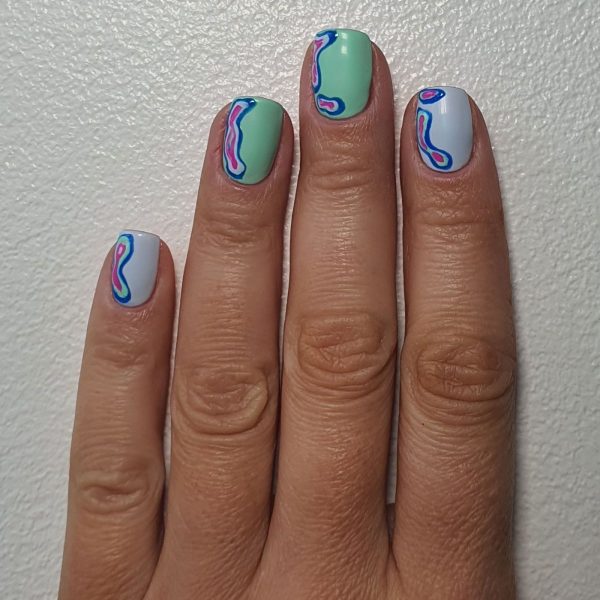
Apply Gellux in Glorious & Free inside the centre of the thermal shape on all fingernails.
Step 5
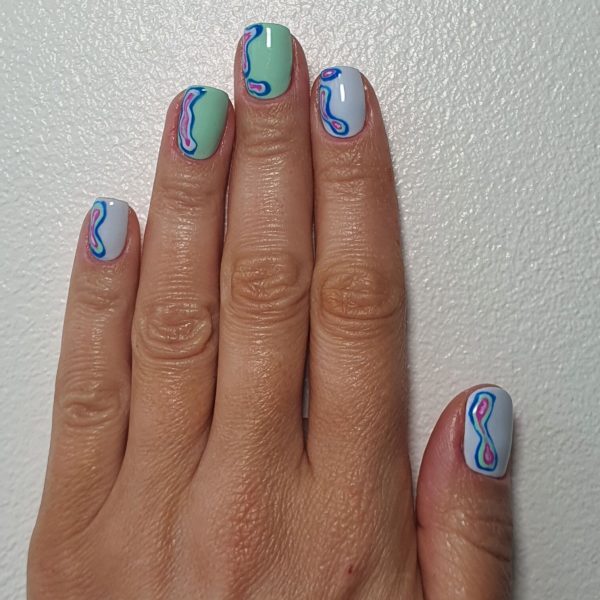
Apply smaller details using the same shade as the base of each nail. Be quick with this detailing as the colours need to bleed slightly – but not too much. Cure the entire design.
Step 6
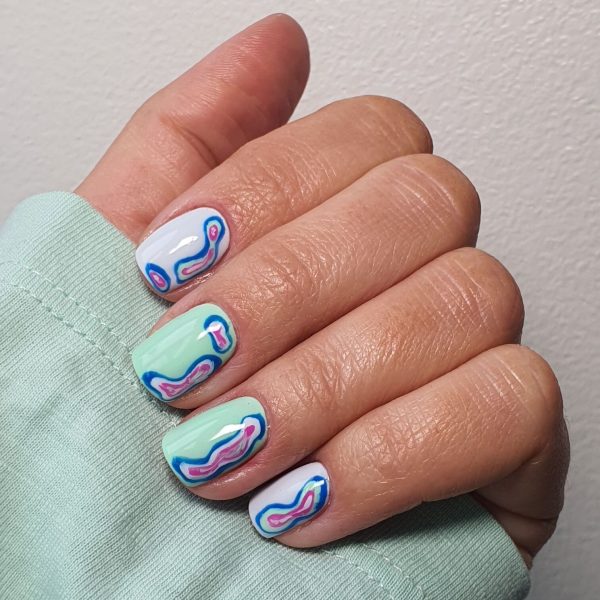
Finish with a coat of Gellux Shiny Top Coat and cure. Wipe with Gellux Prep & Wipe and apply cuticle oil.

Read the latest issue


