The Incredible Hulk nail art

Step by Step
Freehand nail artist, Gemma Dawson, has created this Incredible Hulk nail design. Check out the step-by-step below to recreate the look!
Step 1
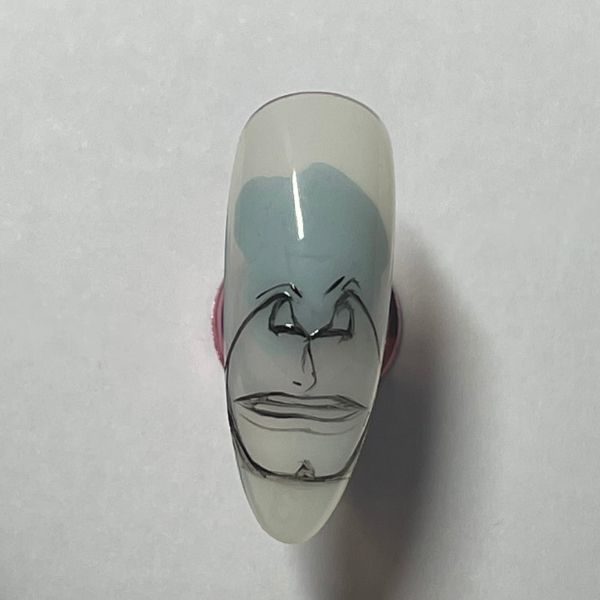
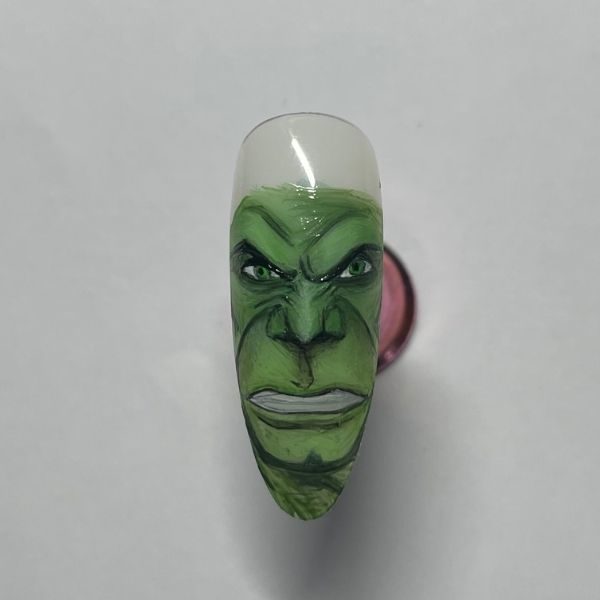
Paint your base shade and use a fine liner brush and black gel polish or gel paint to outline the nose and mouth as a starting point. Cure.
Step 2
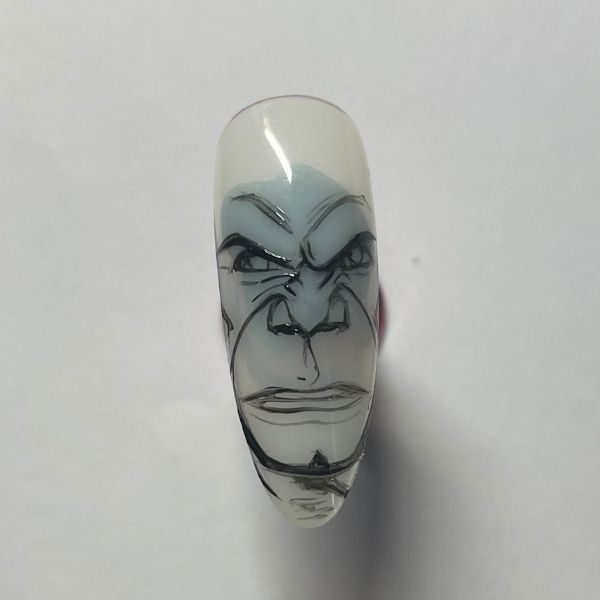
Work upwards, add in details around the nose such as wrinkles. This will give you a guide for positioning the eyes. Next, paint on eyes and eyebrows. Cure.
Step 3

Apply a light green shade all over, covering all of the lines apart from the teeth and eyes. You will still be able to see the black outlines as a guide. Cure.
Step 4
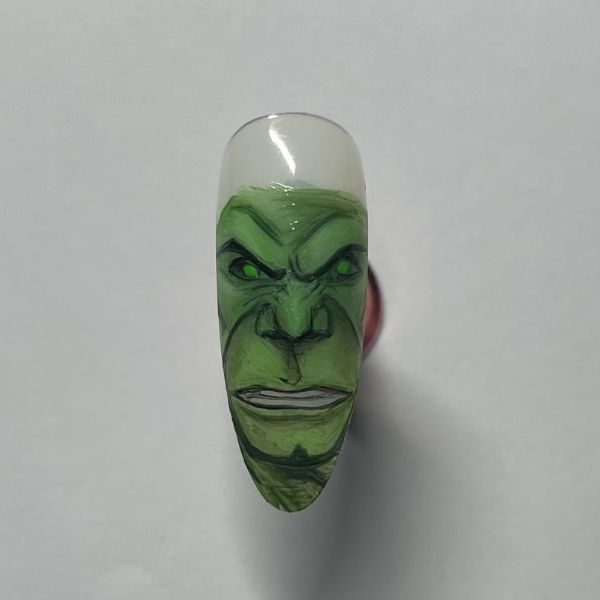
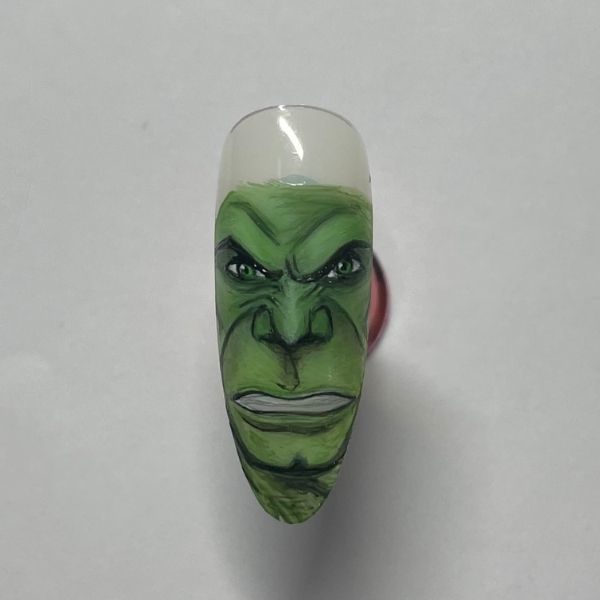
Apply a darker green shade in areas that would have a natural shadow like the nose, under eye and any wrinkles. Cure.
Step 5
Build up the lighter and darker areas until you are happy with the coverage. Blend them gently together before curing to get a seamless finish. Cure.
Step 6
Add the white details such as eyes and teeth and blend a sparing amount of white on the areas of the face that would naturally be highlighted by light. Cure.
Step 7
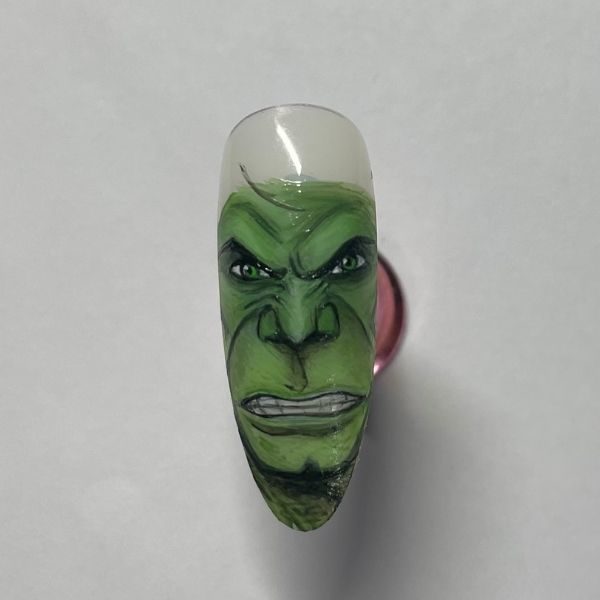
Add teeth details, and go over any black lines that you want to stay prominent. Place the start of the hairline and cure.
Step 8
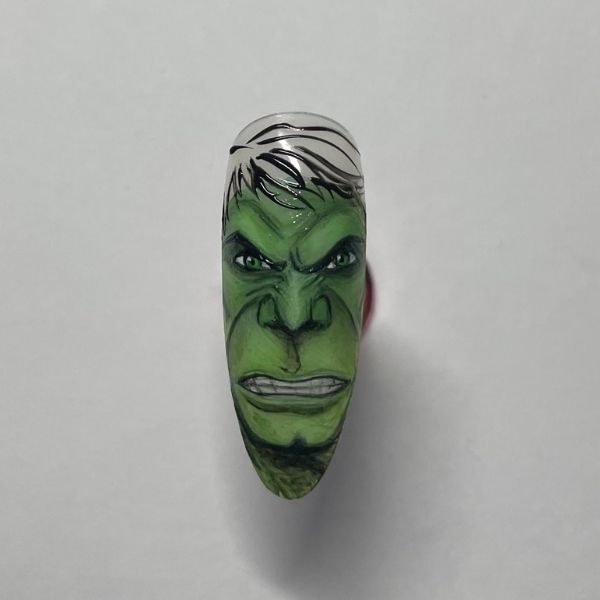
Outline the hair in black. When you fill in the hair, use a small amount of paint as this will give a lighter wash of colour and bring depth to the hair in contrast to the strands. When you're happy with the look, cure.
Step 9
Add subtle white accents to act as highlight through the hair. Cure.
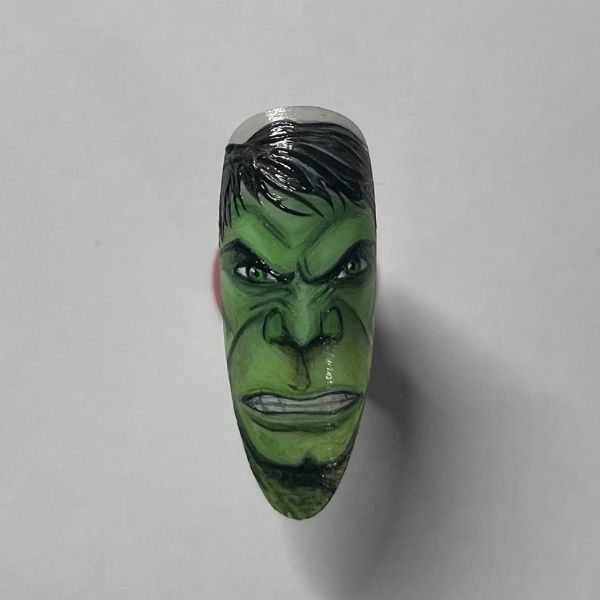
Step 10
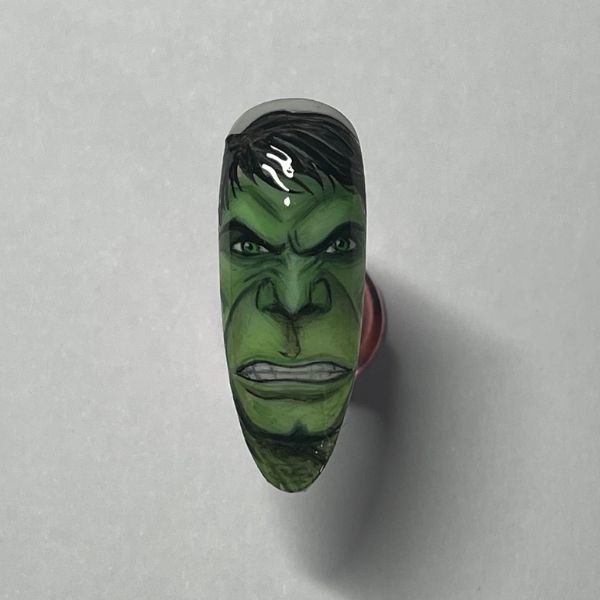
Use a base coat to fill in any ridges left by brush stokes before applying your top coat - this will give you a smooth finish. Cure to finish.

Read the latest issue