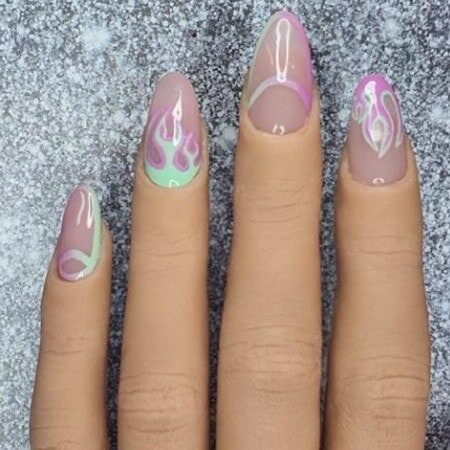
Summer flame nails

Step by Step
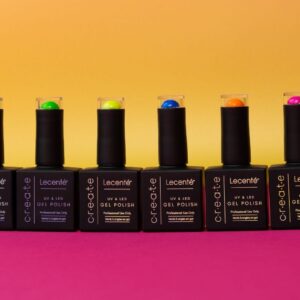
Salon System nail expert, Karen Louise, has created a flame step-by-step using the GELLUX Festival Edit collection, available from wholesalers nationwide.
Step 1

Prepare the nails, file to shape, push back cuticle and gently buff the nail plate. Brush away any dust and wipe over with the GELLUX Prep + Wipe. Apply the GELLUX Fast Bond and dry for 30 seconds. Then apply the GELLUX Cover Pink Base Coat to all nails and cure for 30 seconds.
Step 2

Apply a small drop of GELLUX Main Stage, and GELLUX Glamping to a palette or foil. Now, using a small striping brush, outline half the nail and half-moon in GELLUX Mainstage on the middle and pinky finger. Do not cure.
Step 3

Now, using GELLUX Glamping, do the same on the same nails and then blend the two colours in a sweeping motion to create an ombre effect. Once happy, cure for 30 seconds.
Step 4

Now stencil your flame design on the index finger using GELLUX Main Stage at the free edge of the nail, then fill the gaps and cure. Next, repeat on the ring finger but this time at the cuticle area of the nail using GELLUX Glamping, and cure for 30 seconds.
Step 5

Outline each flame in the opposite colours using a small detailing brush and cure for 30 seconds.
Step 6

Finally, apply the GELLUX Shiny Top Coat over Cure for 60 seconds, then wipe the nails with GELLUX Prep + Wipe and apply GELLUX Nail & Cuticle Oil.

Read the latest issue


