Structured French
Step by Step
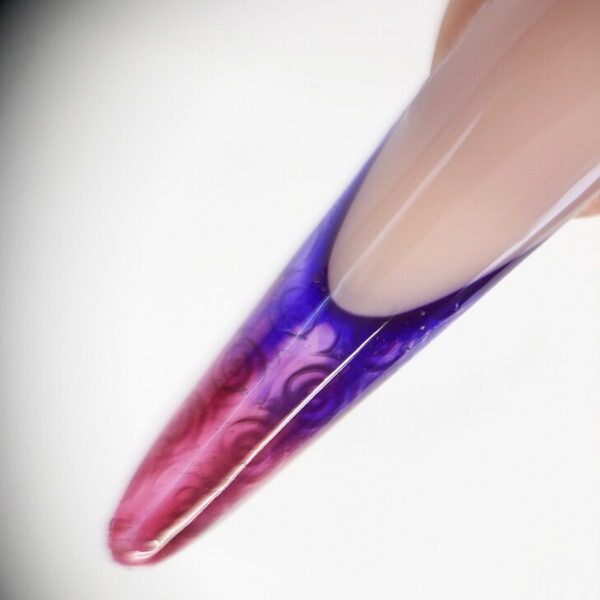
Tracey Lee displays how to create a structured French in this detailed step-by-step.
Step 1
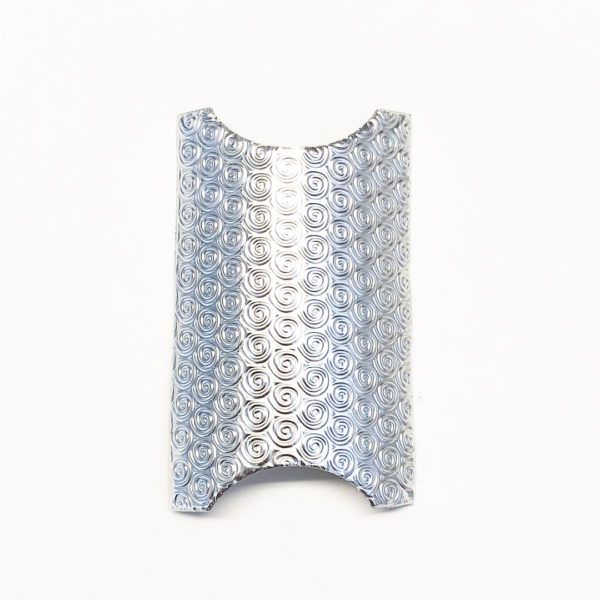
In order to create the structure, use Glass Foils under you extension. These can be used in their full length for longer nails or cut in half for shorter nails.
Step 2
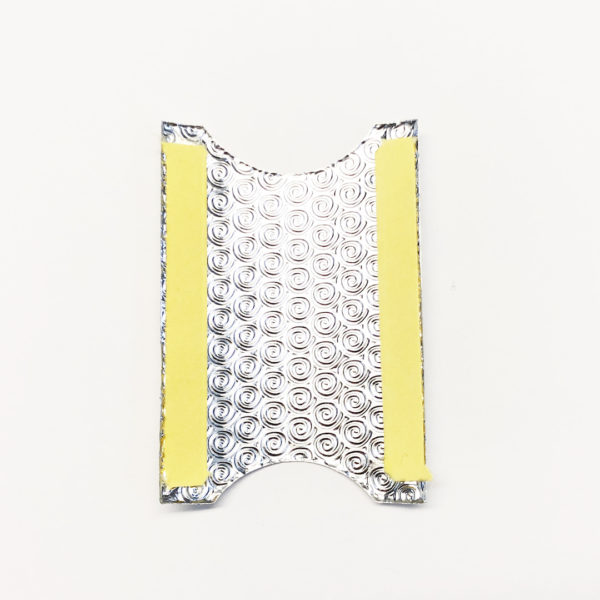
The foils can be secured onto the form with a thin double-sided tape that is supplied with the forms.
Step 3
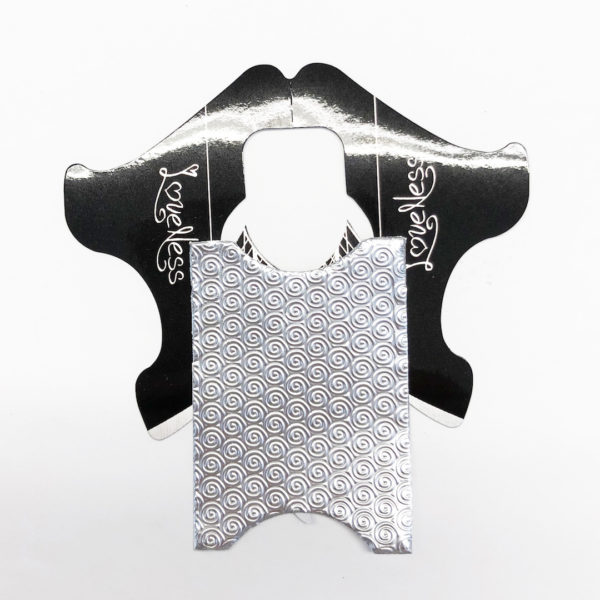
Secure the foil to your form.
Step 4
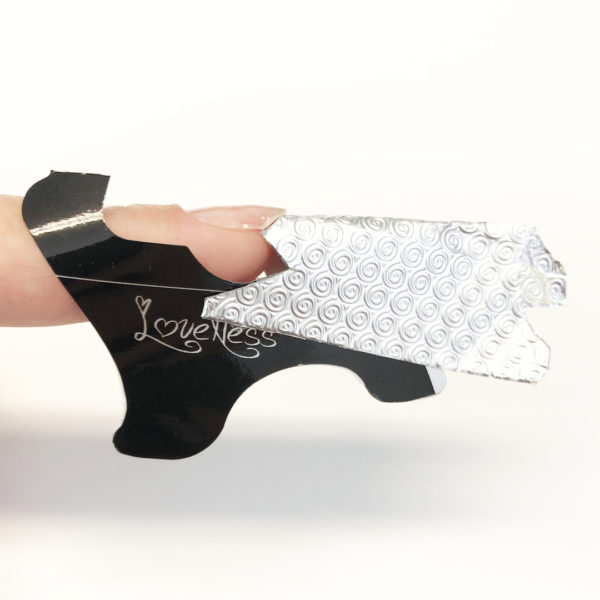
Place your form to achieve the desired shape and do any additional customisation to the form and foil to create a sleek extension.
Step 5
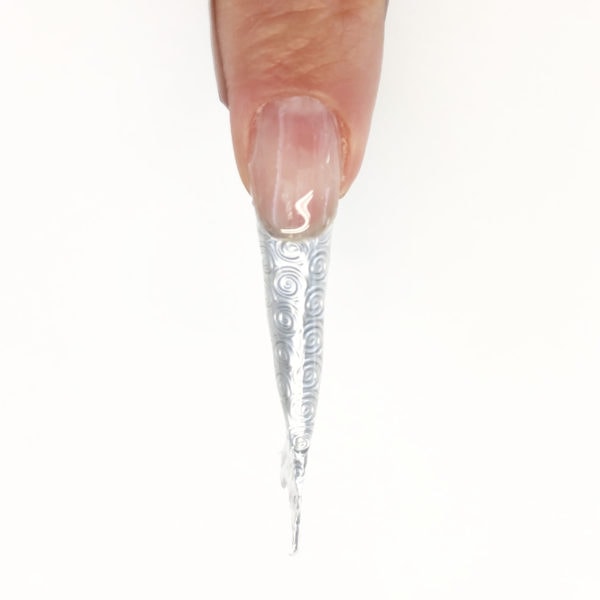
Apply a thin layer of clear gel to the nail plate and create the extension edge. It is also possible to use liquid and powder here or an acrygel product. Ensure that the clear you choose to use is really clear to achieve the best effect.
Step 6
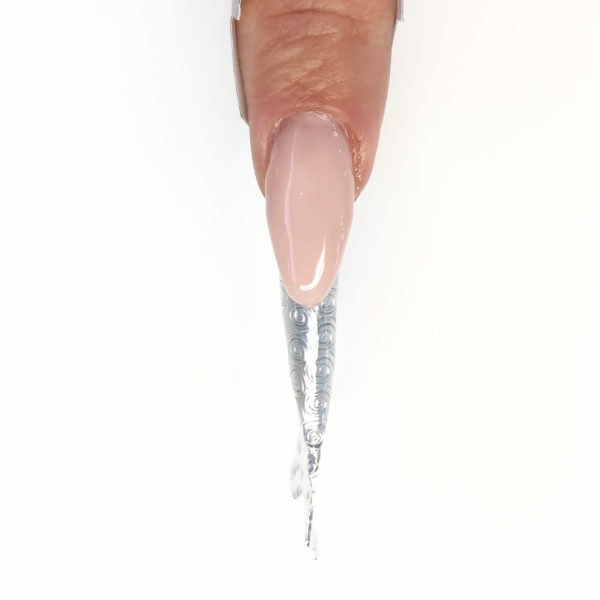
Using your favourite cover shade, create your nail bed extension. I am choosing to go slightly longer and sleeker on my nail bed as I will be creating a longer nail. Irrespective of the product you are using, remember to create a 90-degree angle on the edge of your smile line to ensure that it is crisp.
Step 7
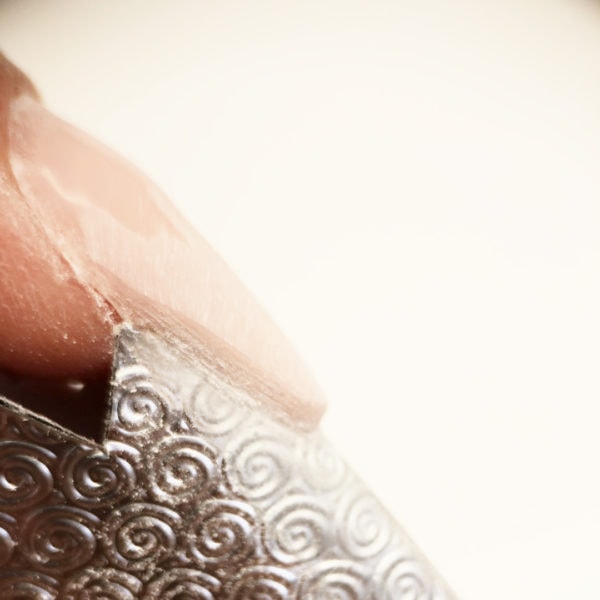
When using gel I find that, during curing, the gel rounds off at the edges. For this reason, when creating my smile line, I take that characteristic into account and build my smile line slightly higher and, after curing, sharpen up the edges with a file at a 90-degree angle to my free edge. I love using a thin metal file to get up into the corners of the smile line to ensure I have a ledge of product there, too. Other files may be too thick to really reach up into that area.
Step 8
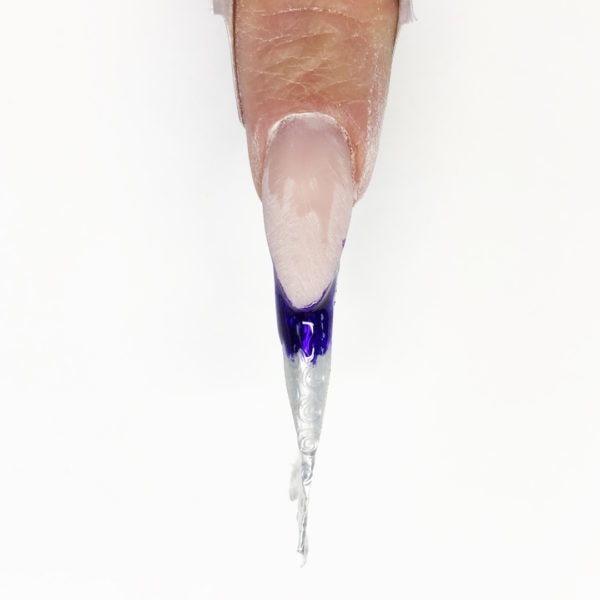
Apply a purple glass gel along the smile line and fade it out over the extension edge. Do not cure.
Step 9
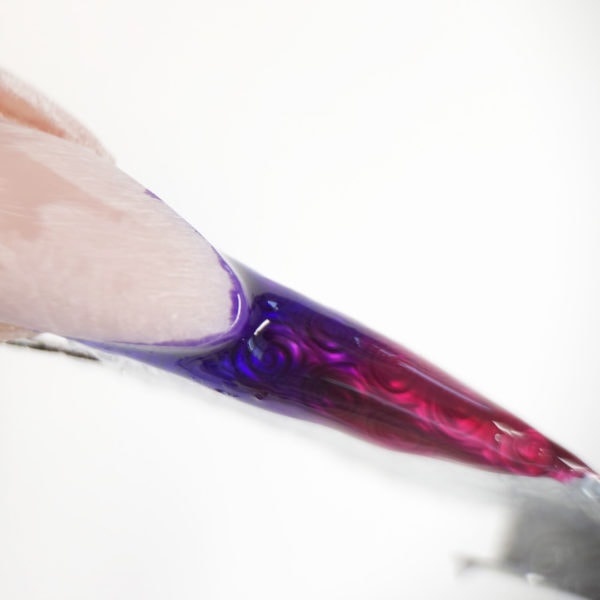
Apply a red glass gel and fade it from the free edge of the extension towards the smile line, creating a blend of two colours in the middle. It is possible to add flakes, glitter, billions, etc. at this stage - I feel that the effect is strong enough without any additions, but feel free to experiment.
Step 10
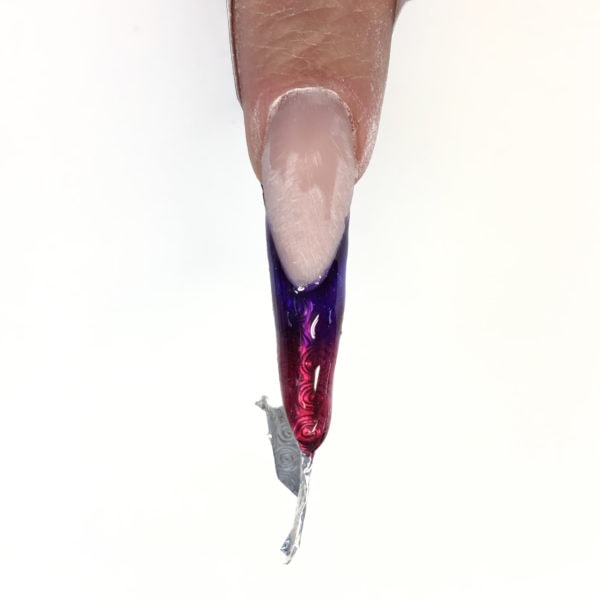
Cap the extension edge with clear gel and cure.
Step 11
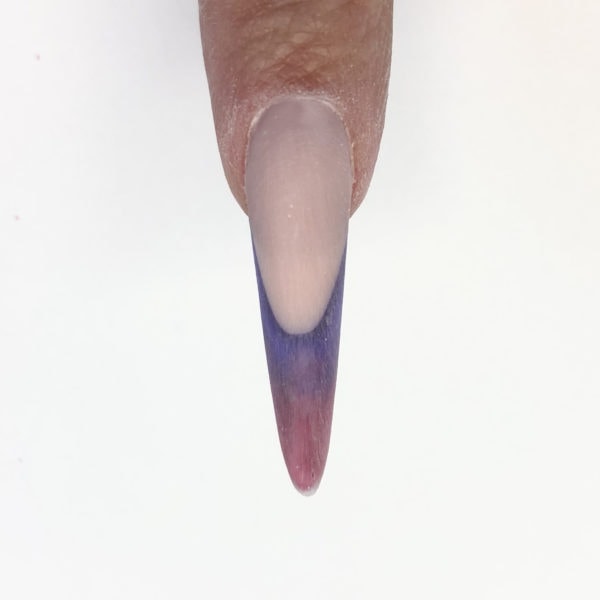
File your nail into shape.
Step 12
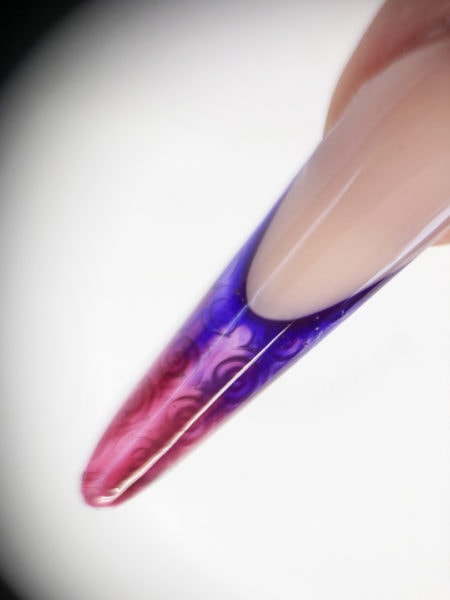
Seal with a top gel and enjoy the effect!

Read the latest issue


