
Stripe negative space nails

Step by Step
Salon System nail expert, Julie-Anne Larivière, has created a stripe negative space step by step with the Gellux Festival Edit collection.
Salon System Gellux products are available from wholesalers nationwide.
Step 1
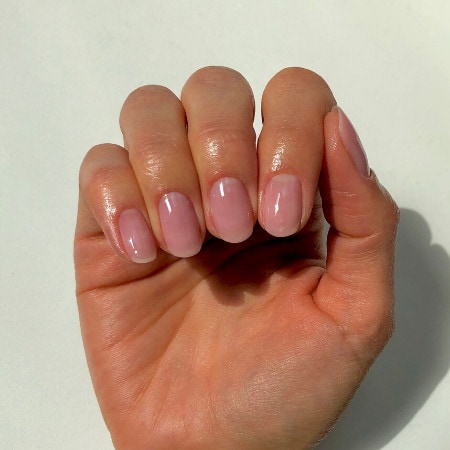
Prepare the nails and wipe over with the Gellux Prep + Wipe. Apply the Gellux Fast Bond and let it dry for 30 seconds. Apply the Gellux Cover Pink Base Coat and cure for 30 seconds.
Step 2
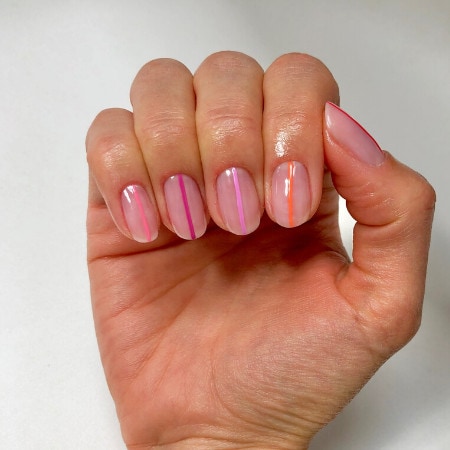
Using a striper brush, paint a stripe in the centre of each nail using Gellux shades Headliner, All Nighter, Main Stage, Live & Loud, and VIP Pass. Cure for 30 seconds.
Step 3
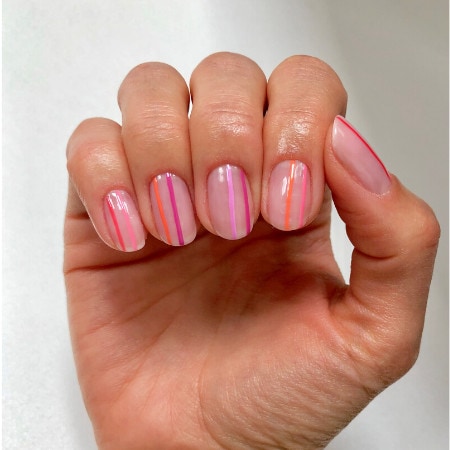
Next, paint a stripe on the left for the pinky and ring finger, using Gellux shades VIP Pass and Live & Loud. Then, paint a stripe on the right for the middle, index and thumb, using Gellux shades All Nighter, Headliner and Main Stage. Cure for 30 seconds.
Step 4
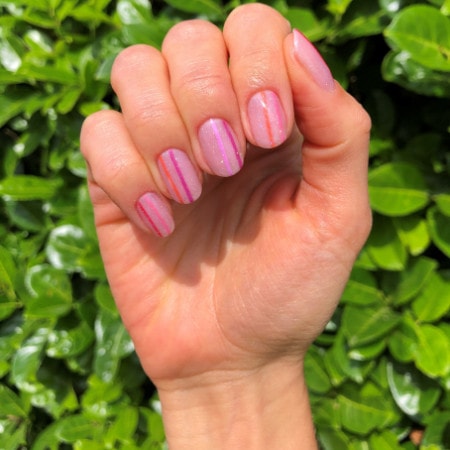
Apply the Gellux Holographic No Wipe Top Coat and cure for 60 seconds. Wipe the nails with Gellux Prep + Wipe and apply Gellux Nail & Cuticle Oil.

Read the latest issue