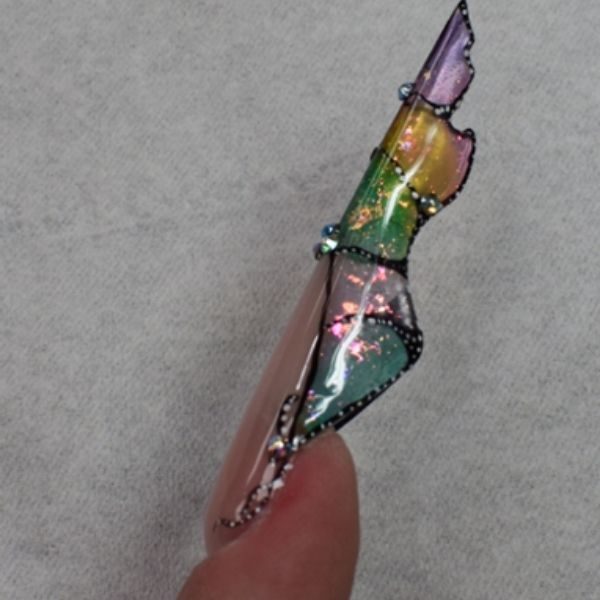
Stained glass butterfly nail
Step by Step
Katie Barnes of Katie Barnes Tool Range & Nail Academy reveals how to create a stained glass butterfly nail.
Step 1
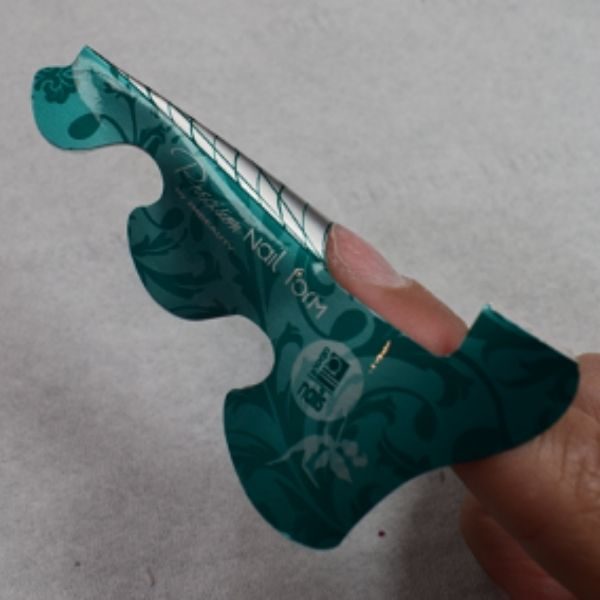
Prep the nail and fit a stiletto form. If the form doesn’t fit snuggly under the free edge, cut this to fit. The form should be fitted straight from the side and be closed tight.
Step 2
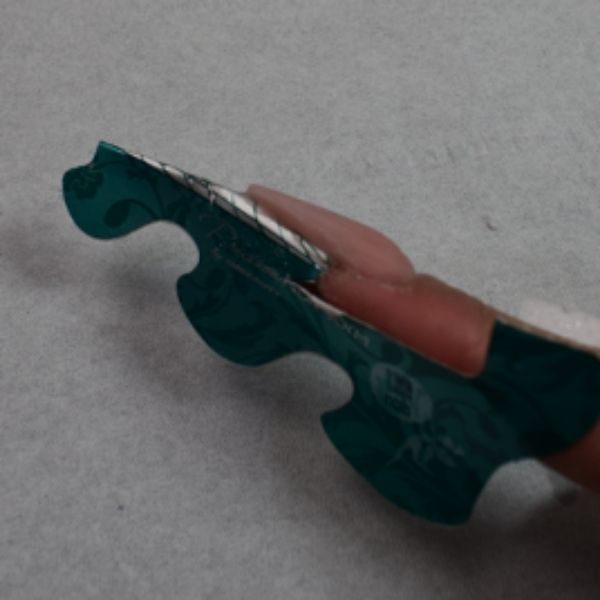
Using a large, firm acrylic brush, apply cover pink acrylic to create the extended nail bed. Ensure enough product is used due to the length of the enhancement, and that your smile line mirrors the free edge and is pointed. The apex needs to be 1/3 of the nail bed and the product needs to come out straight to the free edge. File the smile line if desired.
Step 3
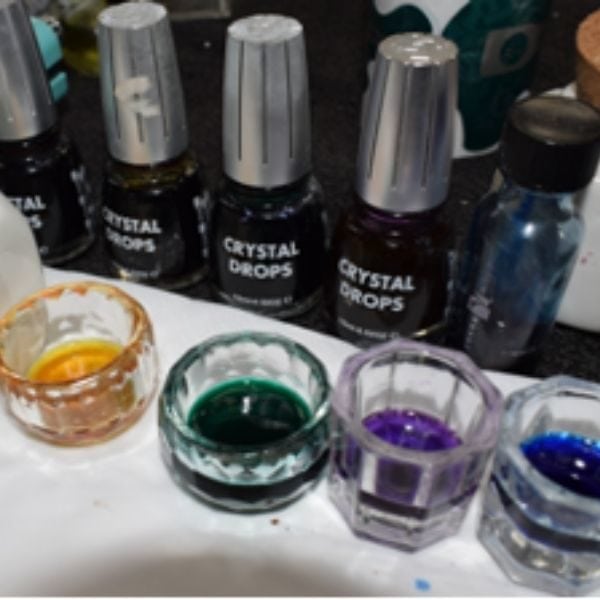
For the stained-glass effect on the free edge, mix crystal drops in a variety of colours with monomer in different dappen dishes. Use this with clear acrylic.
Step 4
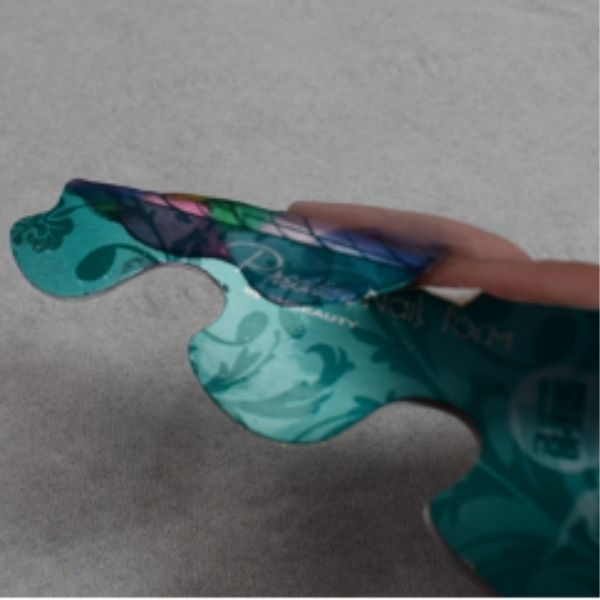
Working on one side at a time, apply thin beads of the different colour drops on the form in the shape of a butterfly wing, ensuring that both sides are symmetrical throughout. To help with this, you can use a white gel pen to draw the wings on both sides. While the product is wet, overlap the beads slightly and blend together to get an ombré effect.
Step 5
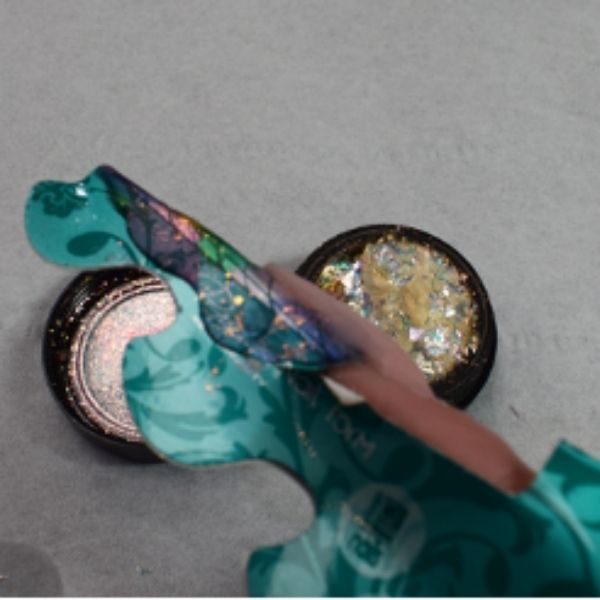
Press chrome flakes or cracked ice into the wet product and cap in clear acrylic. If it has dried then apply a very thin layer of clear first. Work with the clear slightly wetter to avoid air bubbles.
Step 6
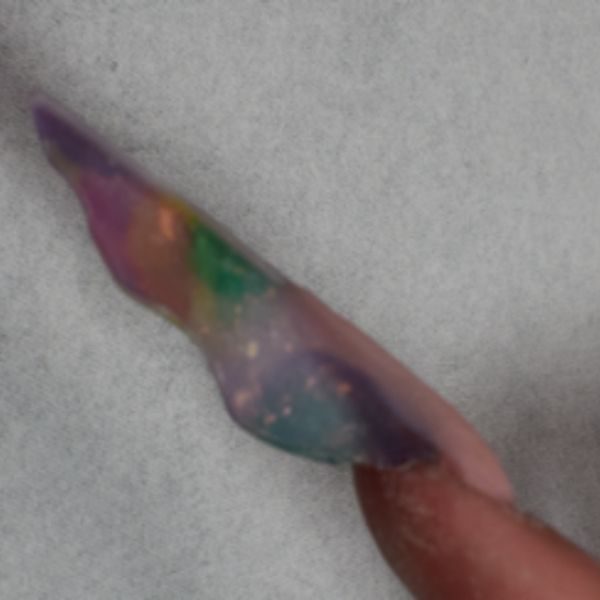
Once the product has fully polymerised, remove the form – you may need to use something thin and pointed such as a needle tool or a sharpened spatula to help.
Step 7
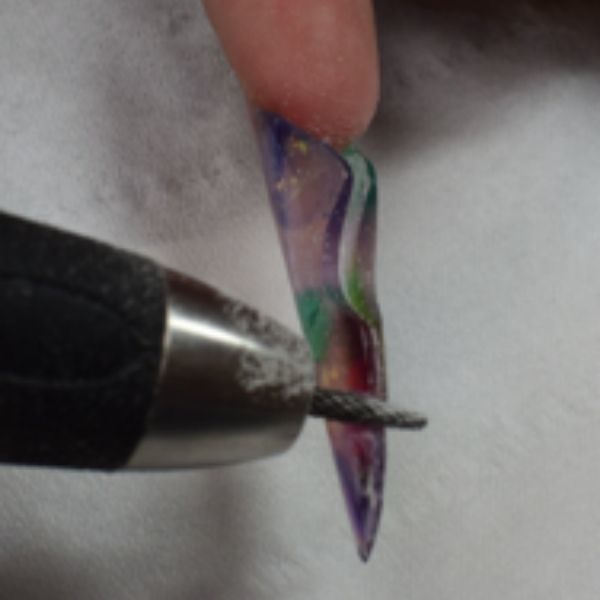
Begin filing the product underneath with an e-file to get the shape of the wings. Use a rounded bit and then a small tool such as an under-nail cleaner to get the smaller wing shapes. Hold the nail flat and straight so that you file both sides symmetrically and support underneath with your finger. File the sides, cuticle zone and then from sides to centre, ensuring the product doesn’t have any excess bulk and comes straight out from apex to the free edge. Once filed, buff to refine.
Step 8
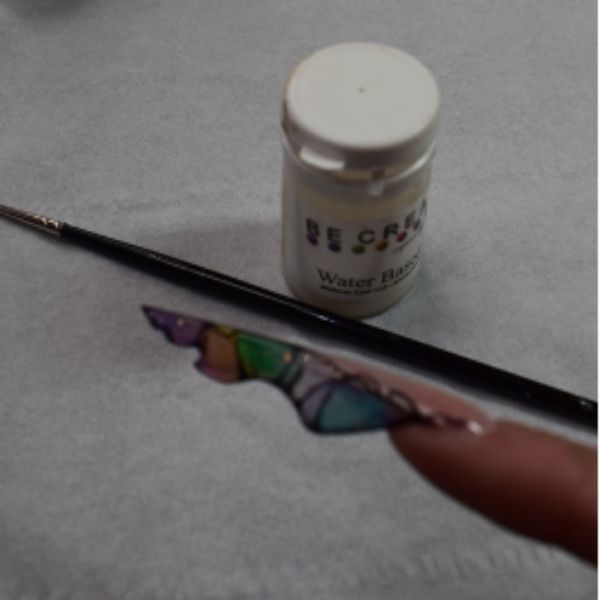
Using black acrylic paint and a fine line brush, draw around the edges and then in between the colours to create the veins of the wings. Using a fine line brush or small dotting tool, apply small white dots along the black lines. Once the paint has dried, top coat to seal.
Step 9
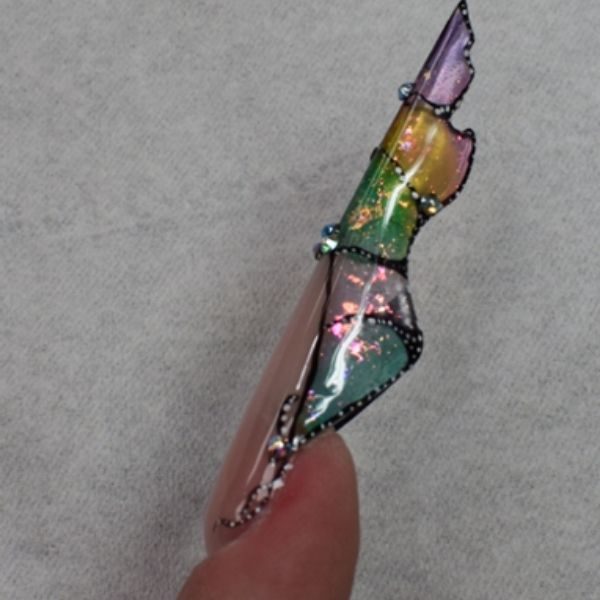
Apply Swarovski crystals using gem glue and cure for 30 seconds in an LED lamp. Seal around this with non-tacky top coat. You could also apply these with glue.

Read the latest issue


