Spring foil & daisy nail design tutorial

Floral, Spring/Summer, Step by Step
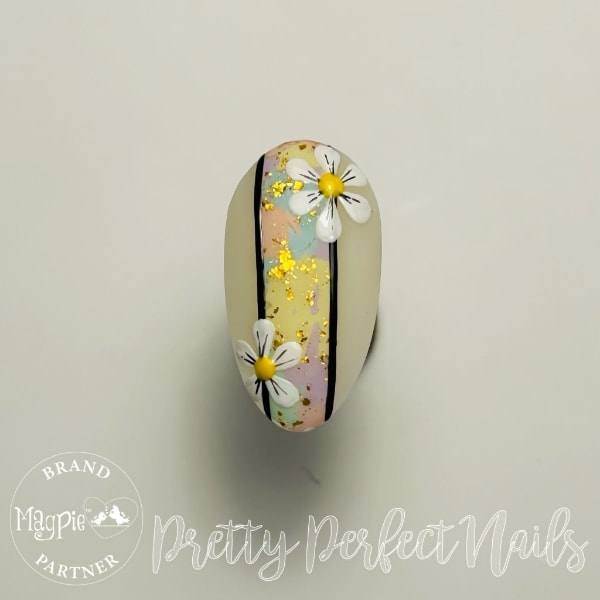
Magpie Beauty brand ambassador, Rachel Mansfield of Pretty Perfect Nails, serves up this spring foil mash-up, complete with daisy styling.
Step 1
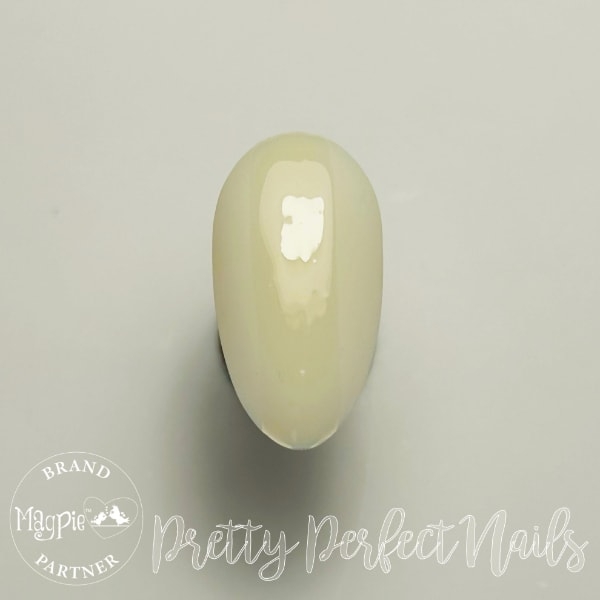
Apply a base coat and cure, before applying your chosen base colour and curing. Using foil gel, create a think line down the middle of the nail and cure.
Step 2
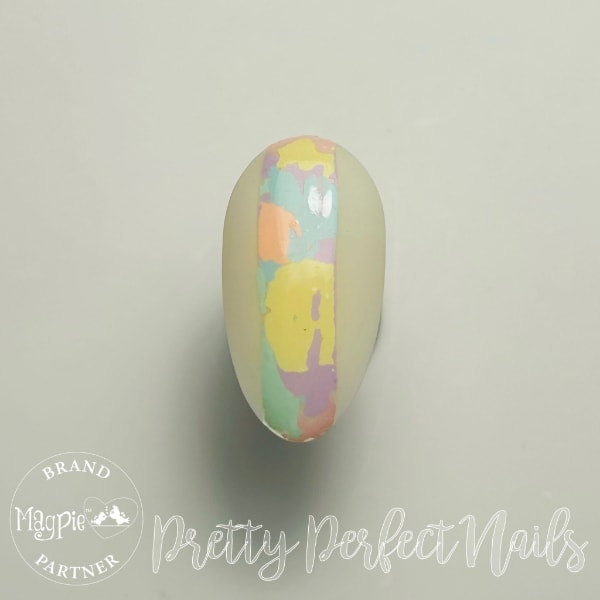
Choose five foils of your choice and dab them onto the cured gel down the middle, to create a mash-up of foils.
Step 3
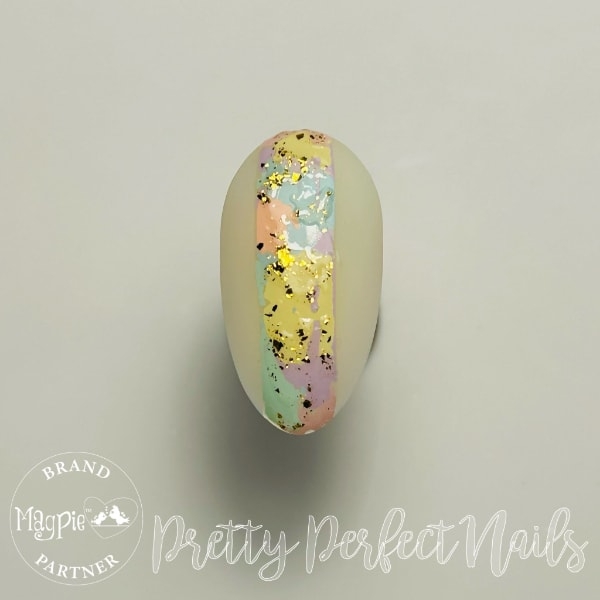
Using a gold foil leaf mix or a mixed glitter of your choice, add it on top of the foils in random places and once happy, cure. Apply a matte top coat to the design and cure.
Step 4
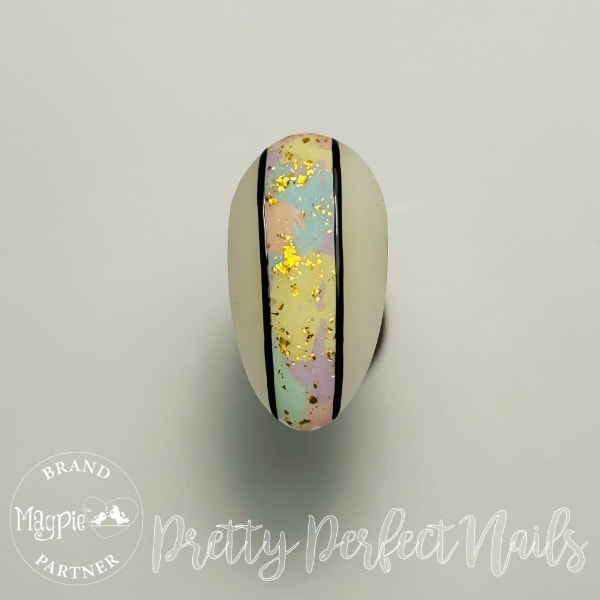
Using a black gel paint and striper brush, paint lines down both edges of the middle line to give it a border and cure.
Step 5
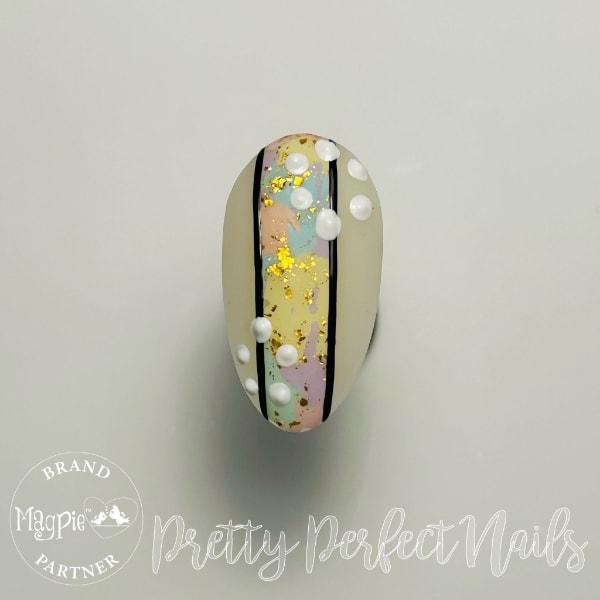
Using white gel paint and a dotting tool, place five or six dots in the shape of a petal at both the top and bottom of the nail.
Step 6

Use your striper brush to connect the dots in the middle, creating petal shapes, and once happy, cure.
Step 7
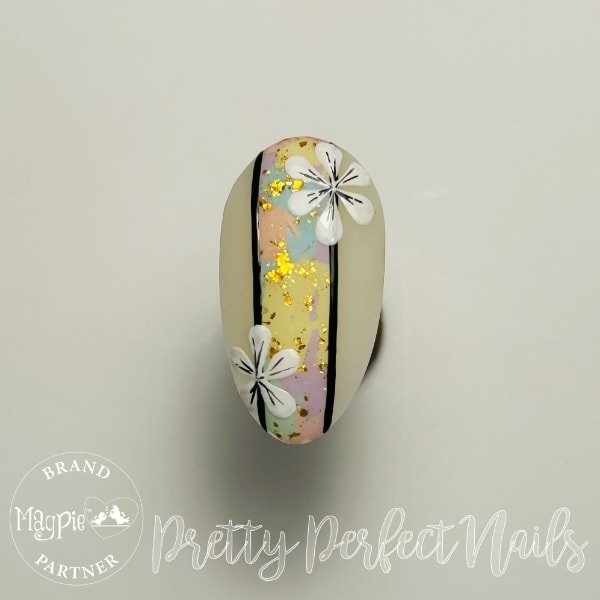
Using black gel paint, add some small thin lines in the middle of the petals and cure.
Step 8
Add a dot in the middle of each daisy using yellow gel paint and a dotting tool, and cure to complete the design.

Read the latest issue