Spring floral nail art look
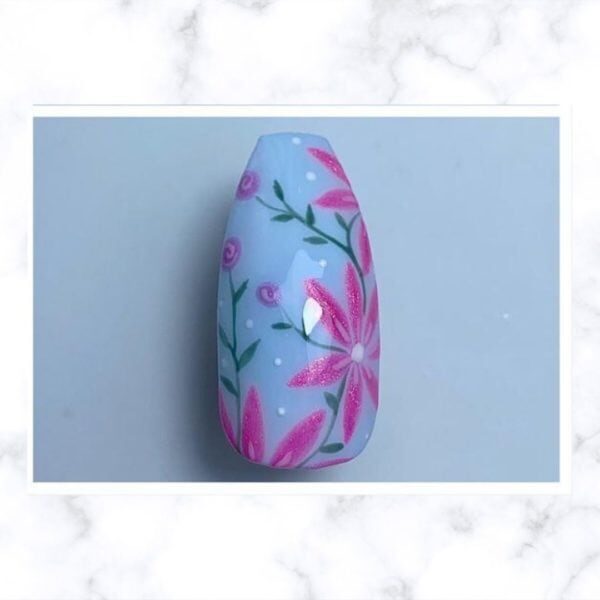
Floral, Step by Step
Brand ambassador for The Pro Gel, Ciara of Polish Sparkle Glow, reveals how to create this pretty floral nail design that’s perfect for spring.
She uses the following products, available via www.theprogel.com
- The Pro Gel Soak-off Gel Polishes in Baby, Prism, Becky, Army, Alpine & Blossom
- Non-wipe Top Coat
- Matte Top Coat
- Dotting tool
- Liner brush
Step 1
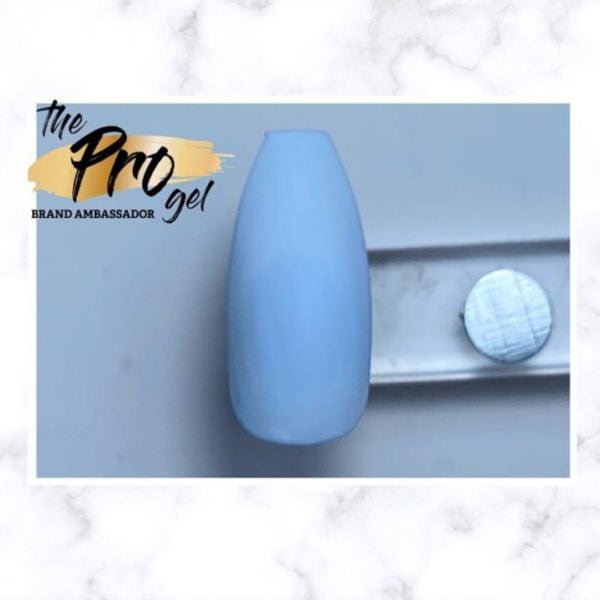
Apply two coats of The Pro Gel's Gel Polish shade, Baby, and cure. Apply one coat of Matte Top Coat. Cure.
Step 2
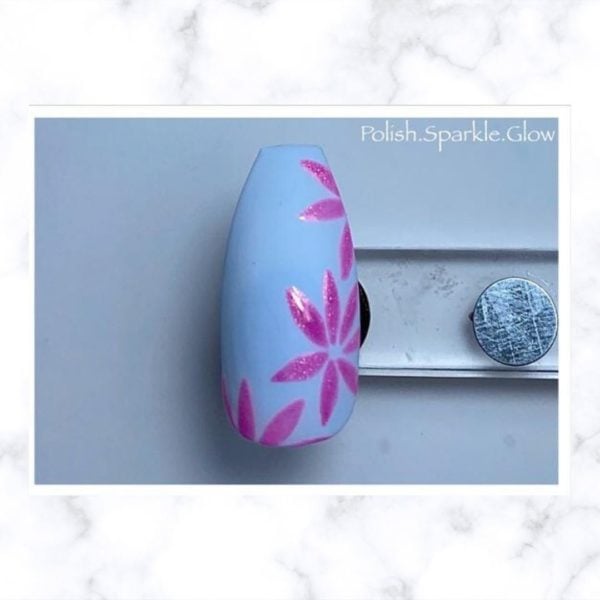
Paint flower petals using a liner brush and The Pro Gel Gel Polish in Becky. Cure.
Step 3
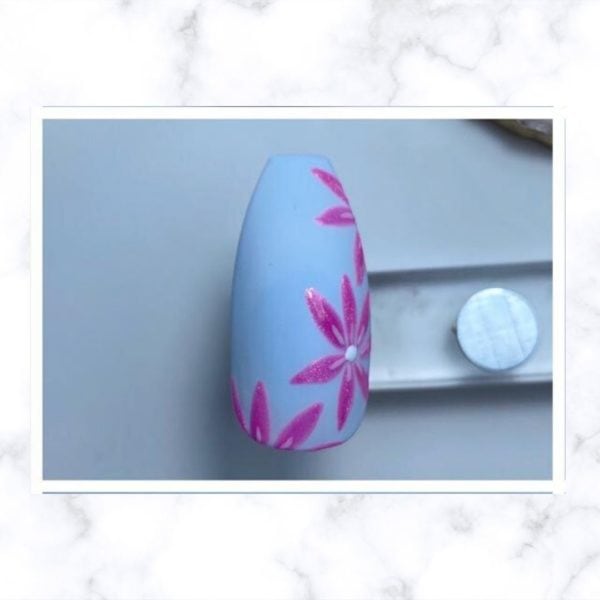
Add detail to the petals using the liner brush and the Blossom shade inside the petals, and Alpine for the centre of the flower. Cure.
Step 4
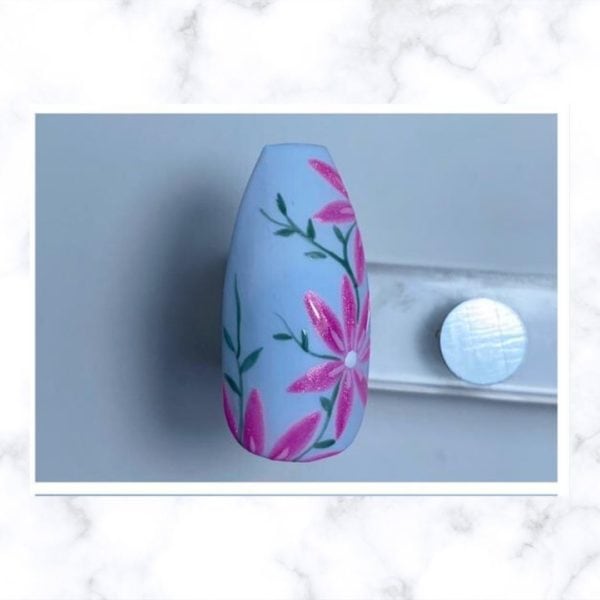
Use the Army Gel Polish to paint the stems to connect the existing flowers. Extend them to where you wish to paint smaller flowers. Cure.
Step 5
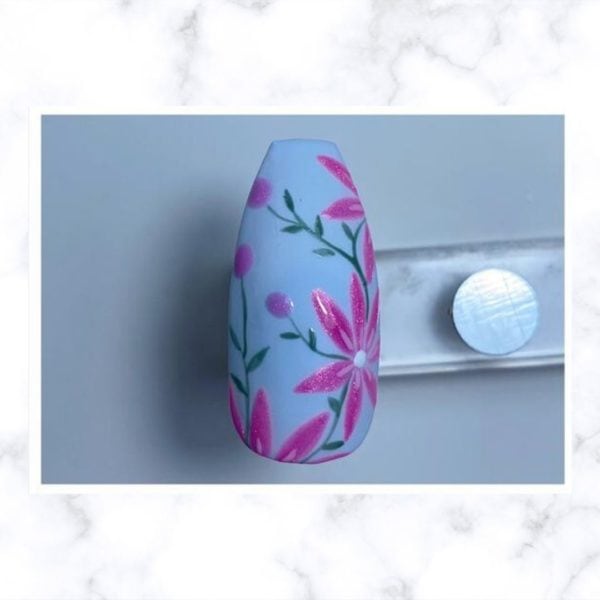
Using a dotting tool and Gel Polish in Prism to add little bulbs to the end of the stems. Cure.
Step 6
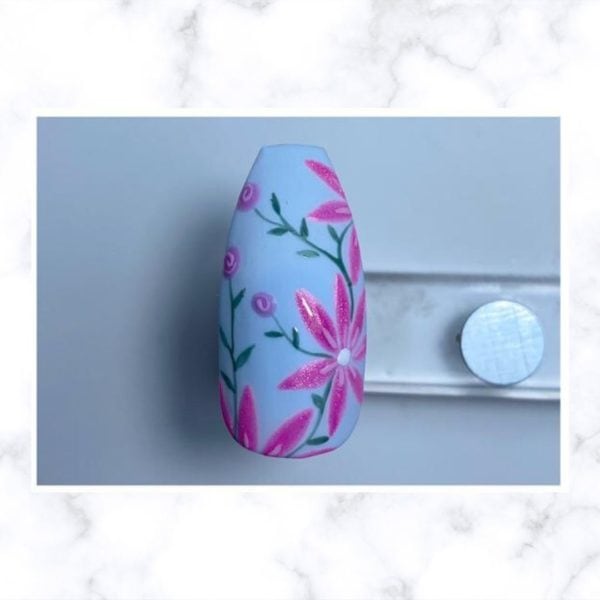
Add detail to the little flower bulbs using Blossom. Cure.
Step 7
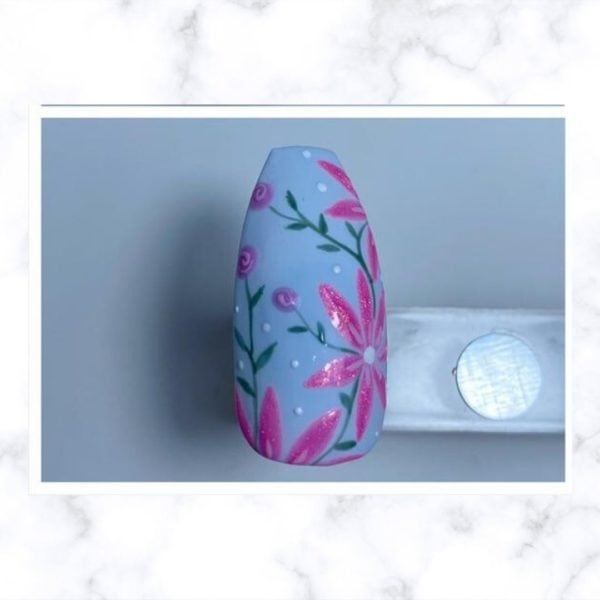
Add a few white dots to the background using Alpine and a dotting tool. Cure.
Step 8
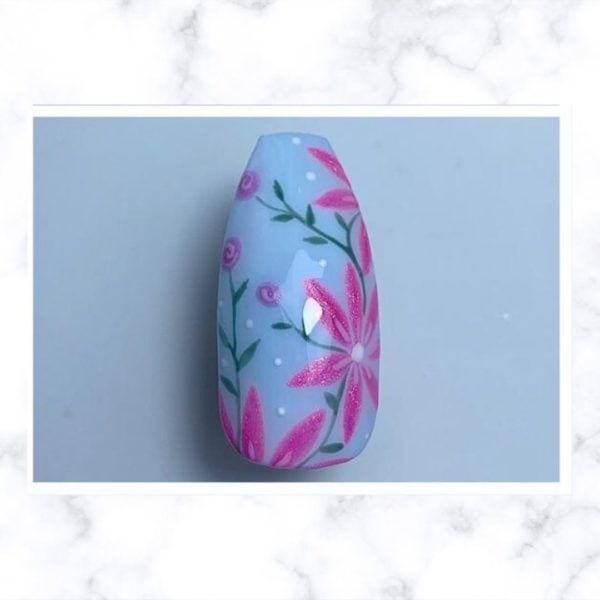
Apply Non-wipe Top Coat to finish and cure.

Read the latest issue


