Sparkly spider nail

Seasonal & Occasions, Step by Step
“The spooky season is upon us but not every nail design has to feature orange and black pumpkins and bats,” comments Natasha Lee, nail artist & Scratch Stars Best UK Nail Blogger 2018 & 2019. “Here’s a beautifully elegant Halloween look for the client that wants a touch of sophistication in their Halloween nails.”
Step 1

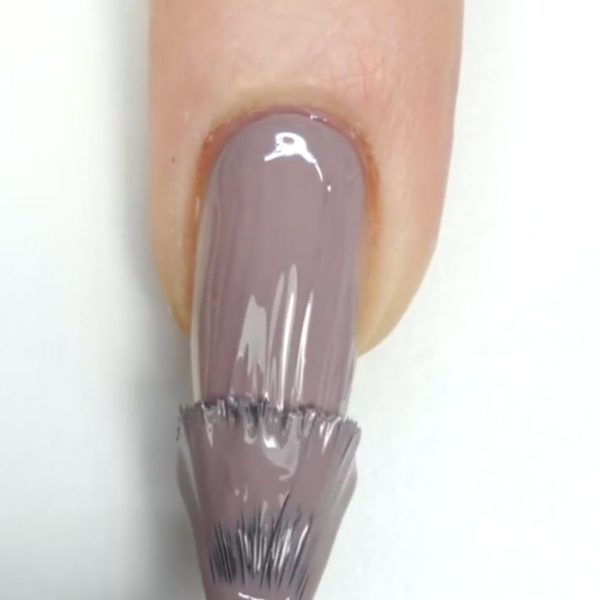
Apply a base coat if applicable with your chosen gel polish system, followed by two coats of a mauve or lilac shade, curing after each coat, to all 10 nails. I have used Whoa Nelly by Magpie Gel.
Step 2

On the middle finger and thumb, apply a fine lilac holographic glitter to the inhibition layer, followed by top coat and cure.
Step 3

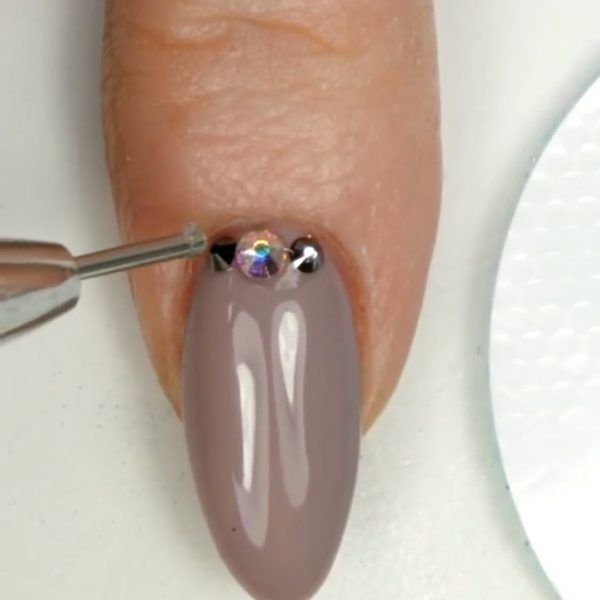
Apply top coat to the index finger then cure. Use a builder gel (or top coat if you don’t have builder gel) to apply a few dots to the cuticle area and then apply some crystals in your chosen design. Cure and remove any sticky residue with a pad soaked with 99% isopropyl alcohol.
Step 4

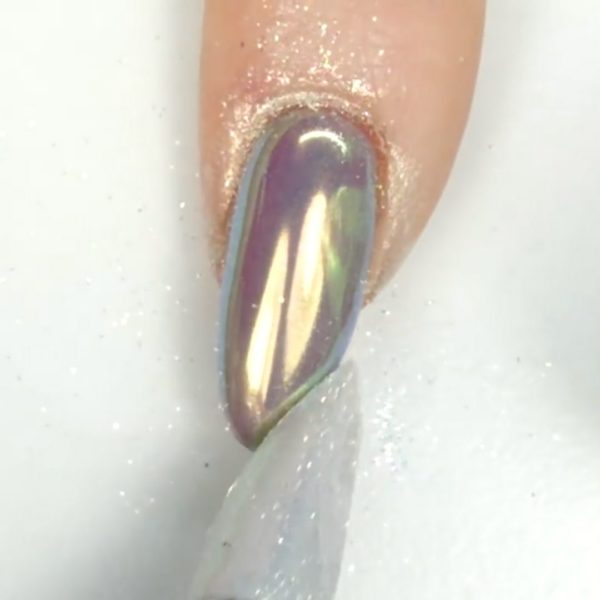
On the little finger, apply a no-cleanse top coat then cure. Using an iridescent pigment or unicorn pigment (I have used Shelly dust by Magpie) and a silicone tool, rub the pigment/dust into your cured no-cleanse top coat to produce a chromed effect. Then, apply two layers of top coat to prevent chipping and cure each layer.
Step 5

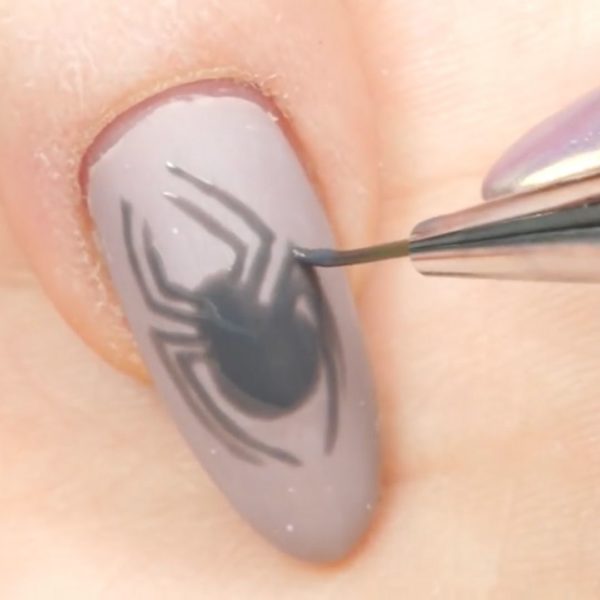
On the ring finger nail, apply a top coat and cure, then apply a matte top coat and cure. Using a deep grey gel polish (I used Strong Gail by Magpie) and a fine detail brush, paint a spider with a large abdomen. Apply two layers of colour to build up the spider if desired, curing each time.
Step 6

Mix a dark or black glitter with some builder gel. You can use top coat, but you may need to do a few layers curing in between to build up the 3D effect.
Step 7

Apply the glitter gel mix with a fine brush to the abdomen of the spider to create a 3D effect. Build it up until you are happy with the effect and then cure.
Step 8

Apply a black crystal for the head of the spider, then apply top coat over the spider only, including the legs, but avoid the matte top coat. Cure and remove the sticky residue.

Read the latest issue


