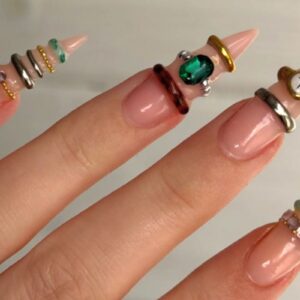
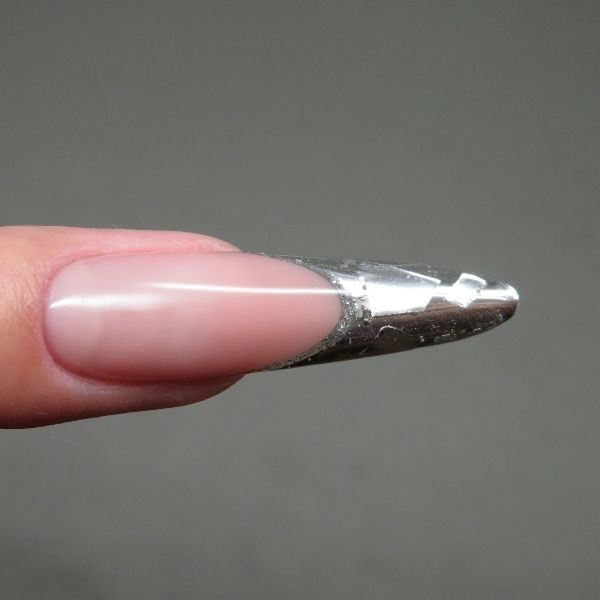
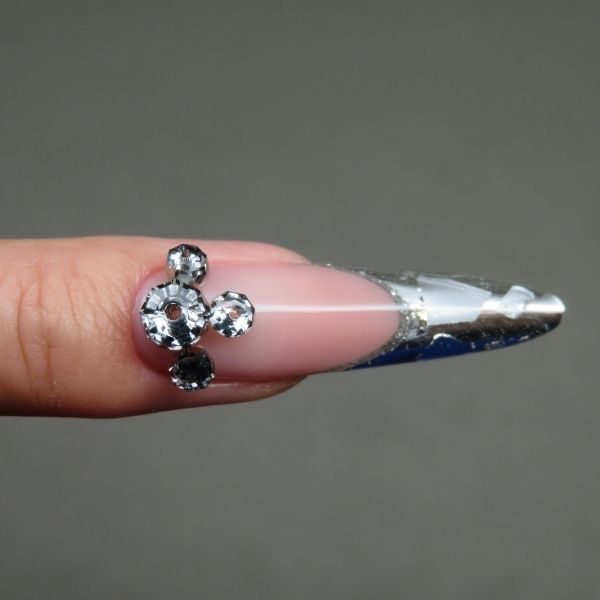
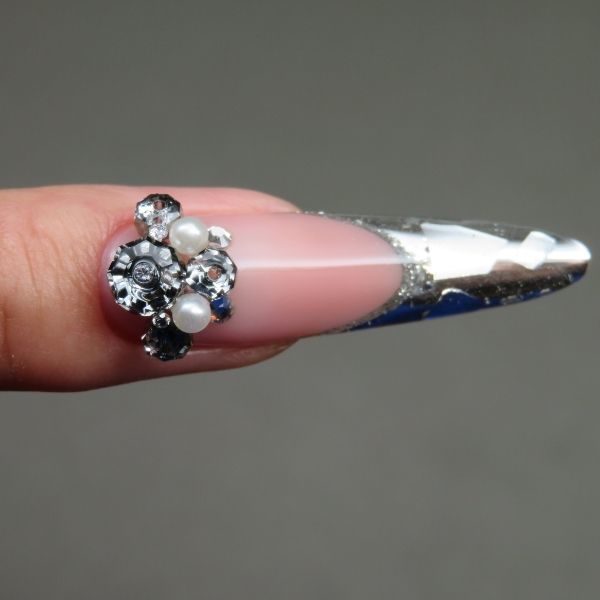
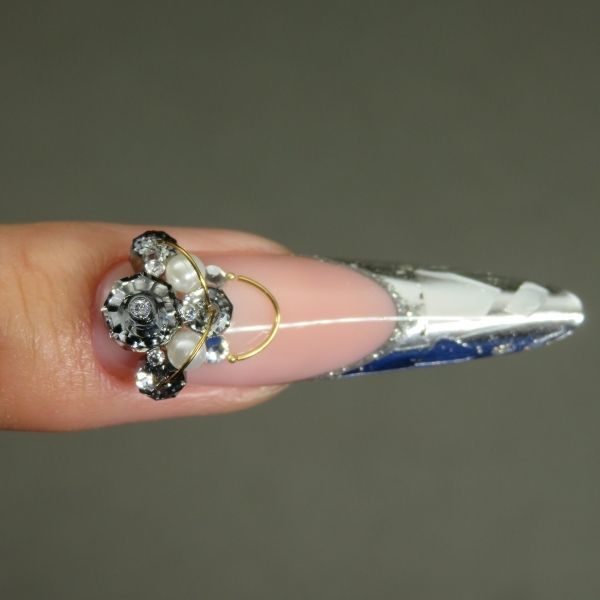
Silver French nail design

Step by Step
Tokyo-based nail artist & Nailympia London champion, Genki Itou, shares the steps to his latest design.

・Business name: Nail Atelier GENKI
・Location: Tokyo, Japan
・Nationality: Japanese
・Years in Nails: I started learning at the age of 16 and became a professional at the age of 17; this is my 15th year.
・Nail Brand You use: Any brand. This design was created using IBD, Christrio & Crystal Parade brands.
・Role in Industry: Cal gel educator, Japan Nailist Association certified instructor & Crystal Parade ambassador (UK)
・Favourite Nail Tool: ️ My one stroke brush️
・What Inspires Your Work: I listen to music while I sculpt and often associate colours and shapes with musical instruments such as violins, pianos and Japanese drums.
・Who You Admire: Japanese friends, as well as friends I’ve met at the Thai international competition and while competing at Nailympia London.
・Fav Nail Technique You’ve Mastered: One stroke & fine painting.
・What Lockdown Has Taught You: I was always patient, but now I’m even more so. Everyone in the world is worried, so it’s easier to view life from the perspective of others since we are living a shared experience.
・An Affirmation You Love: Take good care of yourself. Take good care of the people around you.
・Your mantra: Just be yourself.
@crystalparade1
@ibdnailsuk
@christrionails



Read the latest issue


