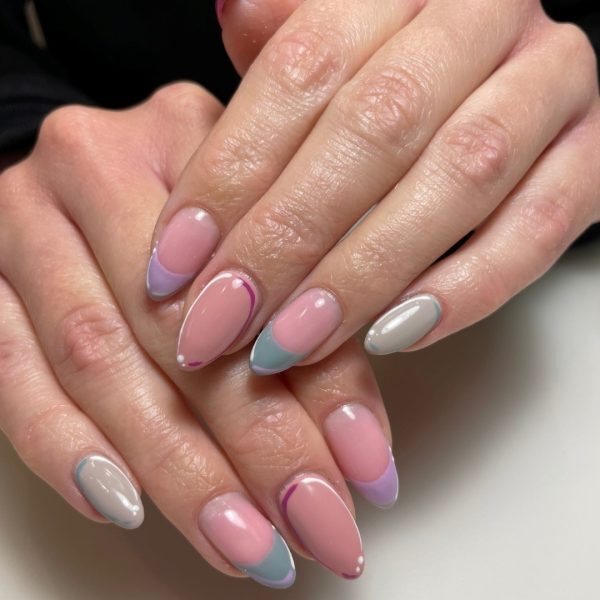
Pop art French tip nails
Step by Step
Salon System nail expert & owner of The Nail Fairy, Caroline Roberts, showcases a step-by-step for trending pop art or cartoon French tip nails. She uses GELLUX’s autumn/winter 2022 collection of 8ml Minis. GELLUX products are available from wholesalers nationwide.
Step 1
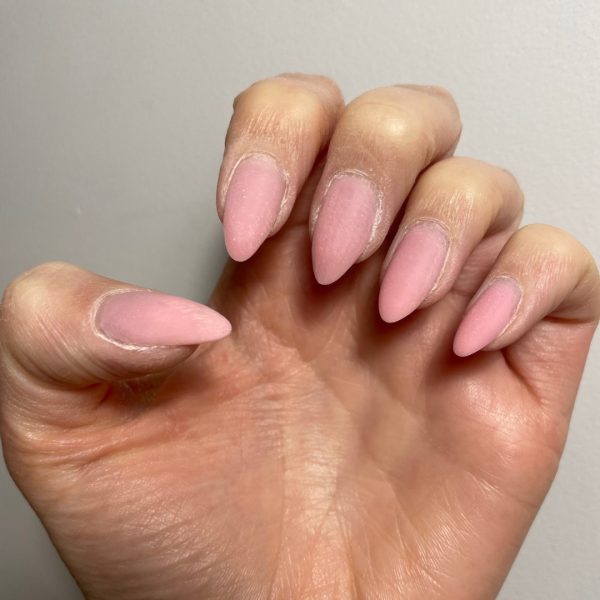
Prep the nails and push back the cuticles. Shape and buff the natural nail bed with a grey and yellow buffer. Dust and wipe the nails with GELLUX Prep & Wipe, before applying a thin layer of GELLUX Fast Bond. Apply two thin layers of GELLUX Builder Gel in Rose Pink, curing each layer for 60 seconds. Wipe off any sticky excess with GELLUX Prep & Wipe and lightly buff the nails for a matte look. Use a nail brush to remove any dust.
Step 2
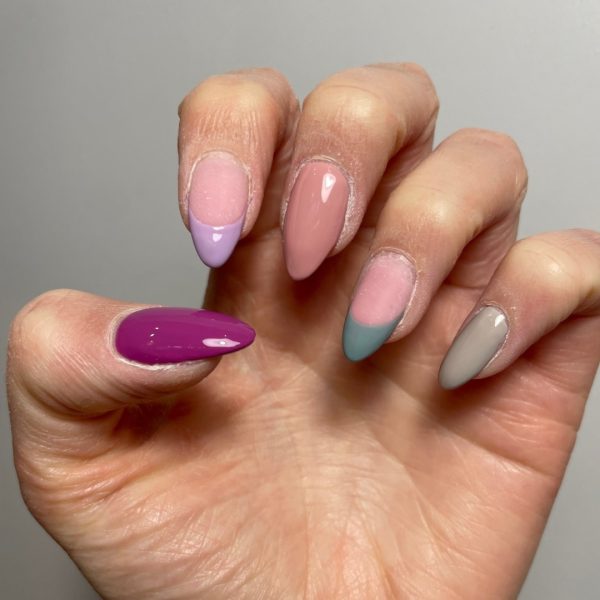
Apply two coats of the following GELLUX Minis: Plumberry to the thumb, Vintage Rose to the middle finger and Absolute Greige to the pinky. Paint two coats of Mini, Dusty Lilac, to the index finger, creating a wide arch shape for a French tip, and repeat on the ring finger with the Mineral Blue Mini. Cure for 60 seconds.
Step 3
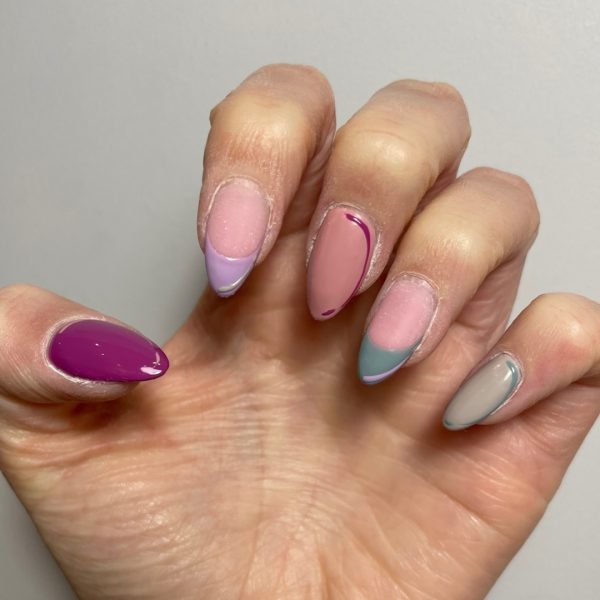
Use a thin liner brush to create a shine effect on each nail, as shown. The following GELLUX Mini shades were used: Vintage Rose on the thumb, Absolute Greige on the index finger, Plumberry on the middle finger, Dusty Lilac on the ring finger and Mineral Blue on the pinky. Cure for 60 seconds.
Step 4
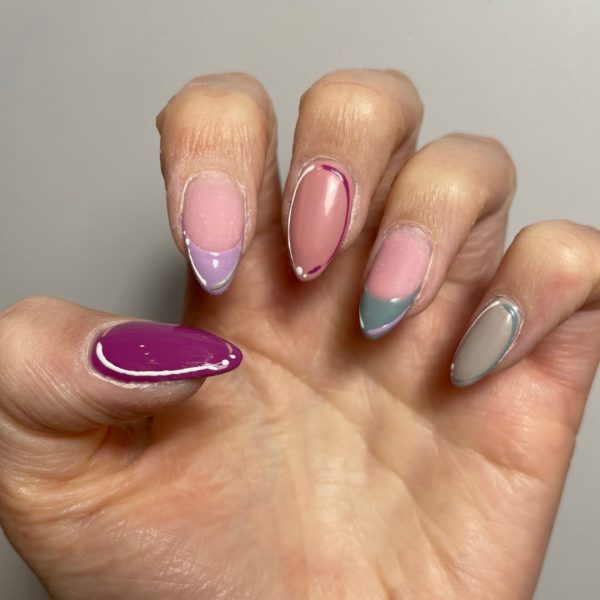
Using the liner brush, apply GELLUX Purely White to create the same effect on the opposite side of each nail, as shown. Cure for 60 seconds.
Step 5
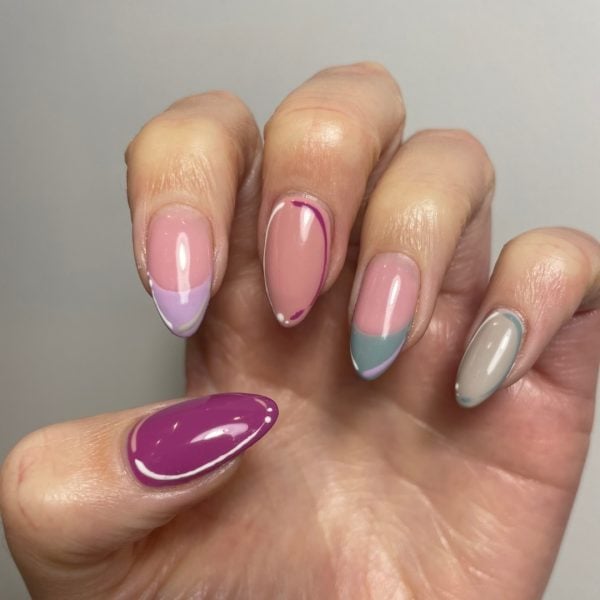
For a glossy finish, GELLUX Shiny Top Coat was applied and cured for 60 seconds. Wipe the sticky residue with GELLUX Prep & Wipe, before applying cuticle oil to finish.

Read the latest issue


