Pastel Easter bunny nails

Seasonal & Occasions, Step by Step
Salon System nail expert, Julie-Anne Larivière has created an Easter Bunny step-by-step using GELLUX, available from wholesalers nationwide.
Step 1
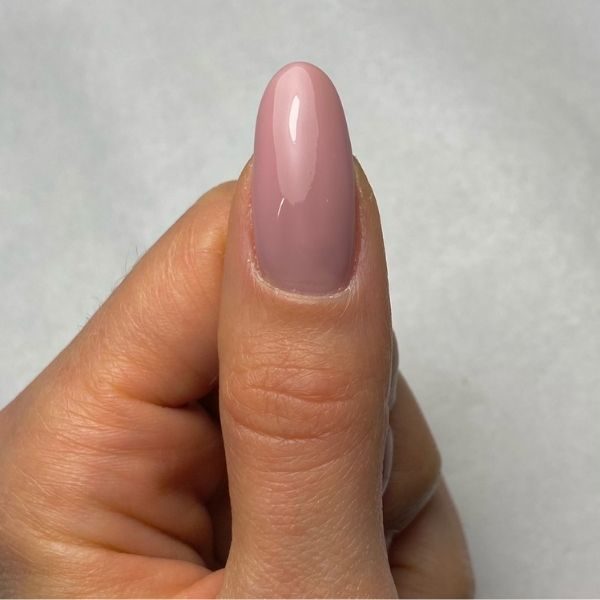
File the nails to shape, push the cuticles back with the GELLUX Cuticle Handy Manicure Tool and gently buff the surface of the nails with a white block. Thoroughly wipe nails with GELLUX Nail + File Cleansing Spray and a lint free pad. When the nails are dry, apply GELLUX Fast Bond and let dry for 30 seconds. Then apply one very thin layer of the GELLUX Cover Pink Base Coat. Cure for 60 seconds.
Step 2
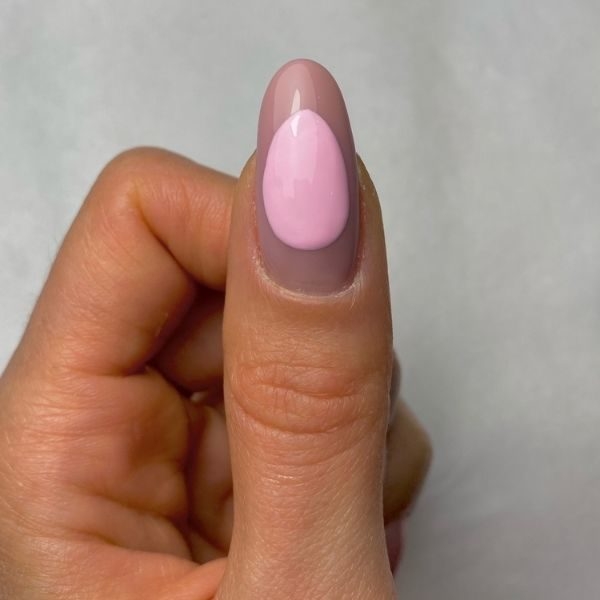
Using a thin nail art brush dipped in GELLUX Double Dating, paint an egg shape. Cure for 30 seconds.
Step 3
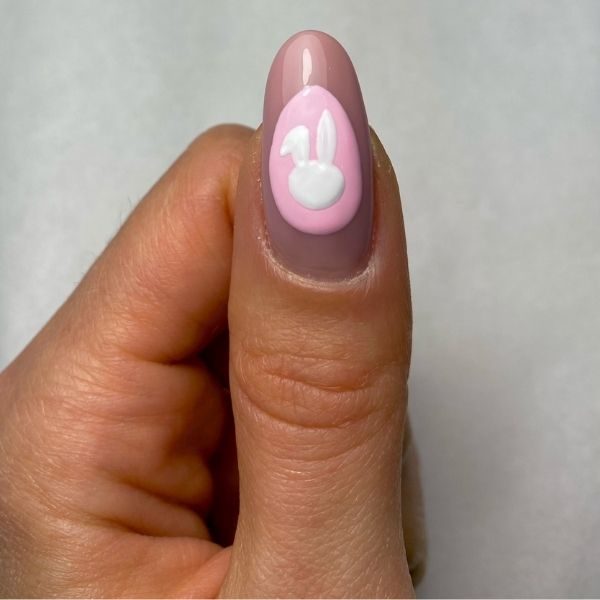
Dip a large dotting tool into GELLUX Purely White and paint a circle in the lower part of the egg. Then, using a liner brush create the bunny ears. Cure for 30 seconds.
Step 4
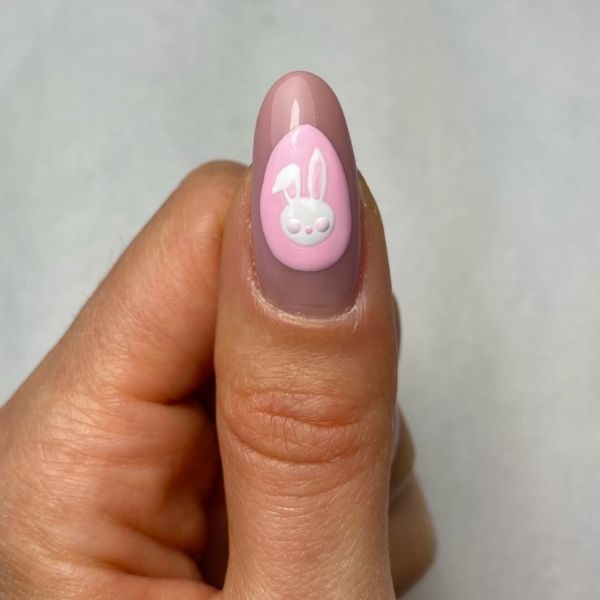
On a paint palette or piece of foil mix a very small amount of GELLUX Double Dating and GELLUX Purely White, together and using a small dotting tool create two cheeks. Then, dip a fine liner brush into GELLUX Double Dating and create the nose and the inside of the bunny ears, cure for 30 seconds.
Step 5
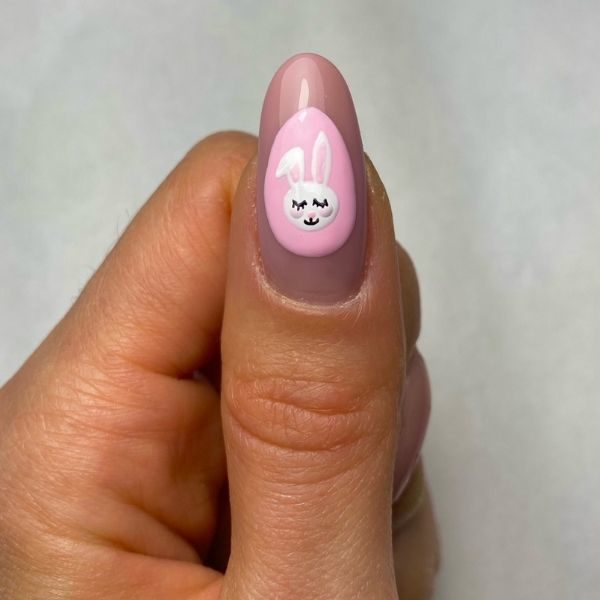
Next, dip a super fine detail brush into GELLUX Black Onyx and paint the mouth and eyes, cure.
Step 6

Then, outline the bunny and paint some whiskers, cure for 60 seconds.
Step 7

Finally, apply GELLUX Matte Base & Top Coat and cure again. Wipe nails with GELLUX Prep + Wipe and GELLUX Nail & Cuticle Oil to finish your cute easter bunny nails.

Read the latest issue


