Nail art tutorial: create stunning butterfly nails in 6 steps

Step by Step
Warrington-based nail tech, Katarzyna Korzeniak, shares how to create this stylish butterfly design: the perfect nail art option for the spring/summer season.
Scroll down to check out the step-by-step.
Step 1
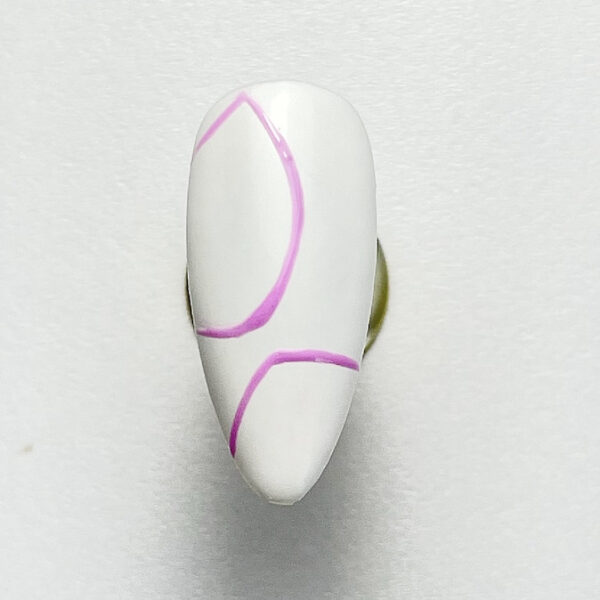
Paint the nail using a white gel polish for the base. Cure. Use a light pink gel polish to create soft, curved shapes resembling butterfly wings.
Step 2

Blend in a peach gel polish shade towards the centre of each wing to create a gradient effect. Cure.
Step 3
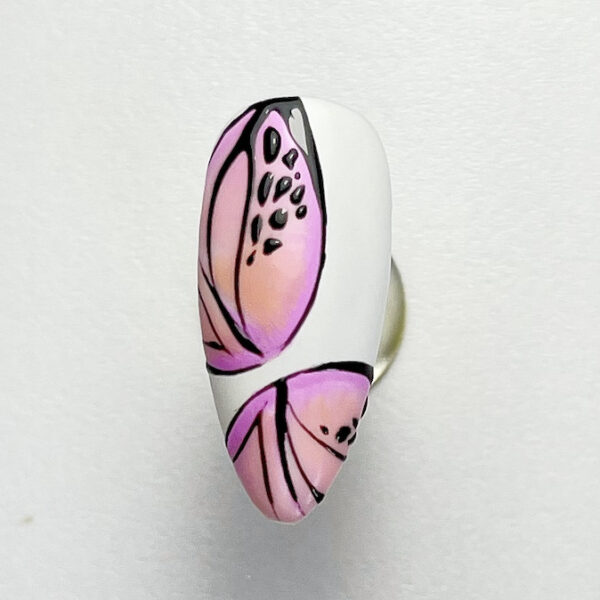
Use a thin detail brush with black gel polish to outline the wings and delicate wing structures. Use a dotting tool or thin brush to add small black dots to the top sections of the wings. Cure between each detail.
Step 4
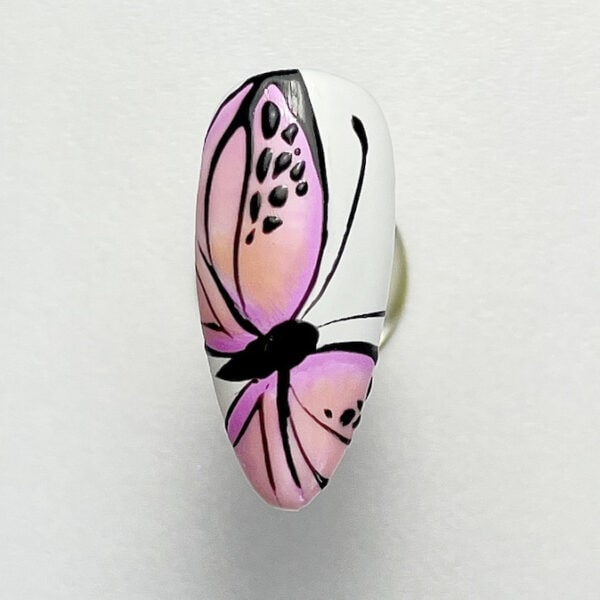
Paint the body and antennae using the black gel polish. Cure.
Step 5
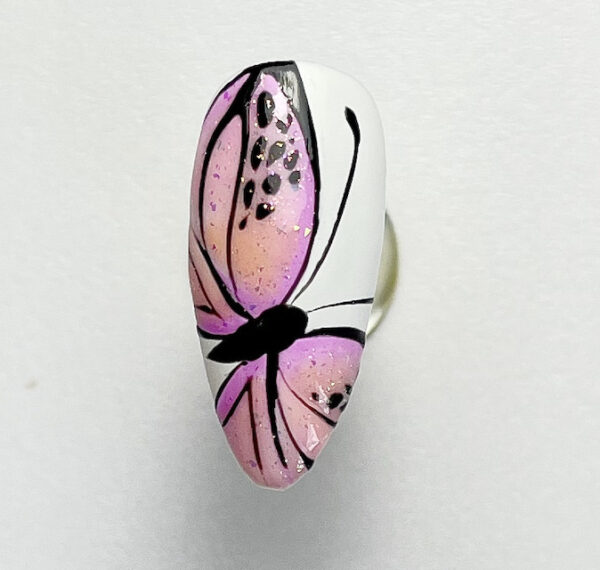
Apply a fine layer of glitter gel or a glitter top coat on the wings to create a shimmering effect. Cure.
Step 6
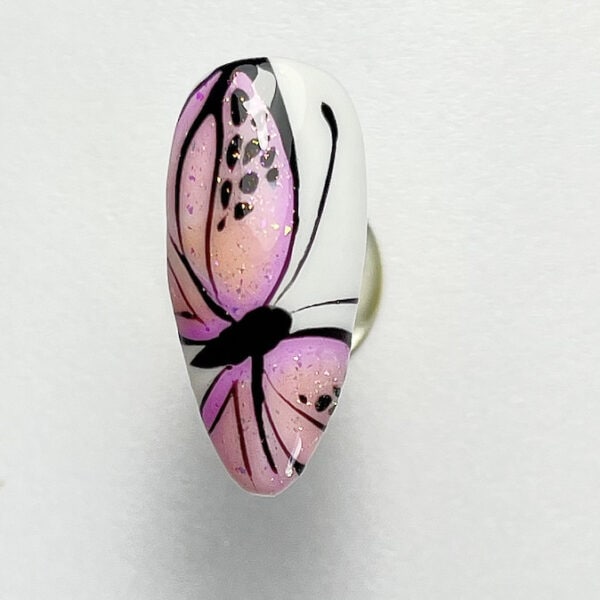
Apply a glossy top coat for a shiny finish. Cure.

Read the latest issue