Mummy nail art
Seasonal & Occasions, Step by Step
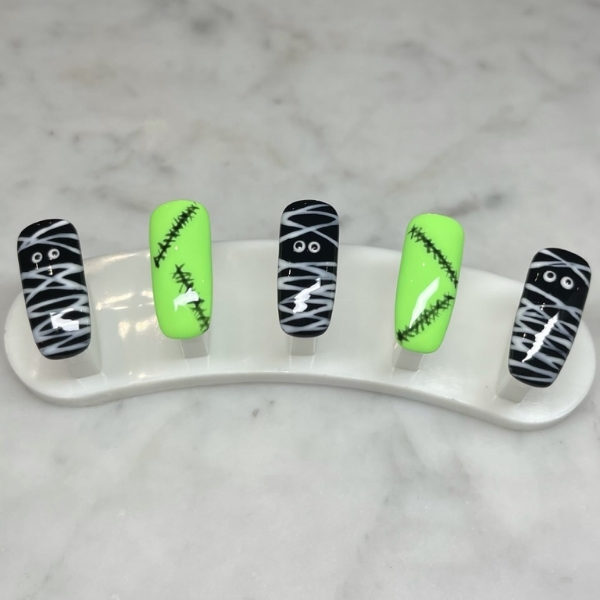
Salon System nail expert, Rosanna Hatherell, has created a spooky mummy Halloween step-by-step using GELLUX.
Step 1
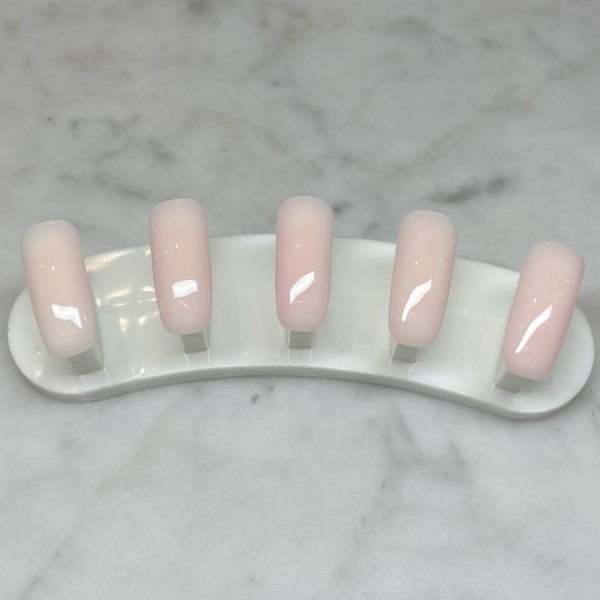
Start by prepping the nails by filing nails to a squoval shape. Push back the cuticle using the Salon System Cuticle Handy Manicure Tool and remove the cuticle using the GELLUX Erase Cuticle Remover and cuticle clippers. Buff the nail plate and cleanse nails with GELLUX Prep + Wipe. Apply the GELLUX Builder Gel Rose Pink to all nails and cure for 30 seconds.
Step 2
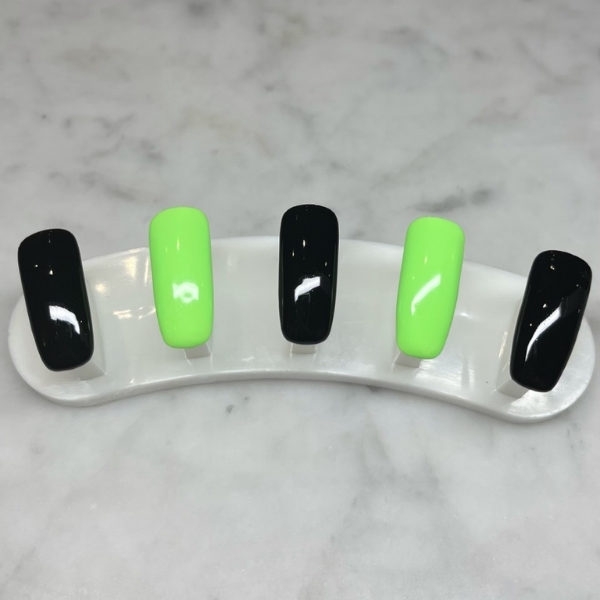
Apply three coats of GELLUX Black Onyx and GELLUX Dare To Wear alternating across the nails and cure for 30 seconds in between each coat.
Step 3
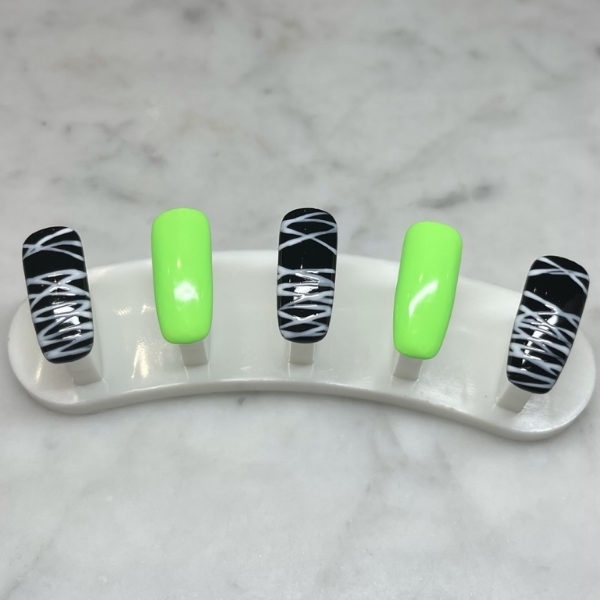
Using GELLUX Purely White and a thin nail art, brush create lines horizontally across the black nails to mimic mummy clothes and cure for 30 seconds. Leaving a gap at the top.
Step 4
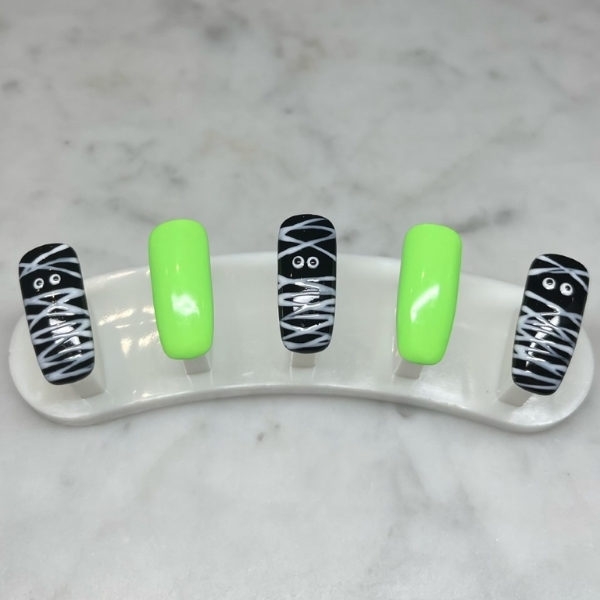
Using a dotting tool and GELLUX Black Onyx and GELLUX Purely White, in the gap that were left at the top, paint two medium size white dots and cure for 30 seconds and then two small black dots onto to create the mummy’s eyes. Cure for 30 seconds.
Step 5
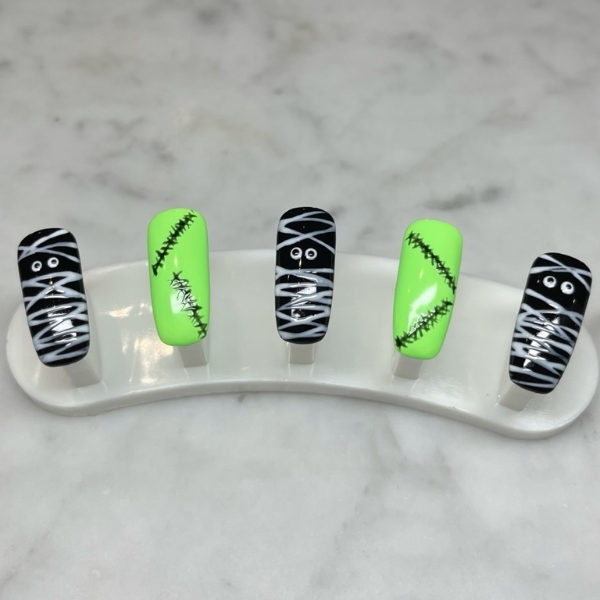
Using a dotting tool and GELLUX Black Onyx and Purely White, in the gap that were left at the top, to 2 medium size white dots and cure for 30 seconds and then 2 small black dots onto to create the mummy’s eyes. Cure for 30 seconds.
Step 6
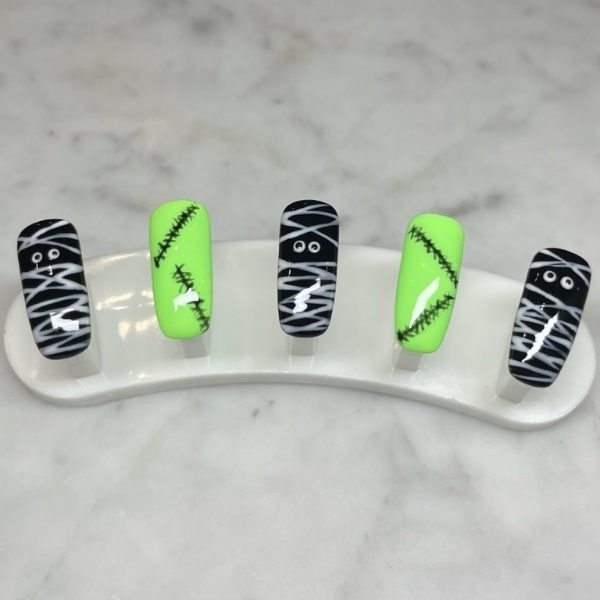
Apply one coat of GELLUX Shiny Top Coat and cure for 30 seconds. Wipe off the sticky residue with GELLUX Prep and Wipe and finish with GELLUX cuticle oil.

Read the latest issue


