Monochrome diamond nails

Step by Step
This monochromatic diamond step by step comes courtesy of Jessica Prout using Gelish, available via www.gsgroupuk.com
Step 1
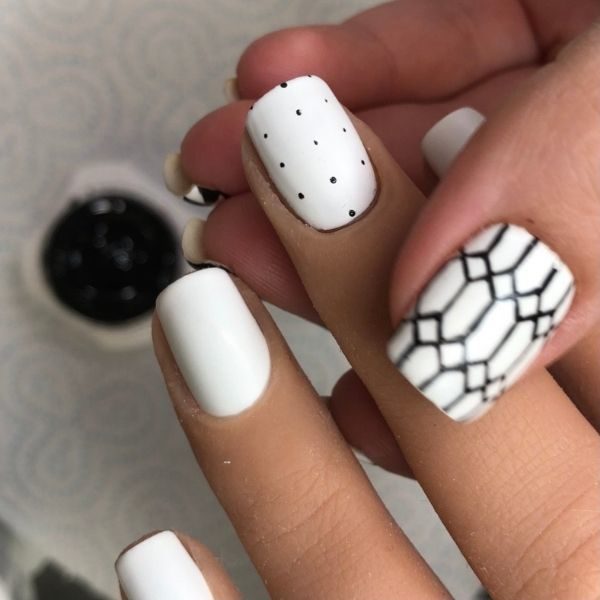
Start with your base colour. I used Gelish Arctic Freeze. Cure, then add 5 black dots down the middle of the nail with a dotting tool or detailer brush and Gelish Art Form Gel in Black, and again down each side of the nail.
Step 2
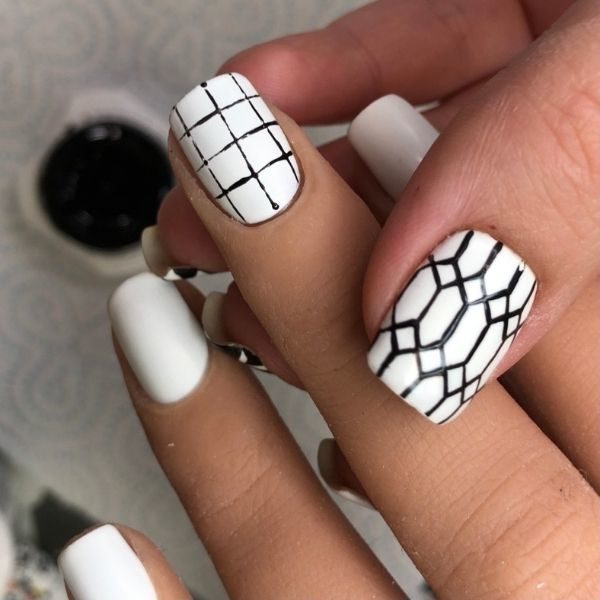
Join your dots up with lines to give you a grid form.
Step 3
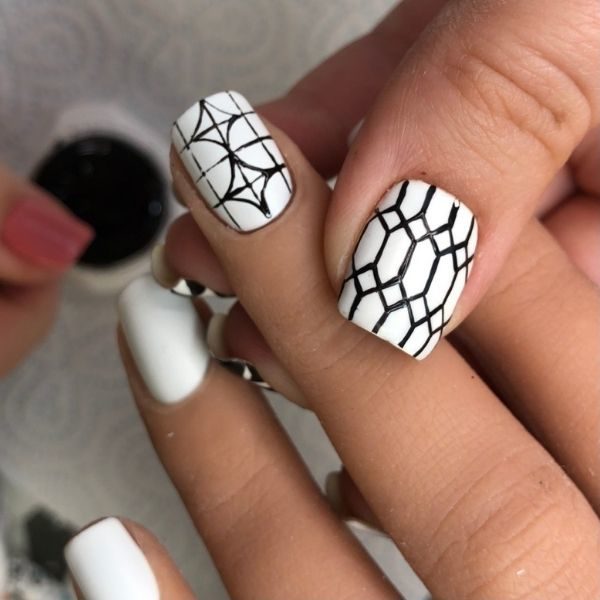
Using the grid form to help with size, start in the middle of the nail and work down to make one diamond. Create another diamond above.
Step 4
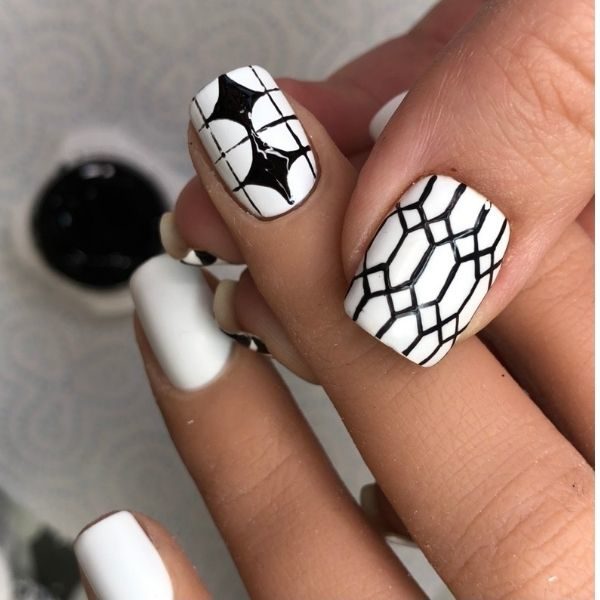
Fill in these diamonds with Art Form Gel and flash cure.
Step 5
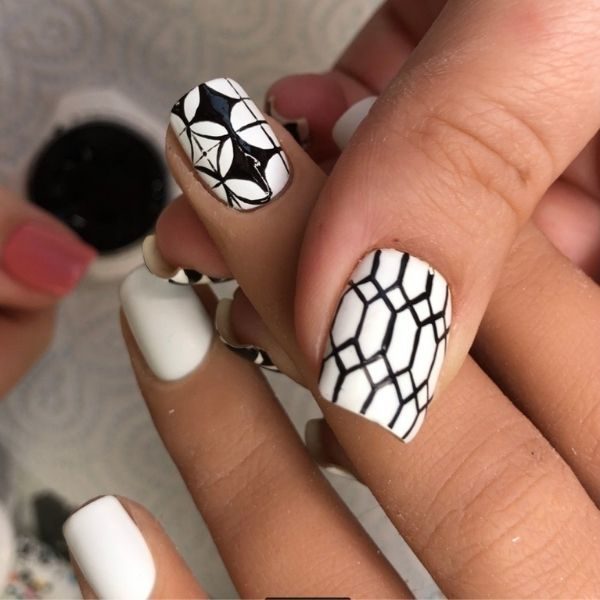
Using the grid form again on the side, make a diamond in the middle, connecting to the two already there. This creates half diamonds at the top and bottom.
Step 6
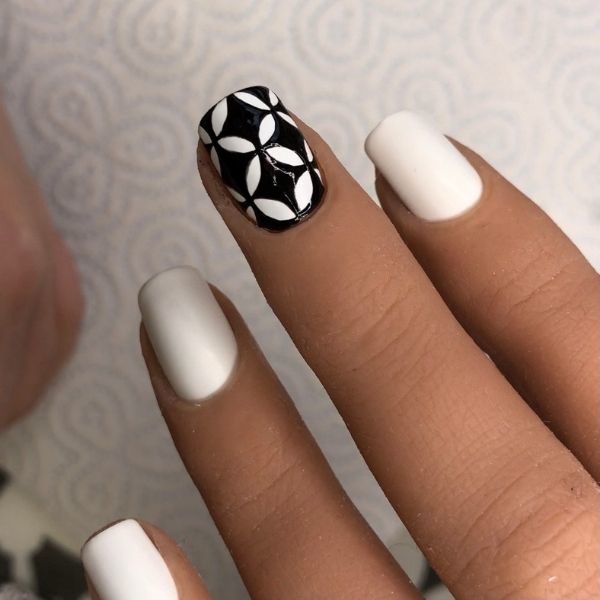
Repeat step 5 on the other side and finish with a matte top coat - I used Gelish Matte top coat .

Read the latest issue


