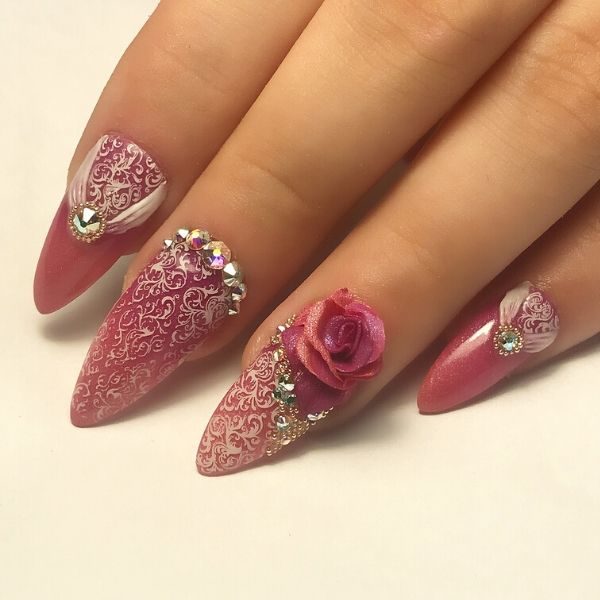
Mixed media rose nail design

Step by Step
Hone your mixed media skills with this super sweet rose step-by-step from Hazel Dixon…
Step 1
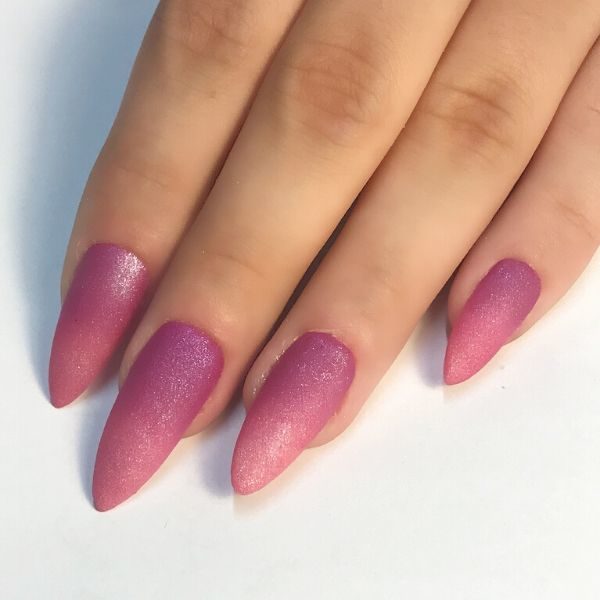
Sculpt an almond nail enhancements using coloured acrylic powders, creating an ombré design from dark to light (cuticle to tip).
Step 2
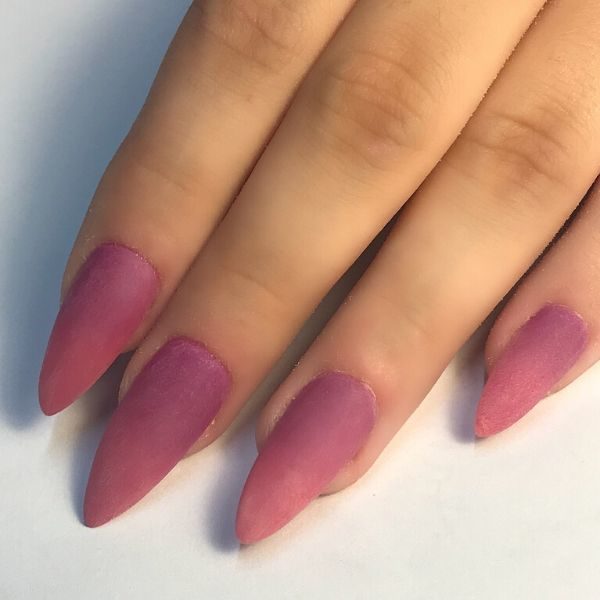
Cap with clear acrylic, ensuring to build your structure and then file and shape.
Step 3
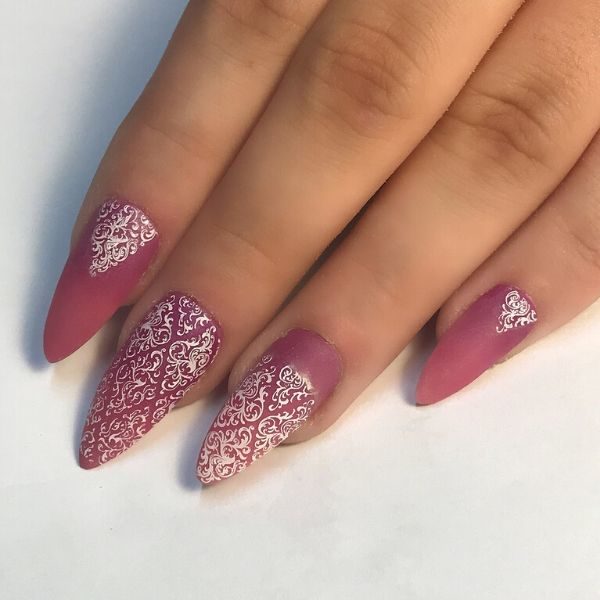
Make sure the nails are clean and dry before stamping. Use a vintage style stamping plate and white stamping polish to create your design.
Step 4
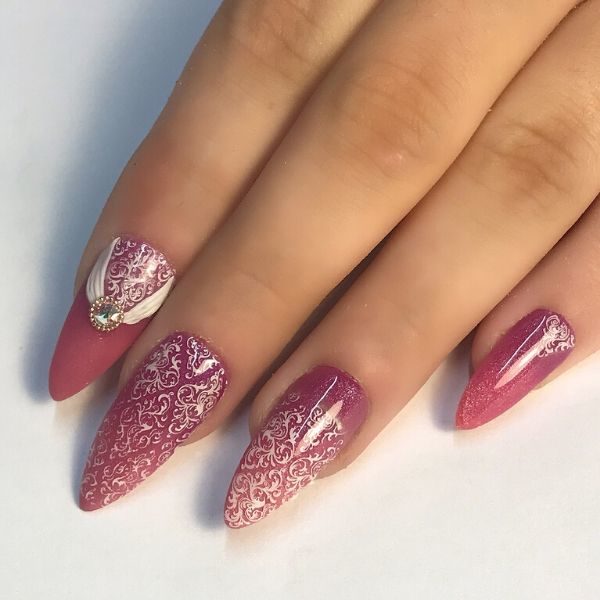
Use white 3D plastellin gel to create a ribbon effect around the stamped design. Cure to manufacturer's instructions. To create the stone, use Akzentz Gel Play Bling-On Gel to secure your rhinestone and small beads around it, curing for 30 seconds in an LED lamp.
Step 5
To make the 3D roses, use a very small bead of coloured acrylic and press it out flat, wait until it looks satin and is mouldable.
Step 6
Use your brush to carefully roll the acrylic to create the centre of the rose.
Step 7

Repeat step 5 and mould the petal around the centre petal.
Step 8
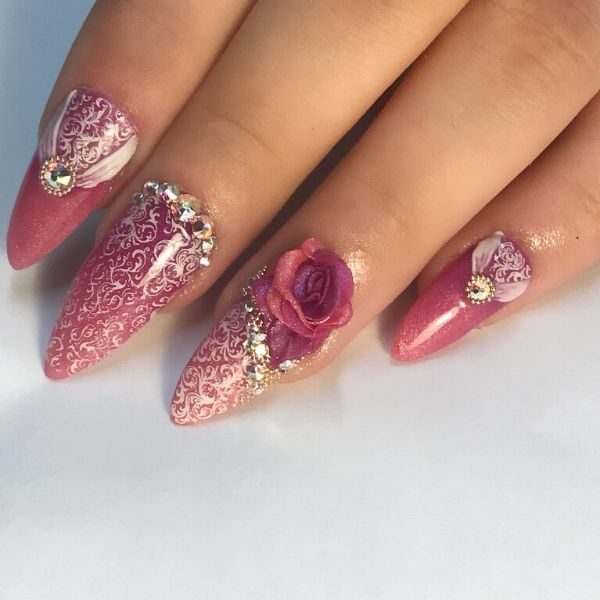
Keep creating and adding petals, changing colours as you go to add more depth to your flowers. Place the finished rose on the ring fingers using a small bead of clear acrylic.
Step 9
To finish the design, place additional gems and micro beads using Akzentz Gel Play Bling-On Gel to secure them in place. Apply a high shine top coat to all of the nails to complete the design.

Read the latest issue