Mickey Mouse pumpkin nail art: how to create for Halloween in 4 steps

Seasonal & Occasions, Step by Step, Themed
Nailchemy ambassador, Dannika Bernadette, uses products from the brand to create this Halloween look, and shares how to recreate it below…
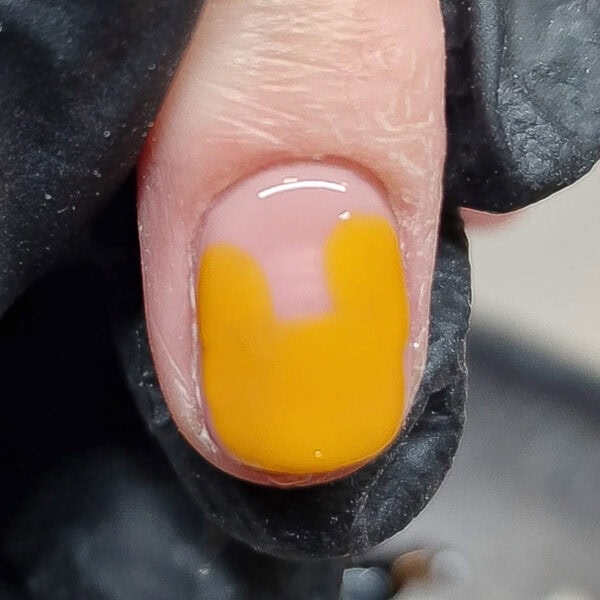
Step 1
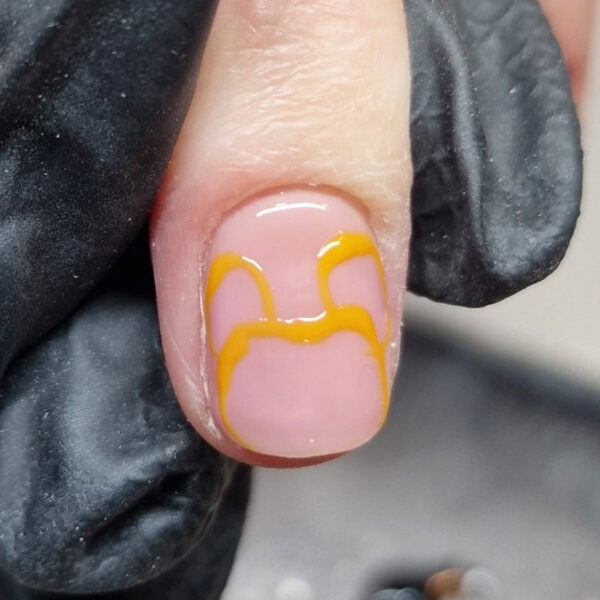
Paint a rough outline of the Mickey Mouse pumpkin, as shown. I used a custom mix of Nailchemy Artisan UV/LED Gel Paints in Yellow and Orange.
Step 2
Fill in the shape and cure.
Step 3
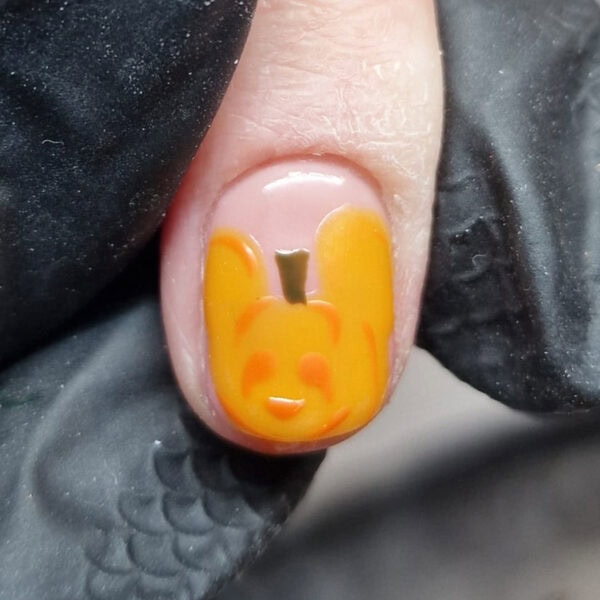
Using a deeper orange gel hue, paint shading and facial features onto the pumpkin. I used a mix of Nailchemy Artisan UV/LED Gel Paints in Green and Brown to add a stalk to the top. Cure.
Step 4
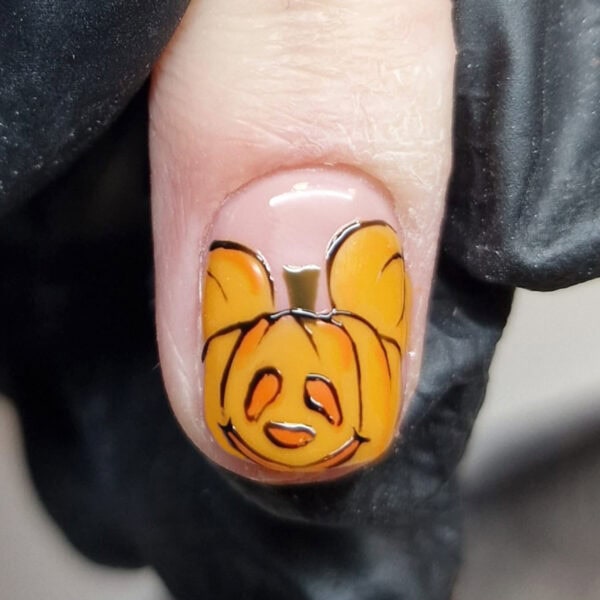
Use Nailchemy Artisan UV/LED Gel Paint in Black to outline the pumpkin and its details, and cure. Apply top coat and cure.

Read the latest issue