How to: love letter nail art for Valentine’s Day

Seasonal & Occasions, Step by Step
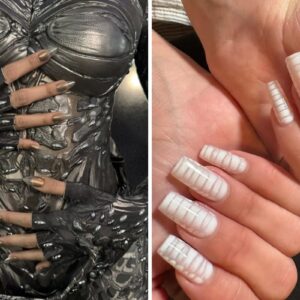
Owner of Golden Triangle Nails, Natalie Farrow, spreads the love with this Valentine’s Day love letter nail design.
Design originally created using GELLUX products.
Step 1

Prep the nails. File to shape, push back the cuticle and buff the nail plate. Prep nails for gel application and apply two coats of a pink builder gel for the base, curing between each layer.
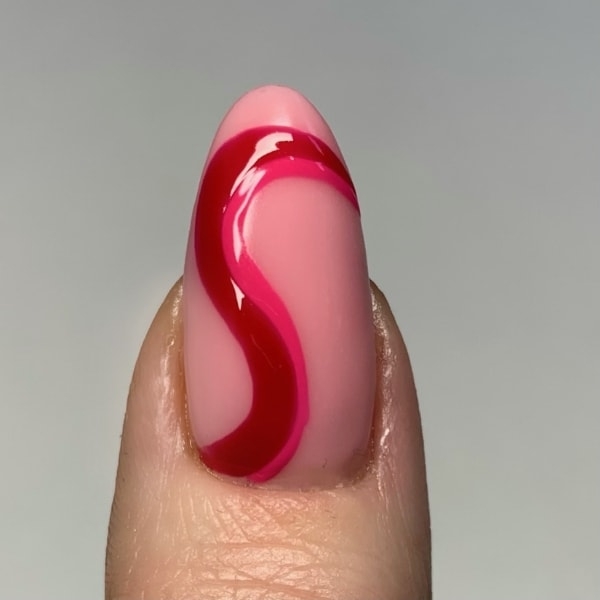
Step 2

Using a liner art brush, apply a cherry gel polish, creating a swirl design. Cure.
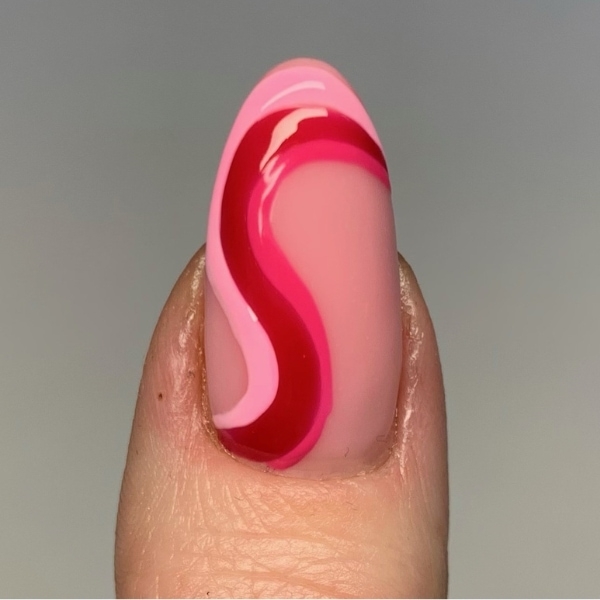
Step 3
For the second swirl, take a thinner liner art brush and apply a hot pink gel polish shade, making the swirls different thicknesses.
Step 4
For the third swirl, following the same shape, use a lighter pink gel polish. Cure.
Step 5
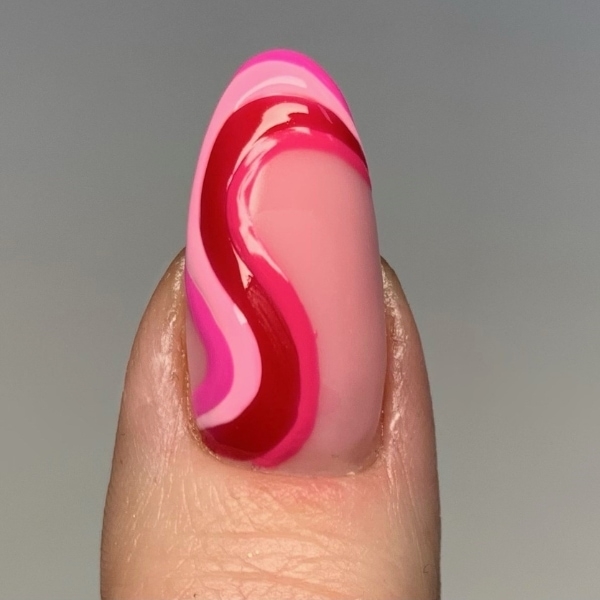
For the fourth swirl, apply another pink gel polish colour of your choosing. Cure.
Step 6

Use a final pink gel polish colour to fill in the gap next to the swirls, and cure.
Step 7
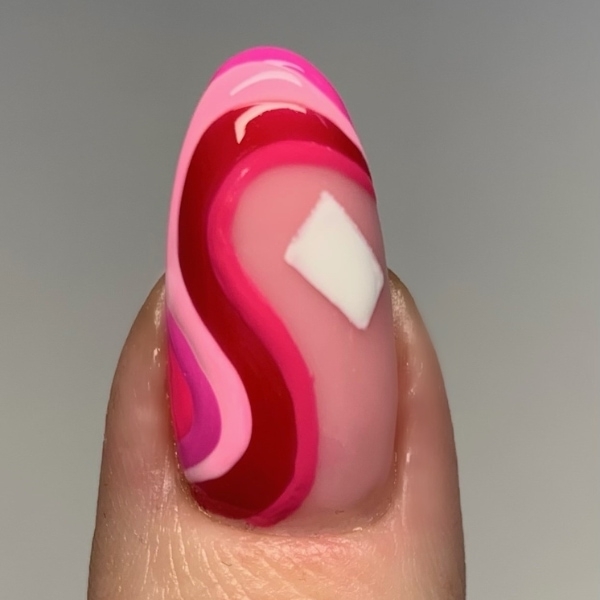
Apply a white gel polish in a rectangular shape, to form the envelope. Cure.
Step 8
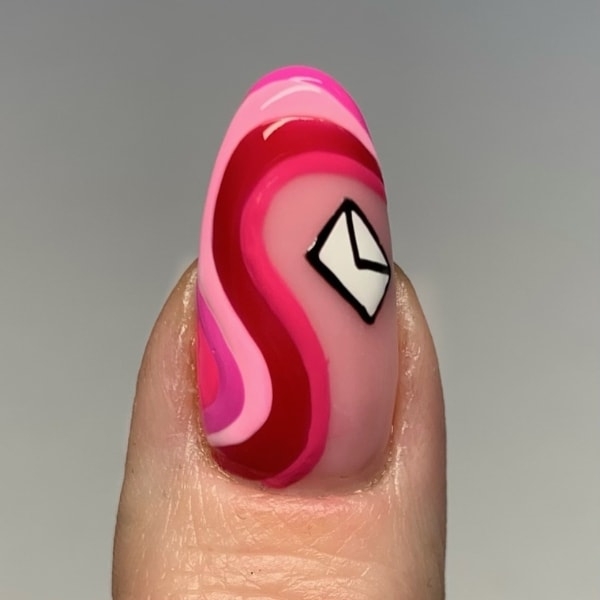
Use a black gel polish to outline the envelope. Cure.
Step 9
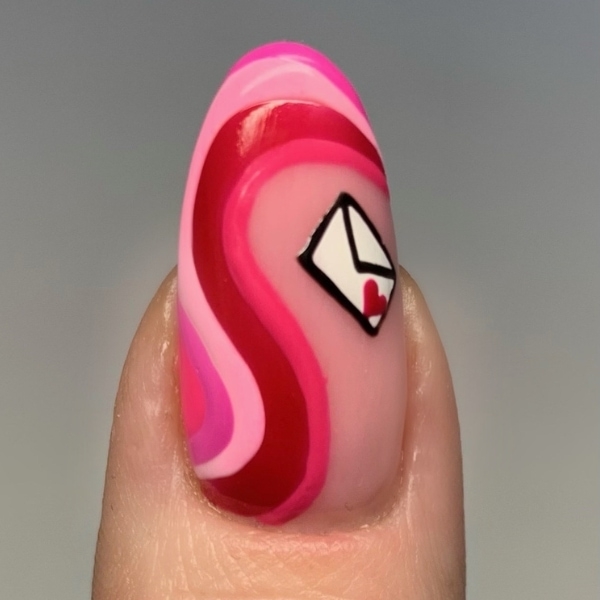
Using a dotting tool and one of the pink gel polish hues previously used, apply two dots close together near the edge of the envelope. Then, use a thin art liner brush to drag the dots down, creating a tiny heart. Cure.
Step 10
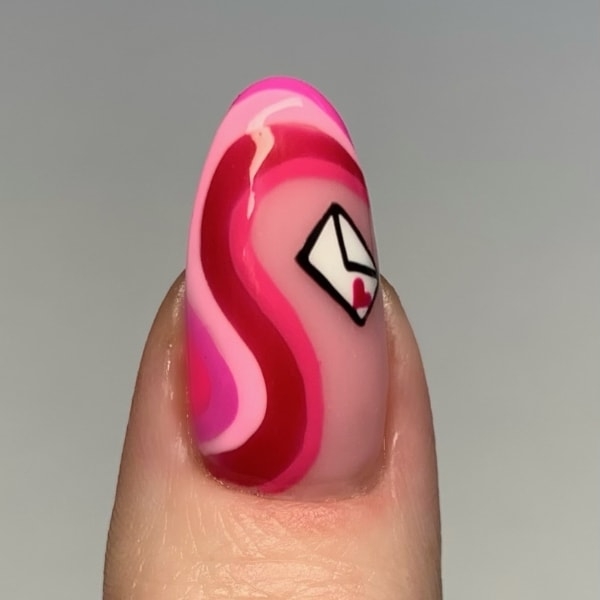
For a glossy finish, apply a high-shine, no-wipe top coat and cure, before applying cuticle oil to finish.

Read the latest issue