Kaleidoscopic colour lion nail design
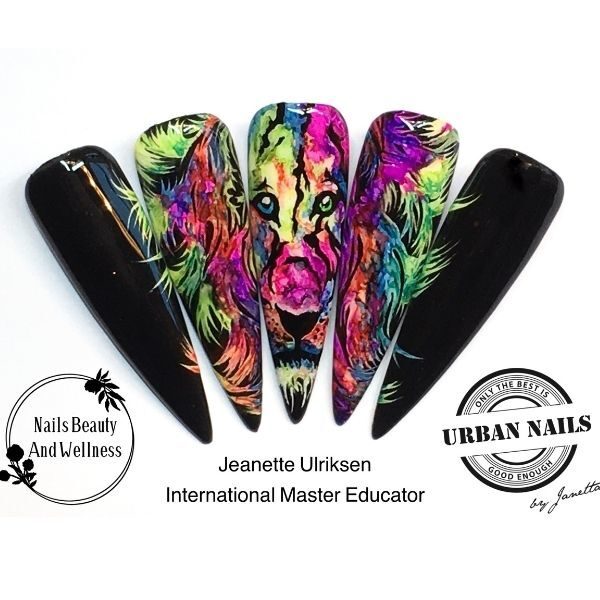
Step by Step
Nailympia judge & international master educator Jeanette Ulriksen of Hammel, Denmark shares her latest step-by-step design.

“All the products I’ve used are from Urban Nails,” Jeanette explains. “It’s a company from Belgium, owned by Janetta Wouters. I am the HQ across Scandinavia for Urban Nails, which is very exciting, as my mission is to build up this brand in all the Scandinavian countries.”
All products available from www.nailsbeautyandwellness.dk
Step 1
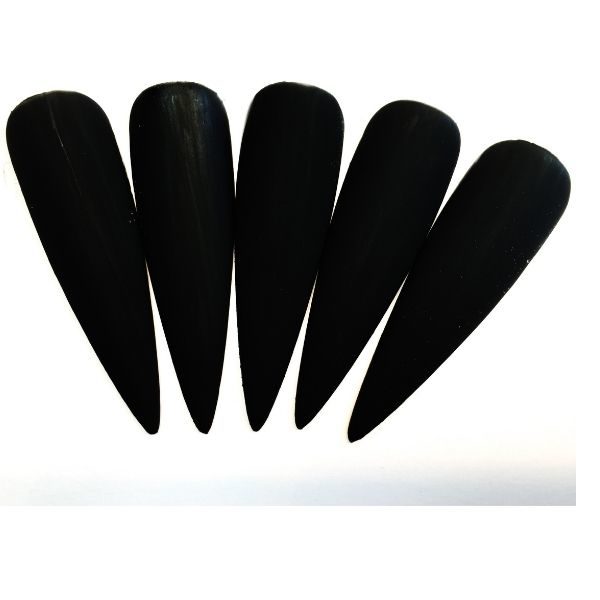
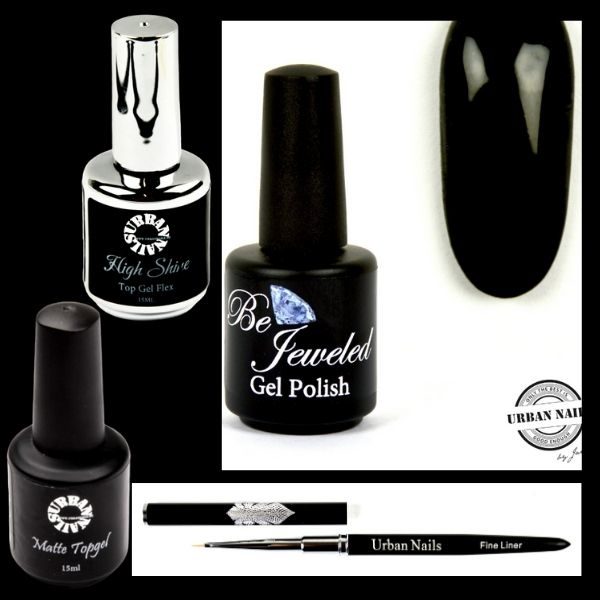
Paint black gel polish Urban Nails Be Jeweled #02
Then cover with Matte Top Gel from Urban Nails to make it easier to paint on.
Step 2
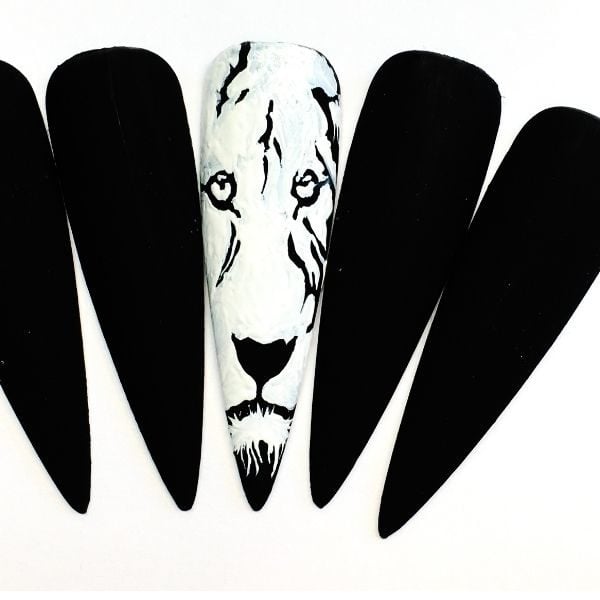
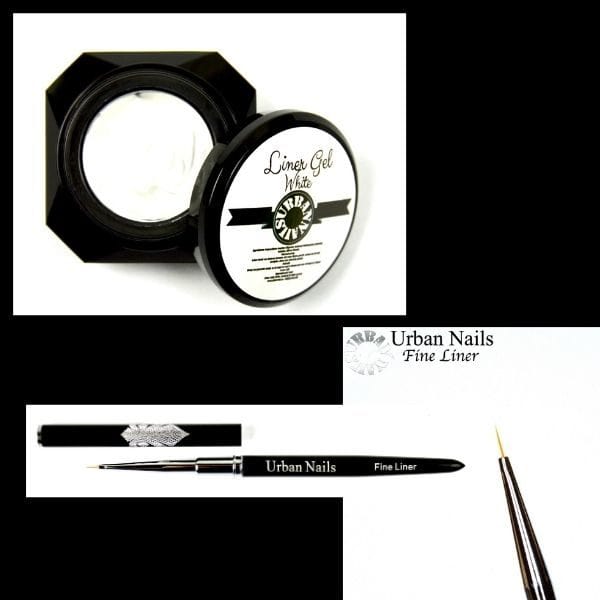
Take the Fine Liner Brush from Urban Nails to paint in the detail of his face. Then use White Liner Gel from Urban Nails to paint the Lion in white.
Step 3
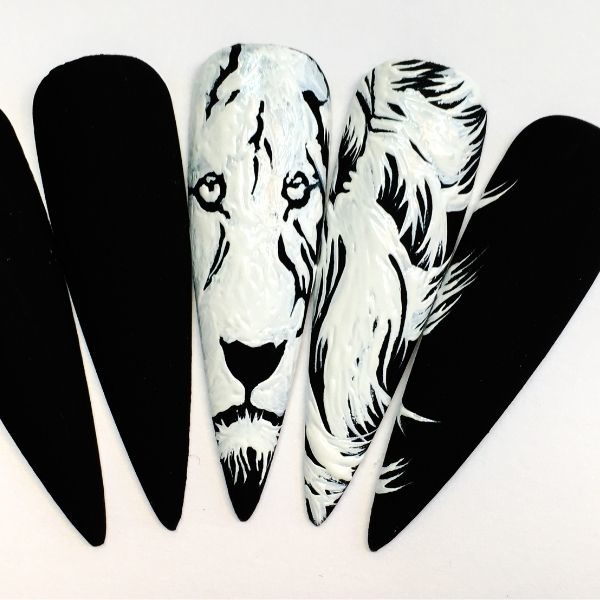
Continue with the Fine Liner brush and white gel polish to create his billowing mane.
Step 4
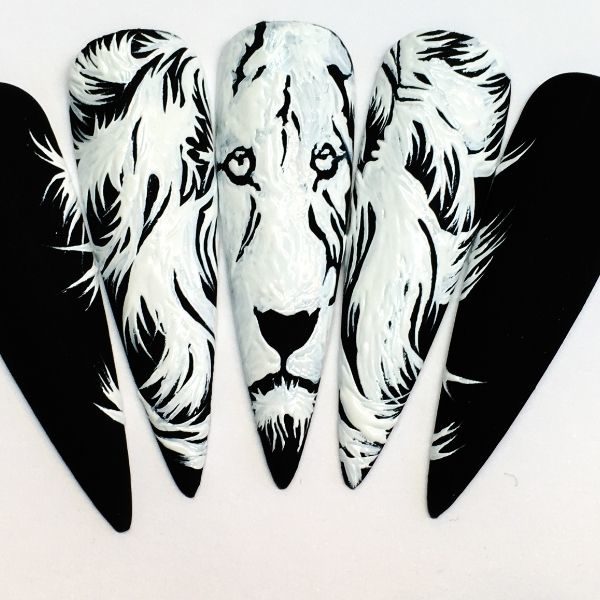
Add the right side of his head and mane. Then cure.
Step 5
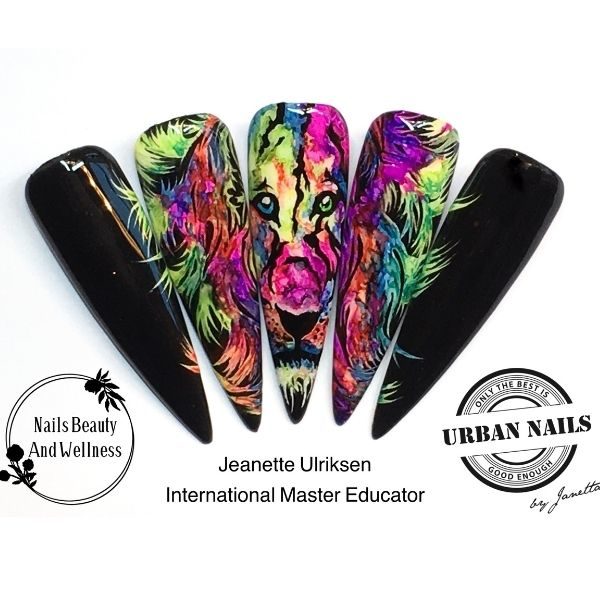
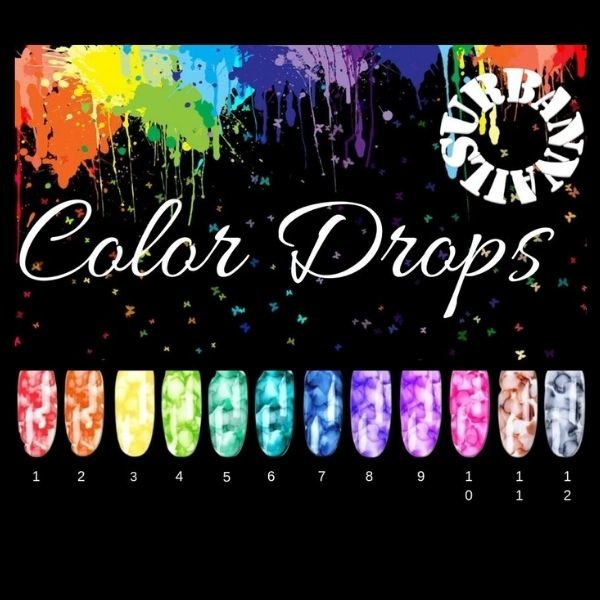
After Curing the lion take Urban Nails Color Drops and add a wealth of colour all over the image. Add in small drops of colour little by little, in order to make sure it doesn’t run.
When the color had dried I touched up with Black Liner gel from Urban Nails, to make Lions Yes really alive and then added the white in the Loins Eyes. That’s a little dot of white Liner Gel from Urban Nails.
Then I used High Shine Top Gel Flex from Urban Nails to finish the design.

Read the latest issue


