How to create tortoiseshell nail art in 6 steps
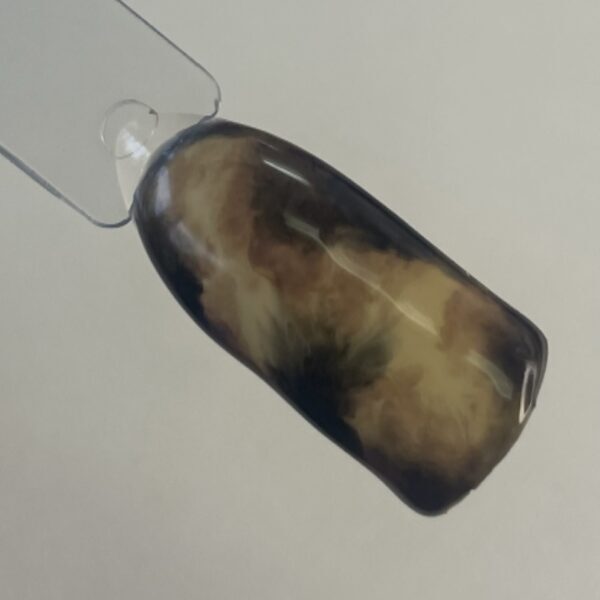
Animal print, Step by Step
Mii pro ambassador, Hayley McColm of @h.e.r_nails, shares how to perfect tortoiseshell nail art using Mii Statement Gel Polish, available via www.gerrardinternational.com. Any colours can be used: not just orange, brown and black.
Step 1
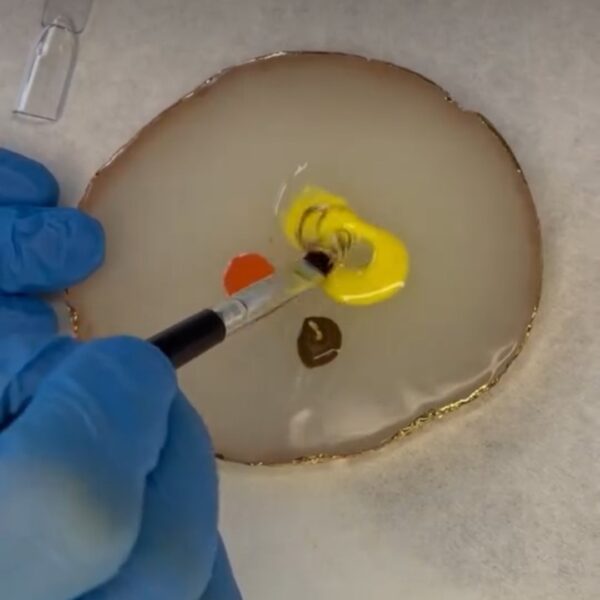
Set out your chosen shades and mix them to create a custom base colour. I used Bee A Keeper, Make Believe and Worldly Wise with some Care + Protect Base Coat to achieve a sheer, jelly finish.
Step 2
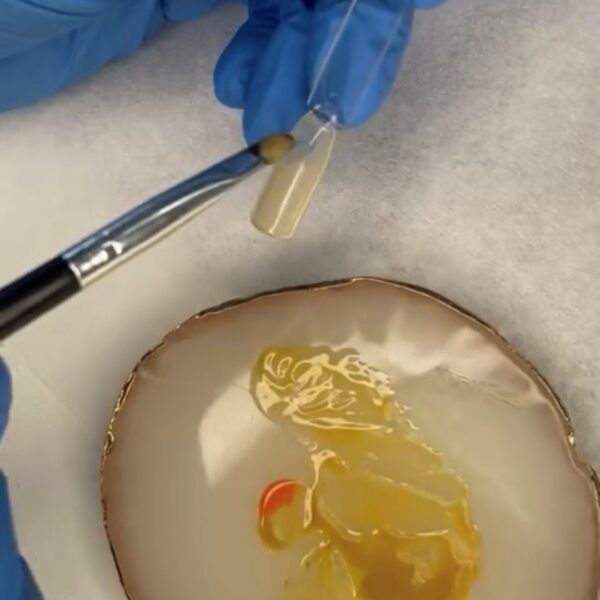
Apply a thin coat of this shade, then cure. Apply one more layer and cure before your final base layer of the shade, which you need to leave uncured. This will allow your tortoiseshell spots to bleed and blend into the base in the next step.
Step 3
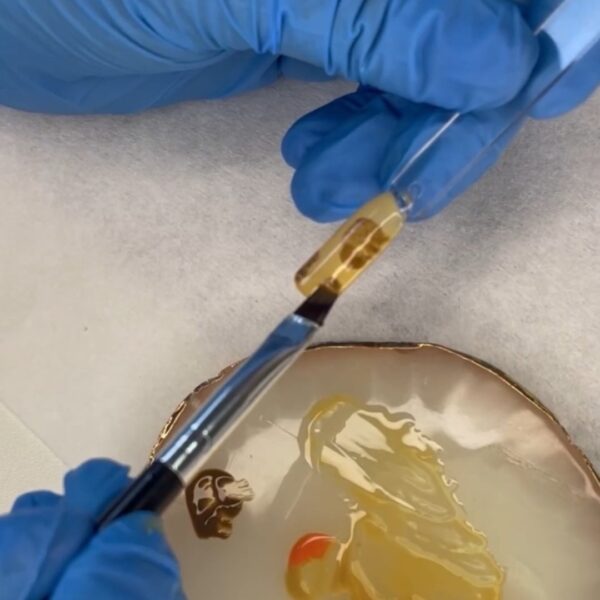
Start applying tortoiseshell spots. I used shade, Worldly Wise. Don’t worry if it looks sheer at this point, as we’ll build it up later. Cure.
Step 4
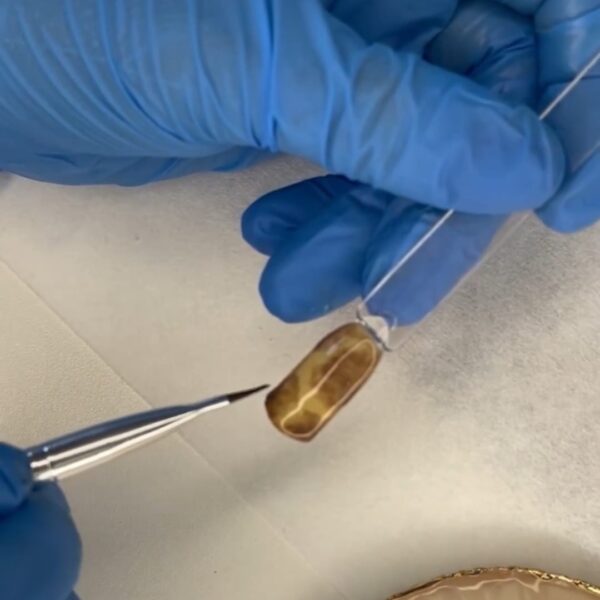
Apply a layer of Seal + Shine Top Coat and follow with another layer of tortoiseshell spots to build up the pigment. Cure.
Step 5
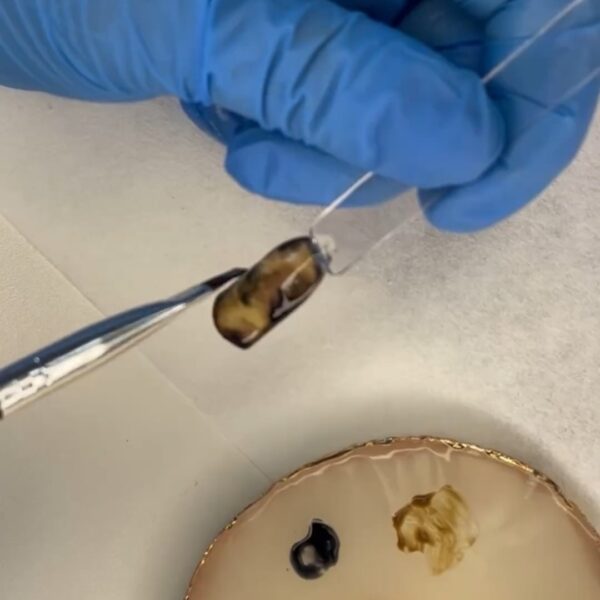
Apply another layer of Seal + Shine Top Coat. Now it’s time to build up the depth. I used shade Onyx to go over the spots. Blend until you achieve your desired finish, then cure.
Step 6
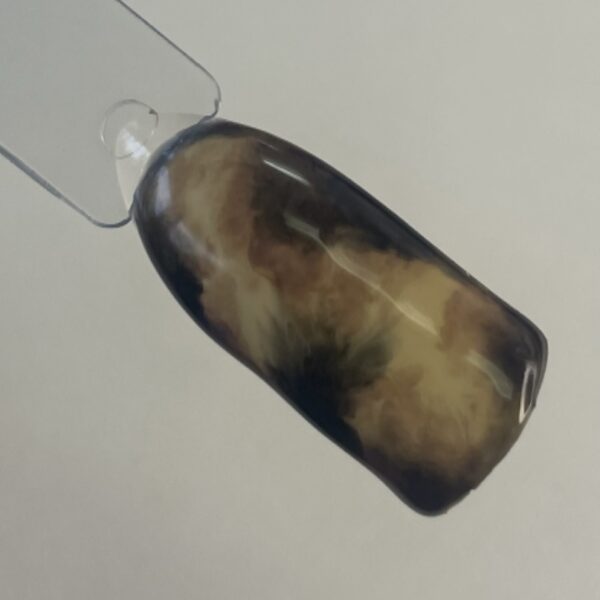
Finish with a layer of Seal + Shine Top Coat and cure.

Read the latest issue


