How to: Create a 3D flower nail design

Step by Step
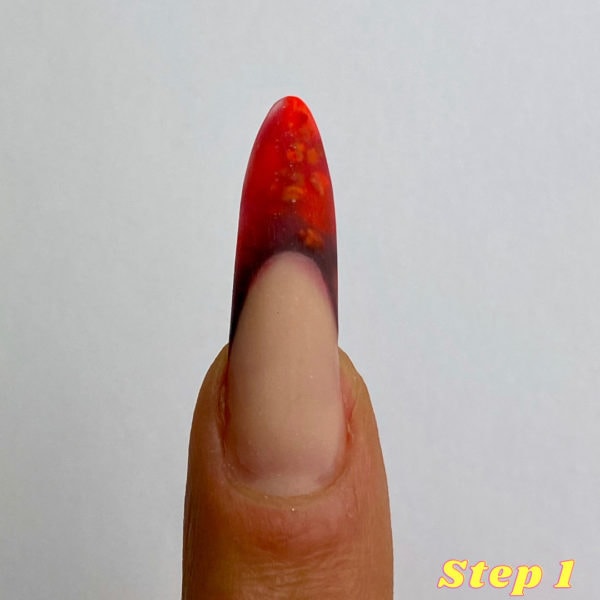
How to create wearable 3D flower designs with Cuccio
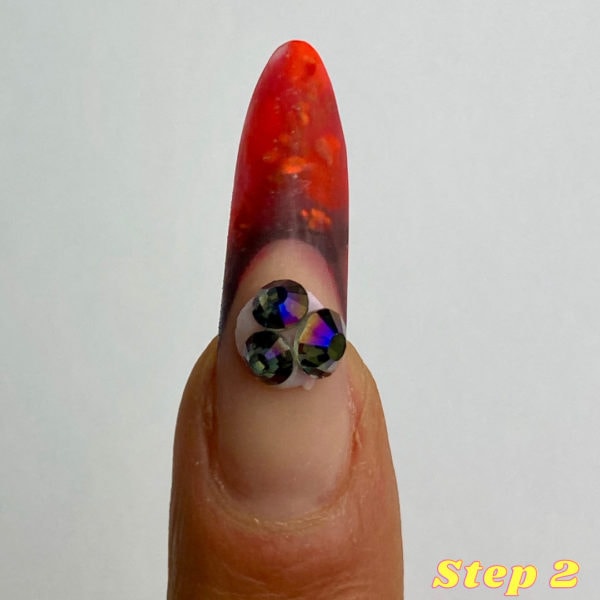
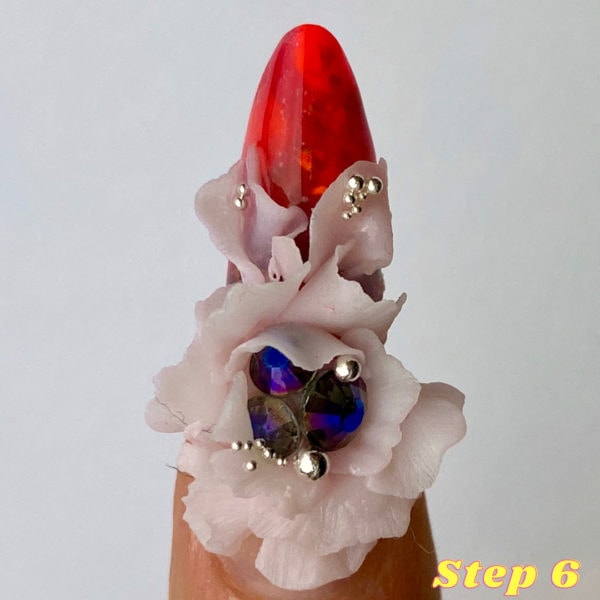
• I created a small acrylic bead using ultra clear monomer and Bubble Gum pink acrylic. While the acrylic is still not set and is pliable, place the gems on and wait for it to set.
• This is the centre of the rose.
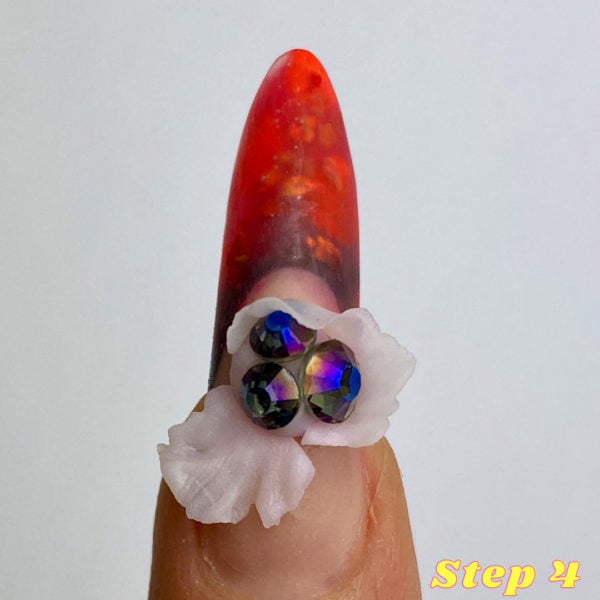
• Create another acrylic bead and press down with the art brush to flatten the bead and create petals. Once petals are created, dip the art brush into acrylic liquid so it is wet, then lift the petal and place next to the centre of the flower and place into position.
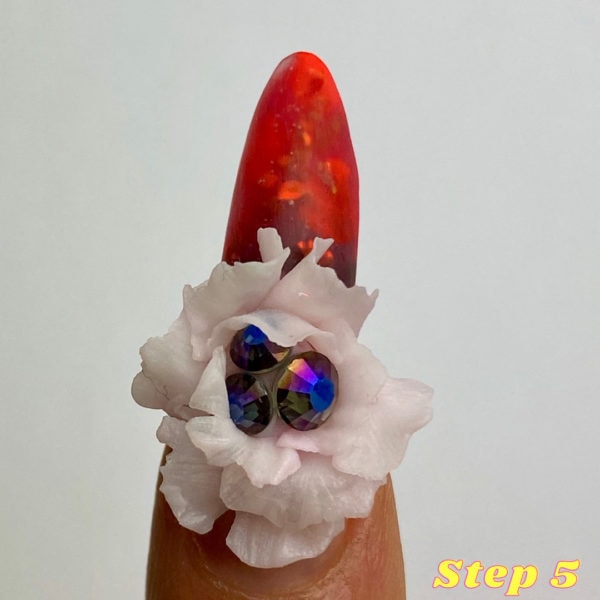
• Sculpt more petals in the same way and place them around the centre to build the flower.
• Once my flower is complete I add extra gems in the centre to finish.
by NINA SUBASIC

Nina Subasic
@nina_cuccio_elite_educator @cuccio_somatology_UK #cucciouk


Read the latest issue


