How to fix a hooked natural nail in less than 10 steps

Step by Step
Erin Searle, product and social development manager at Katie Barnes Tool Range, shares how she used the brand’s products to lift a hooked nail.
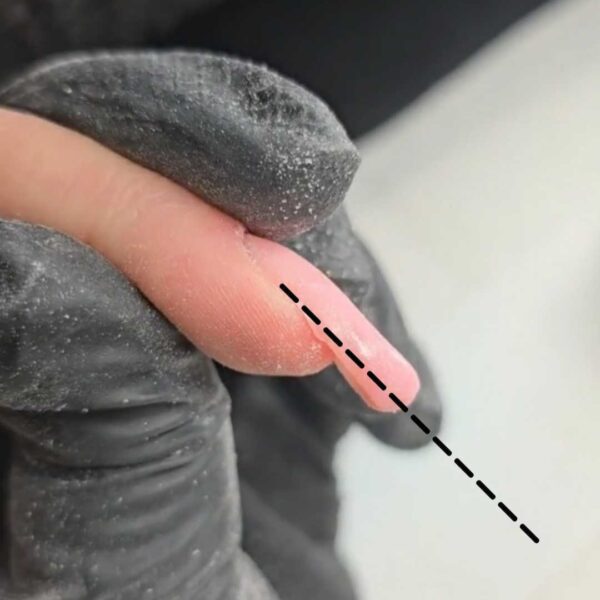
Step 1

Check how hooked the nail is, using a straight file to work out how much product is needed and how much needs removing.
Step 2
Prep and infill the nails with your choice of product.
Step 3
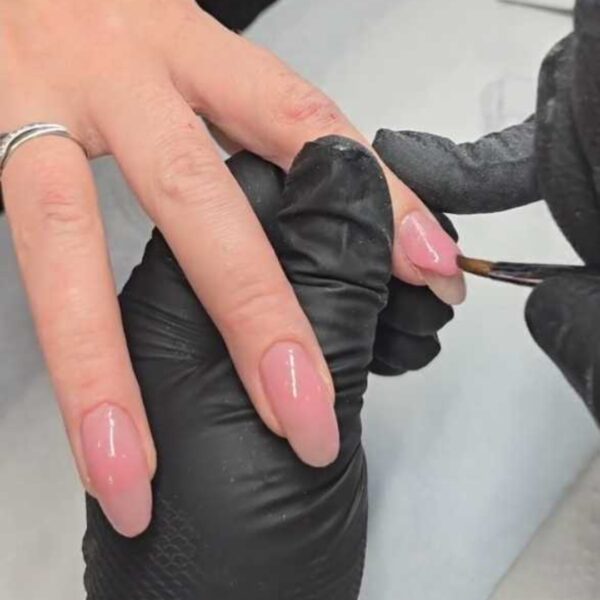
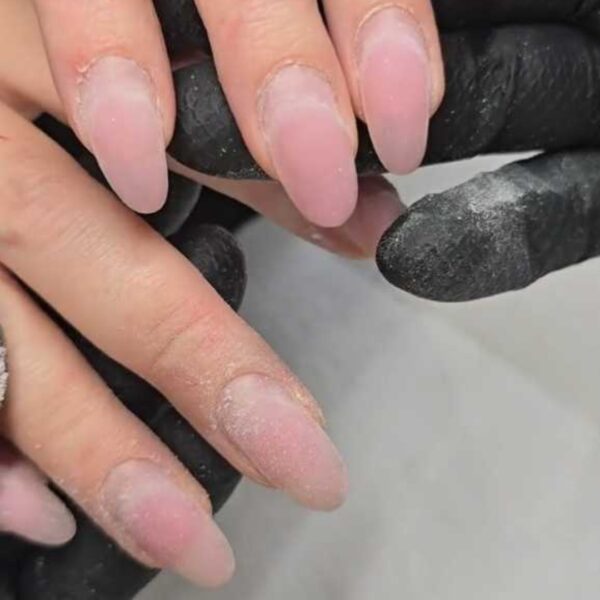
Apply more product, layer by layer, until you are happy with the structure on top. (Ignore what this looks like underneath.)
Step 4
Looking down the barrel of the nail, the nail will look a lot thicker - but don't worry, as this will be removed.
Step 5
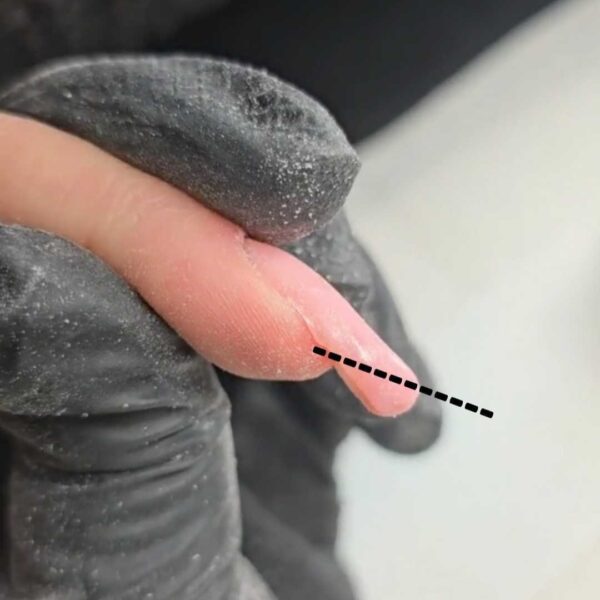
This image shows where to shape the nail to achieve the correct structure for an almond shape.
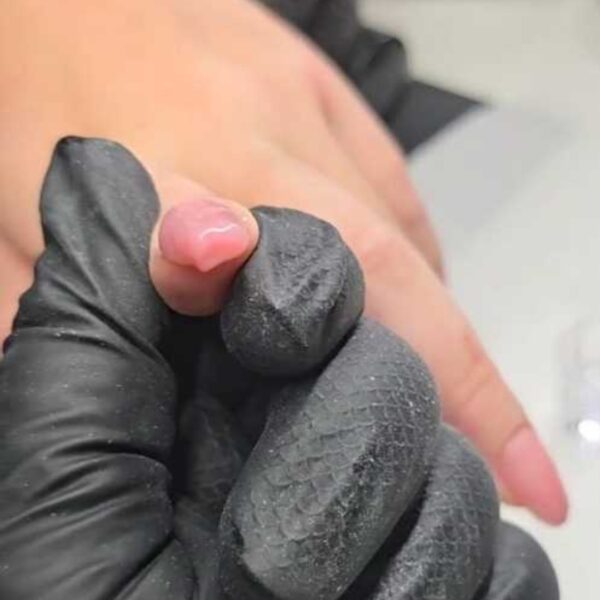
Step 6
If the nail is square, this image demonstrates what would need to be removed from underneath.
Step 7
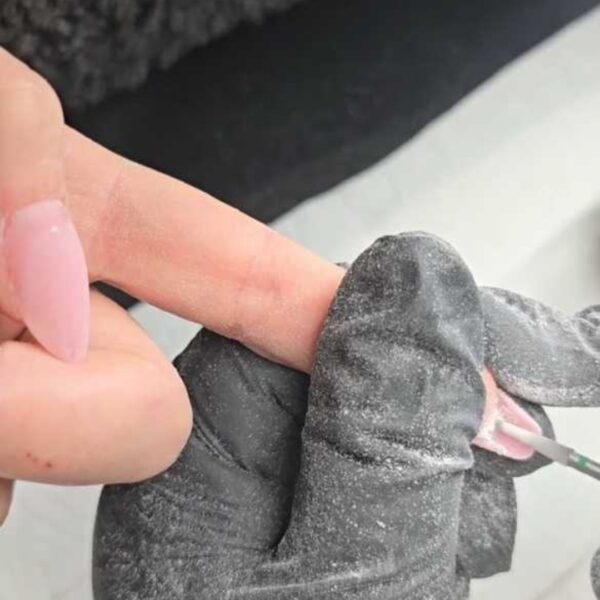
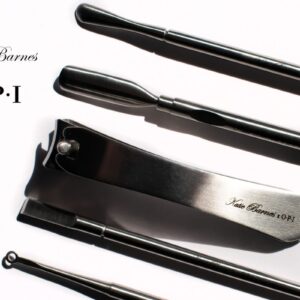
Using the KB E-file and Rebalancing and Under Nail Cleaner E-file Bit, start removing product from the underside at 20-25 RPM, to bring back the c-curve. Be mindful of the hyponychium, checking it regularly. If the client has a high hyponychium, you can pop a dot of coloured pen on this area, to ensure you are mindful.
Step 8
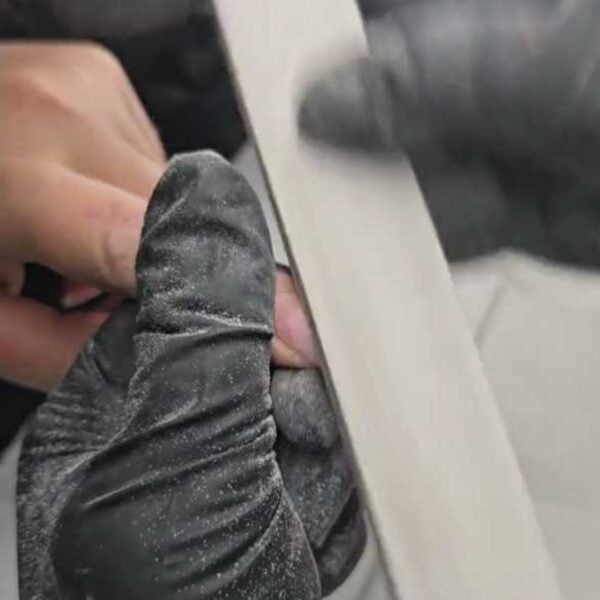
File the remaining nail to achieve your desired shape.
Step 9
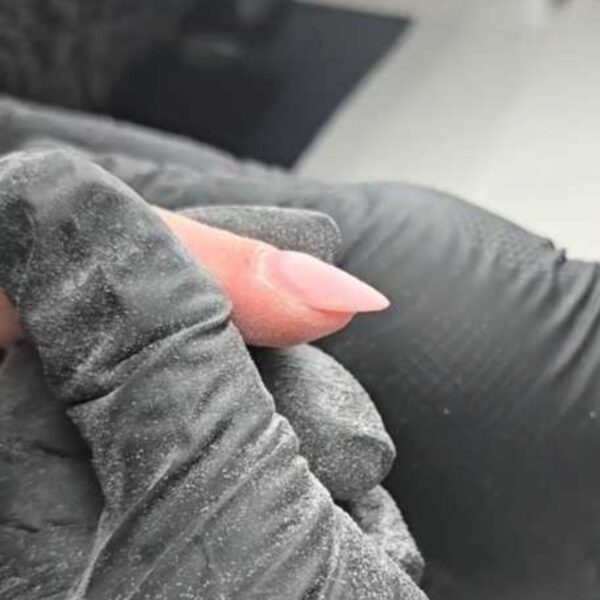
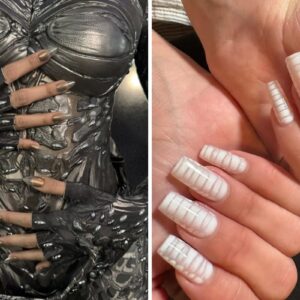
Here is the final nail.

Read the latest issue