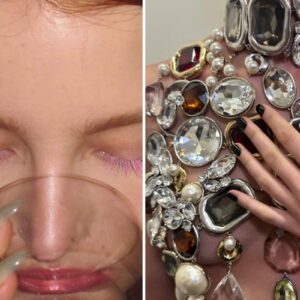
Holy Cow!

Animal print, Step by Step
Try your hand at the on-trend print! Salon System nail expert Julie-Anne Larivière has created this cow print design using Gellux.
Salon System Gellux products are available via wholesalers nationwide.
Step 1
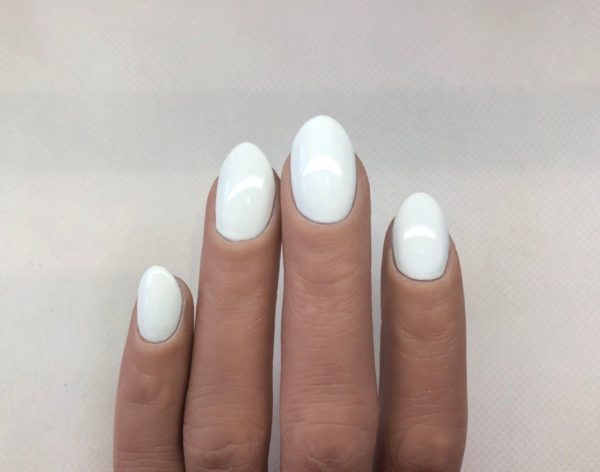
Prepare the nails for a gel polish app. File to shape and push back cuticles and buff nail plate. Cleanse nails with Gellux Profile Prep + Wipe. Apply Gellux Fast Bond to nails and let dry. Apply Gellux Easy Off Base Coat. Cure. Apply two layers of Gellux Purely White, curing after each layer.
Step 2
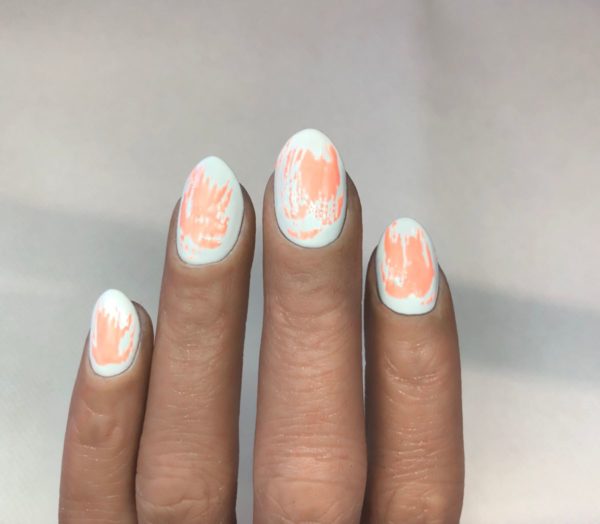
Using Peach Perfect, wipe most of the polish off the brush and swipe the brush onto the nail a couple of times to create the messy paint strokes. Cure.
Step 3
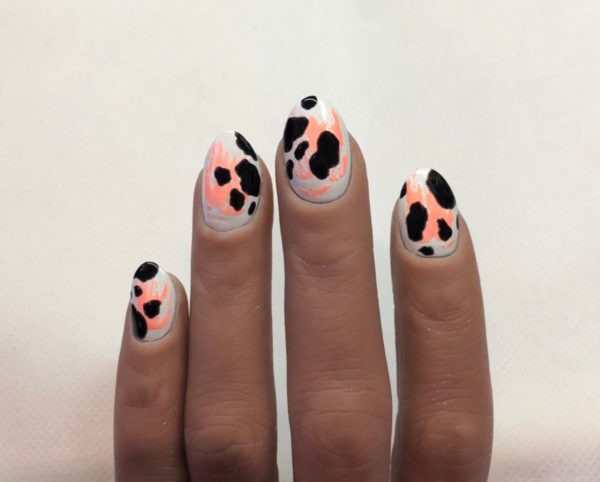
Dip a detail brush into Black Onyx and apply different sizes blobs around the nails to create the cow print effect. Cure.
Step 4
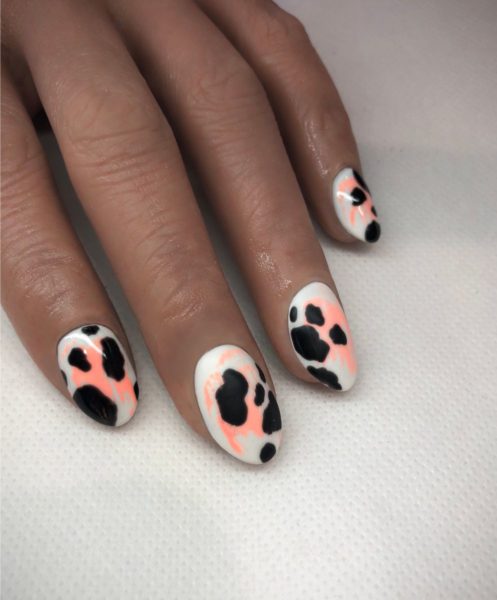
Apply Shiny Top Coat to the index and ring fingers and Gellux Matt Base/Top Coat to the two middle fingers. Cure. Wipe with Prep&Wipe and apply NailLUX oil.

Read the latest issue