How to: Heart cable knit nail art
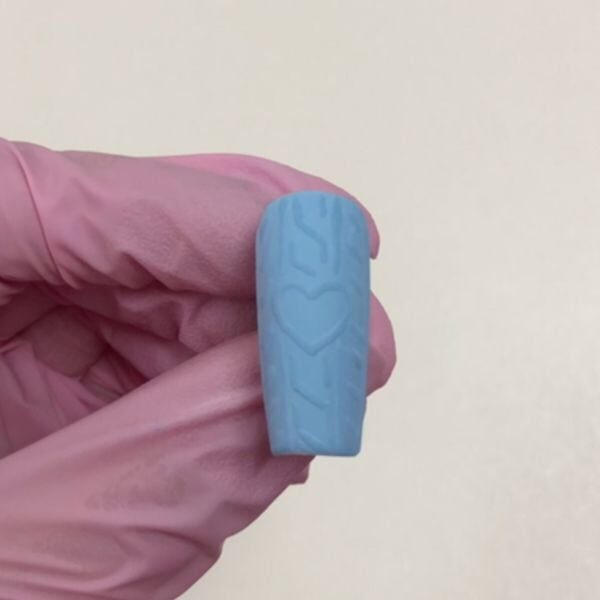
Autumn/Winter, Step by Step
Winter calls for cosy jumpers – and not just to wear! Sport cable knit patterns on nails for a sweet nod to the season, as shown by Glitterbels ambassador, Stacey Machin.
All products used are available via www.glitterbels.com
Step 1
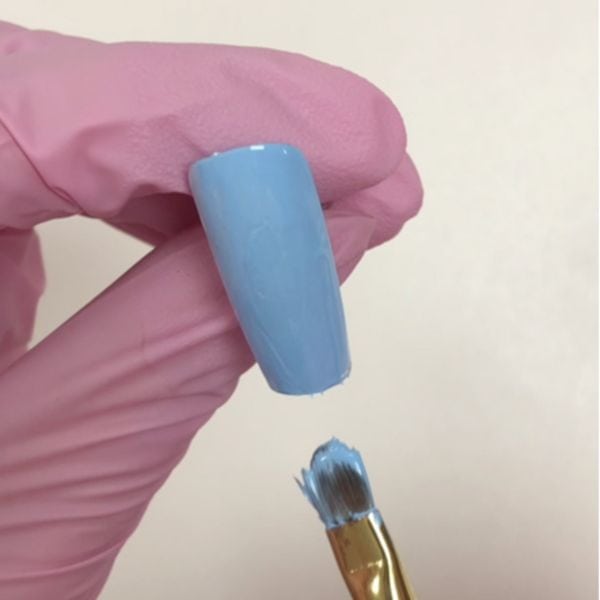
Prep the nail with Glitterbels Dehydrator, Acid Free Primer and Base Coat. Apply a first coat of Glitterbels Hema Free Gel Polish in your desired colour. Cure for 60 seconds, apply a second coat and cure again.
Step 2
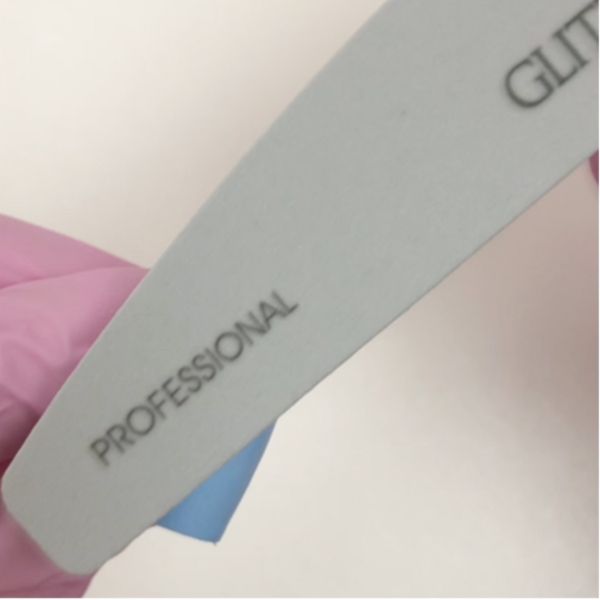
Apply Glitterbels Top Coat and cure. File gently over the top of the nail using the Glitterbels Magic Shine File to create a matte base.
Step 3
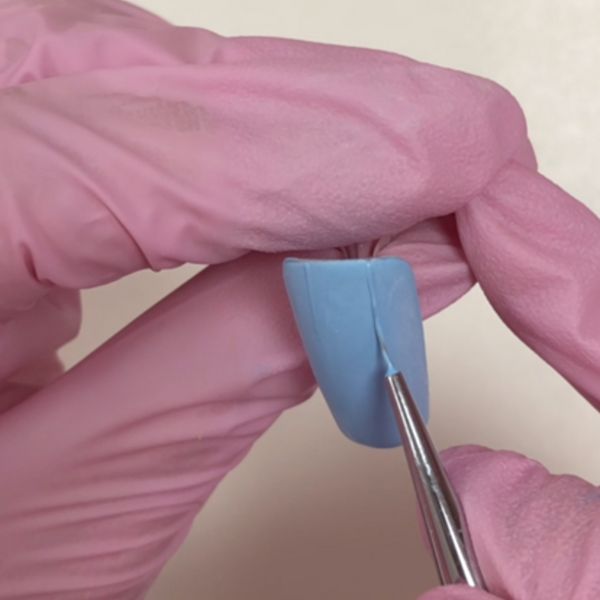
Use a Glitterbels fine liner brush and pick up the same gel polish shade used for the base colour of the nail. Paint two thin lines at the top of the nail, from the cuticle area downwards – and stop painting about halfway down.
Step 4
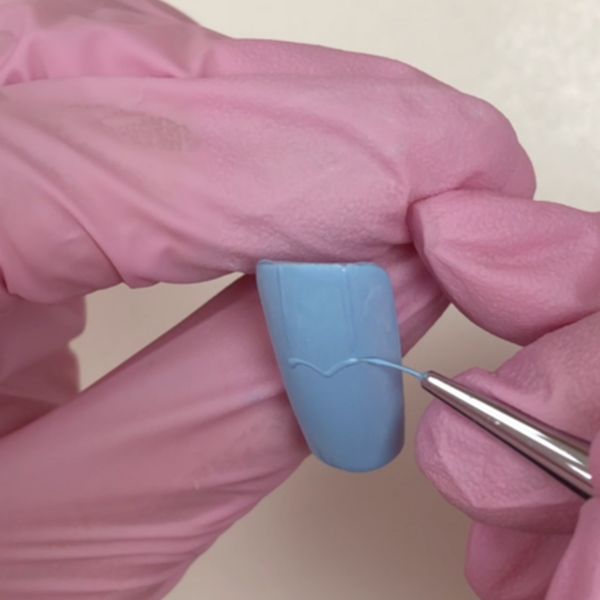
Paint a heart in the centre of the nail, making sure the top of the heart connects to the two lines you painted previously.
Step 5
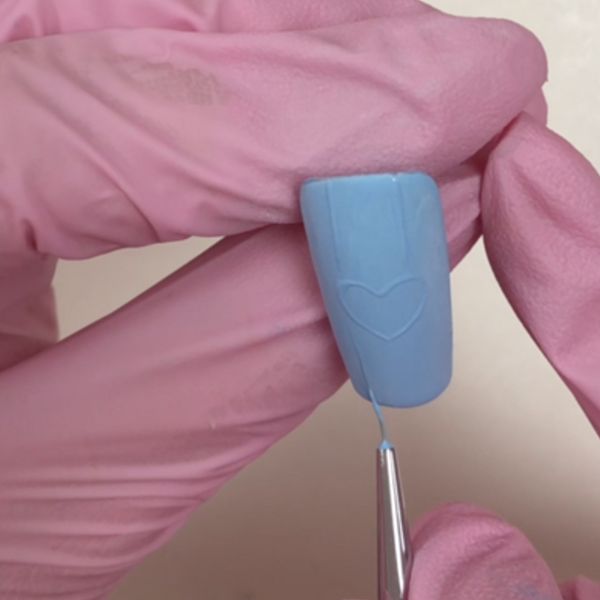
Once the heart is painted, continue the two lines you painted earlier, from under the heart to the tip.
Step 6
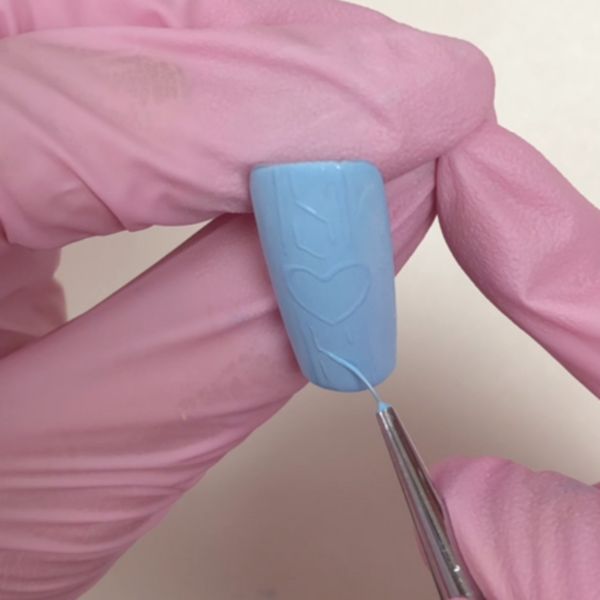
Once the heart and lines have been painted, paint smaller lines in between the two long vertical ones. This will create the cable knit look. Once you have finished the small lines, connect them with a diagonal line.
Step 7
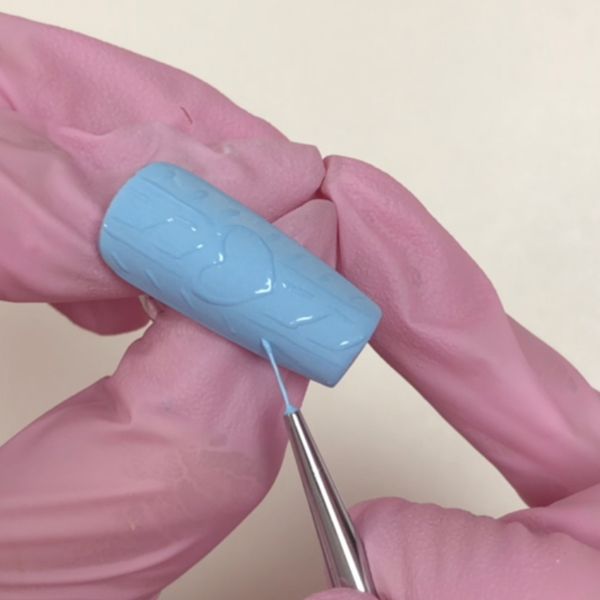
Add small lines on the outside of the longer lines you painted down the nail at the beginning of the design. These lines should be slanted to perfect the cable knit look.
Step 8
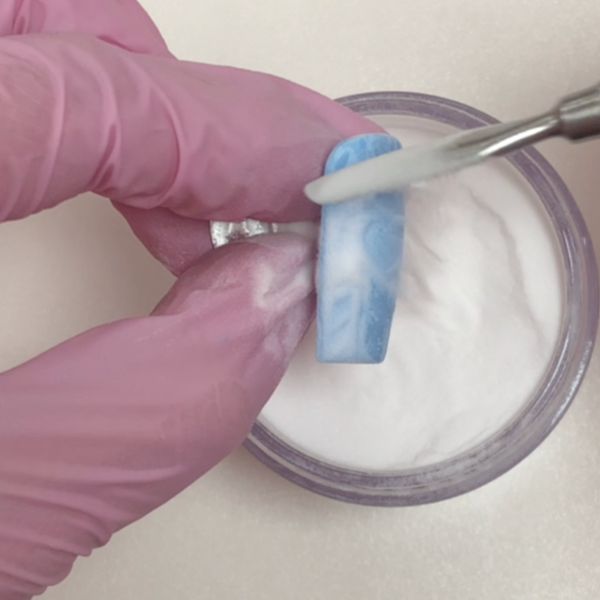
Open a pot of Glitterbels Clear Acrylic Powder in Glass Slippers. Scoop some powder out using a cuticle tool and sprinkle over the nail. Cover all of the wet gel polish, before tapping off the excess powder and curing for 60 seconds.
Step 9
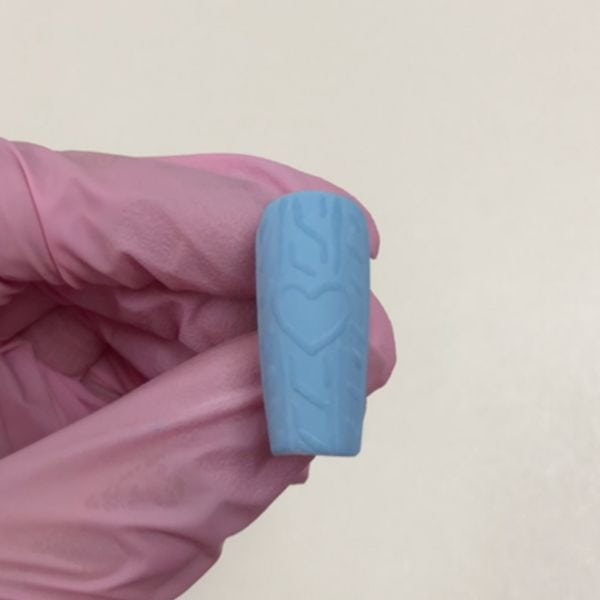
Use a dust brush to remove any excess powder and reveal the heart cable knit design.

Read the latest issue


