Golden nail design

Step by Step
Natasha Lee shares this sparkling gold look…
Step 1

Apply base coat (if applicable with your preferred system), followed by a gold lacquer on the little finger.
Step 2
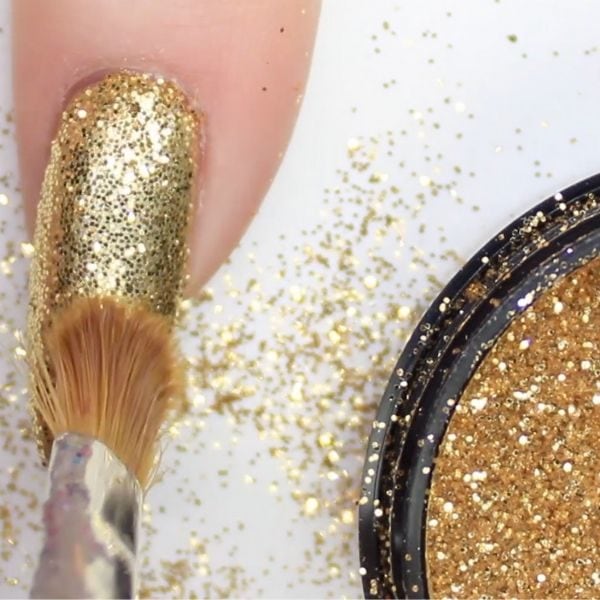
Apply the All That Jazz Pure 24ct Gold Glitter to the little finger using foil glue and a brush. Pat it onto the nail to cover it and then brush downwards to flatten the flakes. If gel polish was used in step 1, apply the glitter to the tacky layer.
Step 3
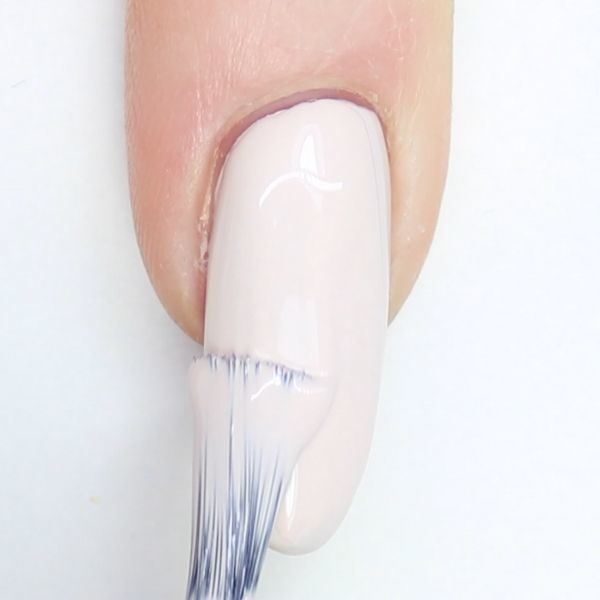
Apply two coats of a nude nail lacquer (or gel polish) to the other fingers.
Step 4
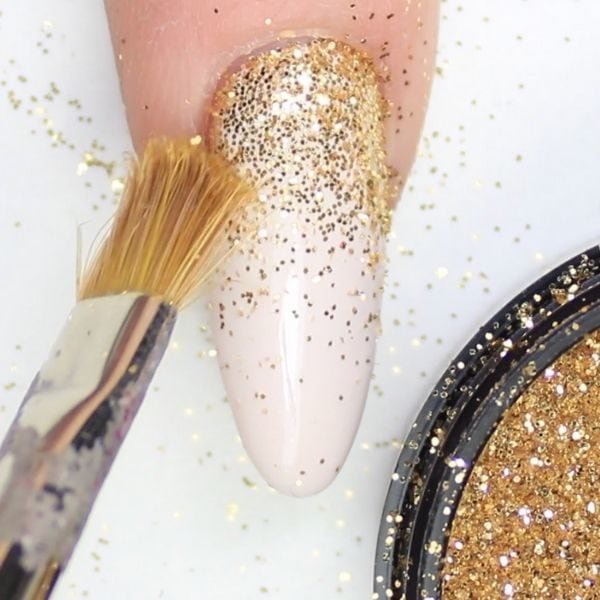
On the index finger, apply foil glue then gold glitter to the cuticle area only and brush towards the free edge of the nail to create a faded or graduated effect. Again, apply to the tacky layer if gel polish has been used.
Step 5
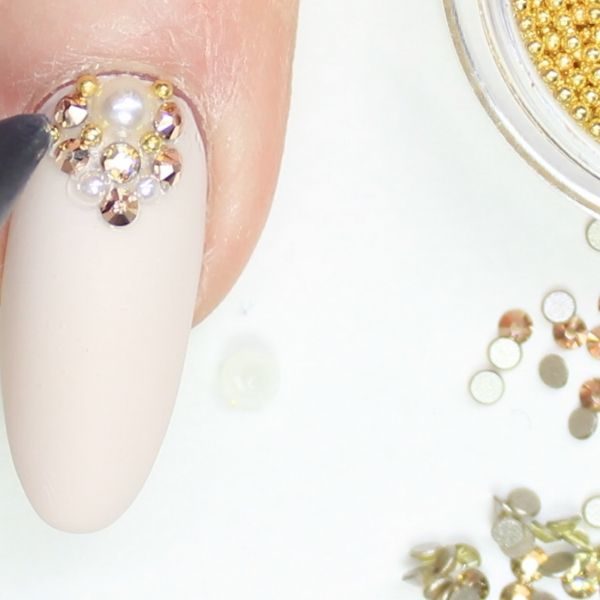
On the ring finger, apply a selection of flat-backed pearls, SS5 rose gold Swarovski crystals and gold caviar beads in a triangle shape from the cuticle area. It’s best to use a clear builder gel to set these decals so that they last, and add a thin layer of top coat on top of the decals to stop the surface scratching. Cure.
Step 6
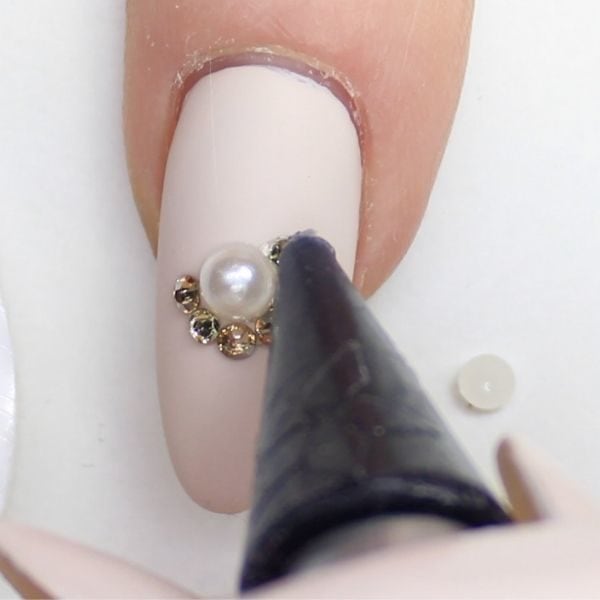
On the middle finger, apply a large flat backed pearl to the centre of the nail using builder gel and then apply SS5 crystals around it pearl to create a flowery effect. You can cure at this stage or wait until the end to cure the entire look.
Step 7
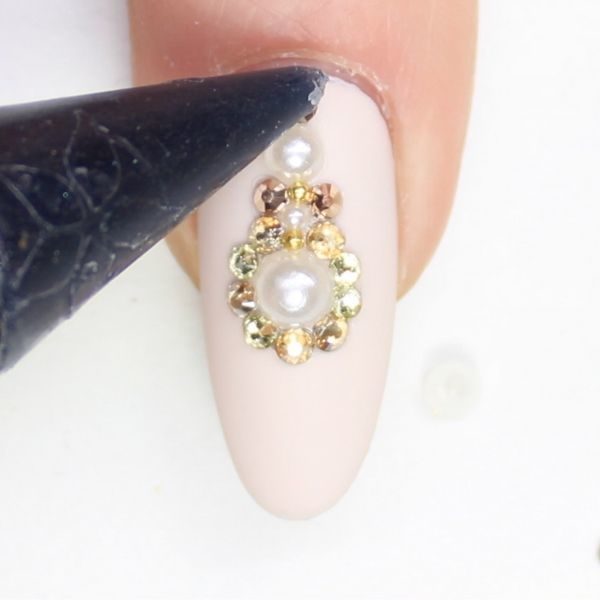
Continue the design toward the cuticle area to make it look like an antique pendant on the nail.
Step 8
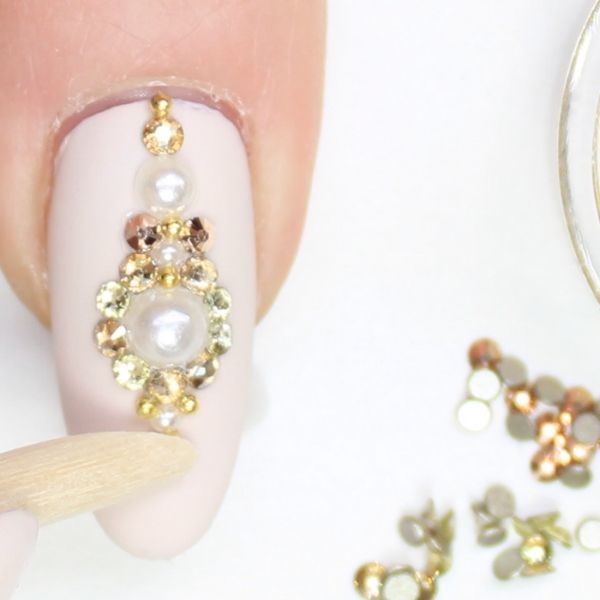
Add any finishing touches or additional decals to make the design exquisite. If gel has been used to secure the crystals and pearls, cure and remove the sticky residue to finish.

Read the latest issue


