Go nutty for autumn nail art: here’s how to paint a squirrel on nails
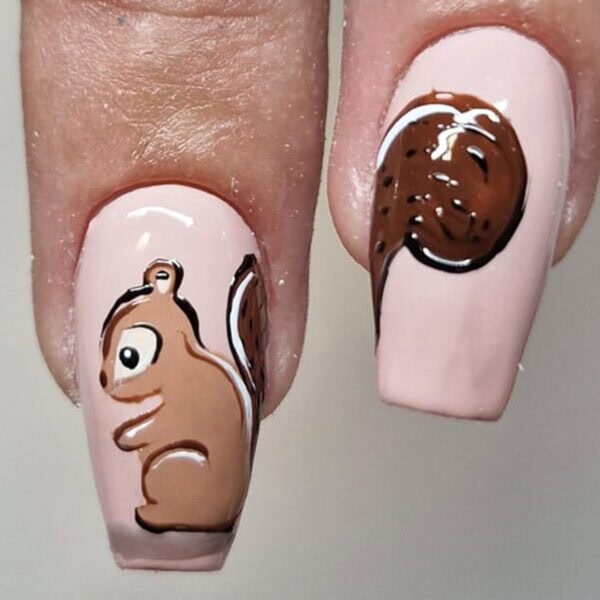
Autumn/Winter, Step by Step
Embrace the autumn season by recreating this adorable squirrel nail design by Nailchemy ambassador, Dannika Bernadette, using products from the brand. Check out the six steps below…
Step 1
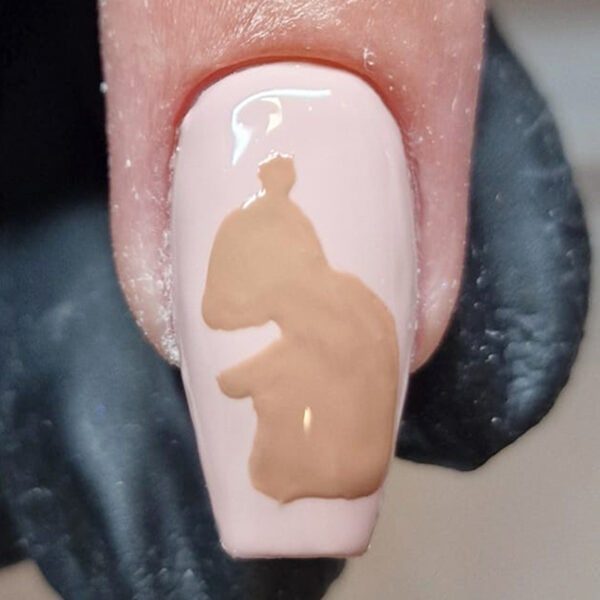
Once the nail is prepped and base colour applied, paint a rough outline of a squirrel. I mixed Nailchemy's White, Orange and Brown UV/LED Artisan Gel Paints to create this colour. Cure for 60 seconds.
Step 2
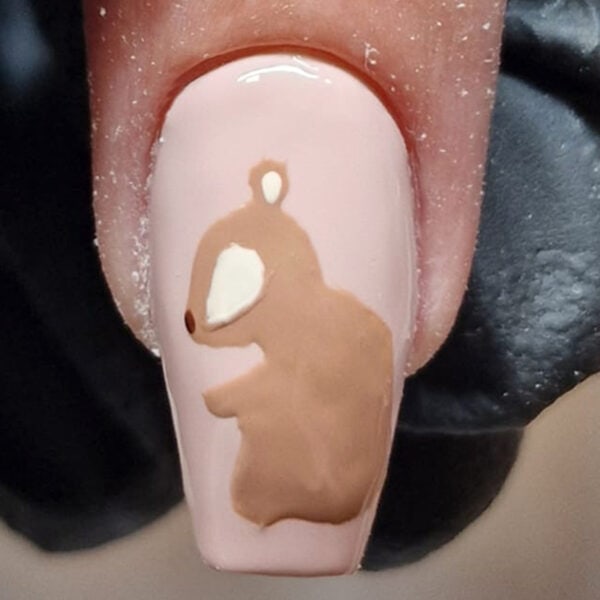
Add two teardrop shapes: one for the eye area and a small one for the ear, in a pale cream colour. I added a small amount of the previous mix to White Artisan Gel Paint to create this shade. Paint a nose using Brown Artisan Gel Paint. This step can be made easier by using a dotting tool. Flash cure.
Step 3
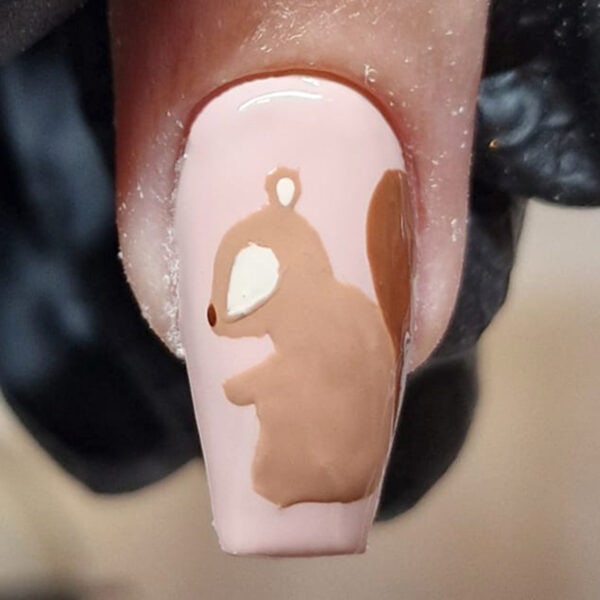
Using Brown Artisan Gel Paint and a liner brush, paint a bushy, curved tail at the back of the squirrel, spreading onto the next nail. Cure for 60 seconds.
Step 4
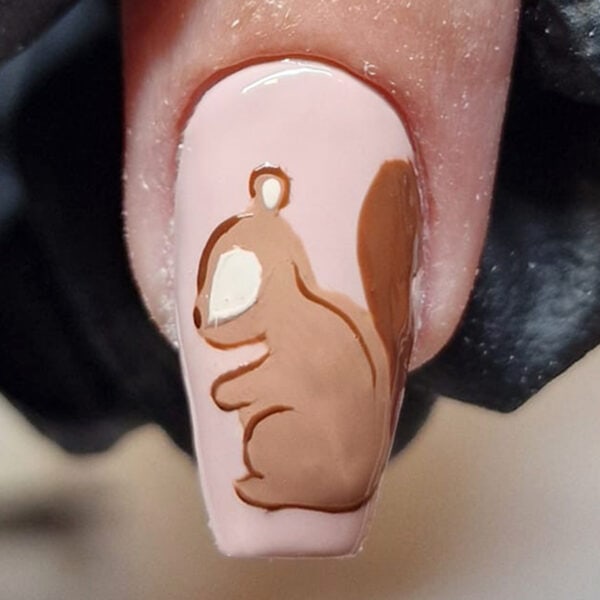
Create shadowing on the squirrel as shown, using Brown Artisan Gel Paint. Flash cure.
Step 5
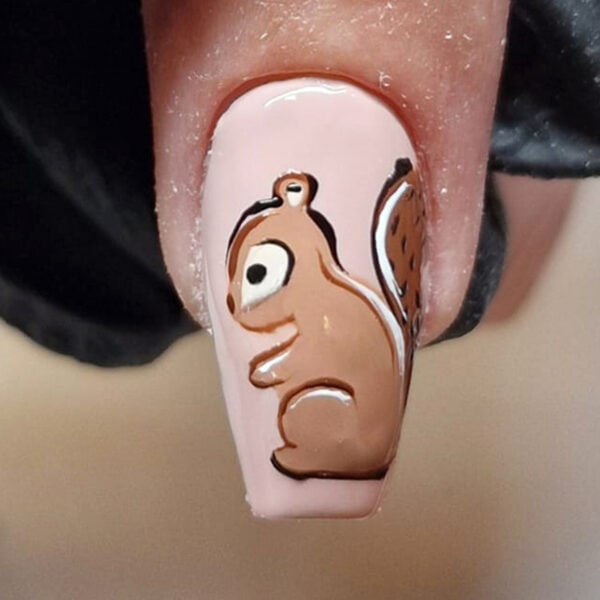
With a fine brush and the cream shade used for the teardrop shapes, paint highlights on the squirrel: along its back, top of the arm and top of the leg. Using Black Artisan Gel Paint, outline the top of the squirrel's head, underneath its leg and the tail - then add the eye. Flash cure.
Step 6
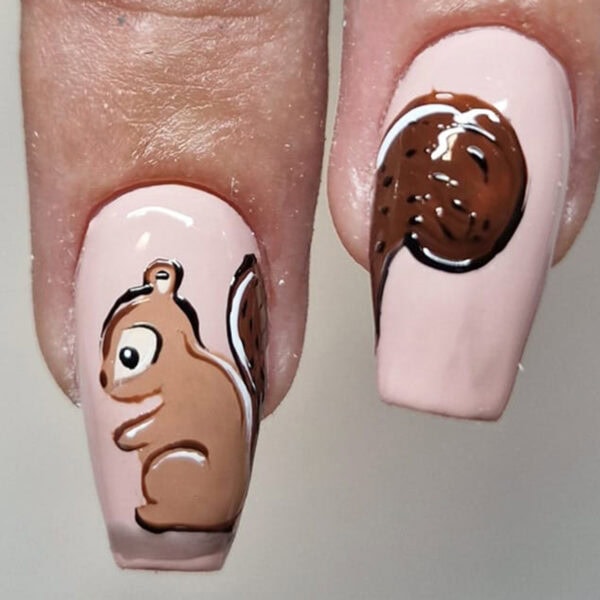
Mix a small amount of Black Artisan Gel Paint with a base coat, to create a thin black hue for a shadow underneath the squirrel. Finish with a White Artisan Gel Paint highlight in the squirrel's eye, and add Black Artisan Gel Paint details to the tail. Cure for 60 seconds.

Read the latest issue


