Galaxy nail look

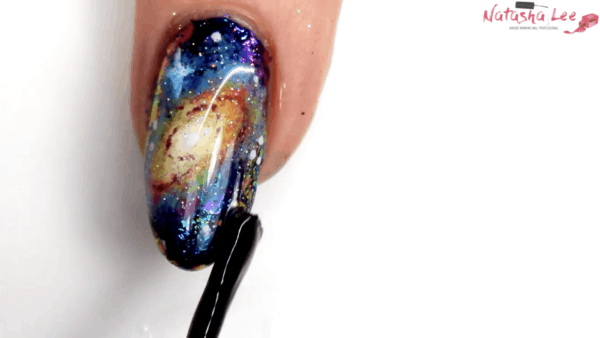
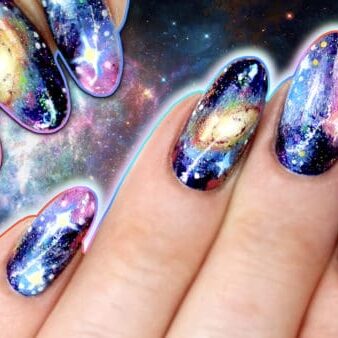
Finished Nails

Step by Step

Try recreating this ultimate galaxy nail design by Natasha Lee!

Natasha says: “Galaxy nails return into the spotlight year after year, and I personally love them! You can embrace this look fully or scale it back by reducing the level of detail or just including one or two feature nails. It’s easy to achieve with gel polish, but still totally doable with nail lacquer, as I used nail lacquer to create these gorgeous nails.

“The finished nails look complicated but the key is just to build it up in layers. You really don’t need to be particularly arty to achieve this look, just remember to add the detail in layers and leave enough of the base layer visible so that the beautiful chameleon flakes used capture the light.”
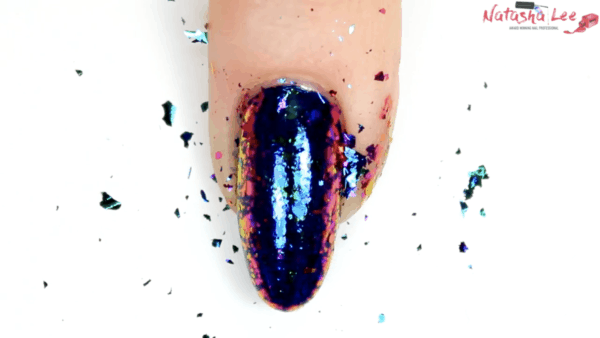
Step 1
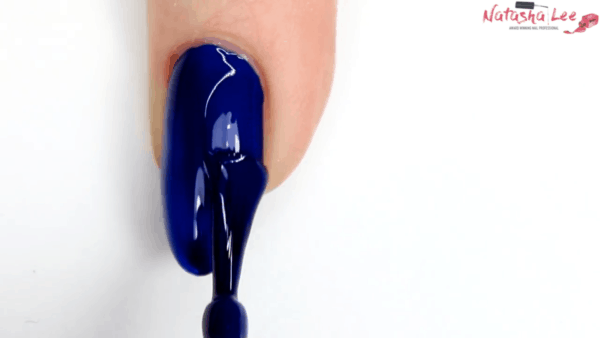
Apply a base coat if applicable to your chosen system, followed by two coats of dark blue lacquer. Apply a latex barrier around the nail to aid clean up (optional).
Step 2
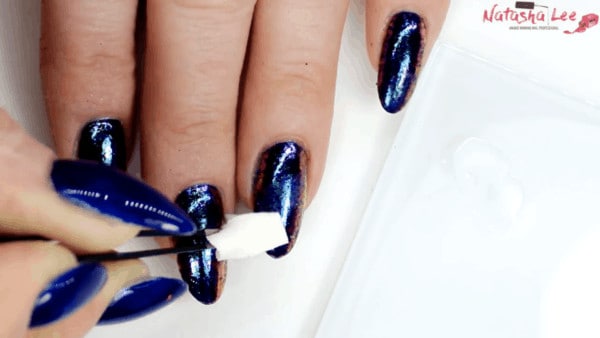
Apply chameleon flakes onto the entire nail and pat into place. I used some from Gemma Lambert’s Nail Team. Follow with a layer of top coat (cure if using gel polish).
Step 3
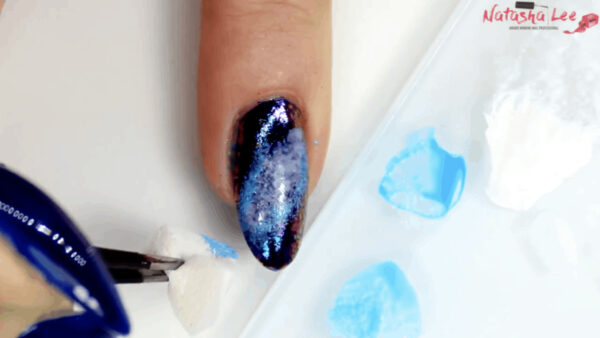
Cut a corner from a latex-free make-up sponge. Using tweezers, pick it up and use it to dab white lacquer onto the nail in a diagonal, long oval shape. This will be built up in stages to create a galaxy image.
Step 4
Outline the white with a vivid blue lacquer using the same technique, and sponge to blend into the white. If using gel polish, flash cure at this point.
Step 5
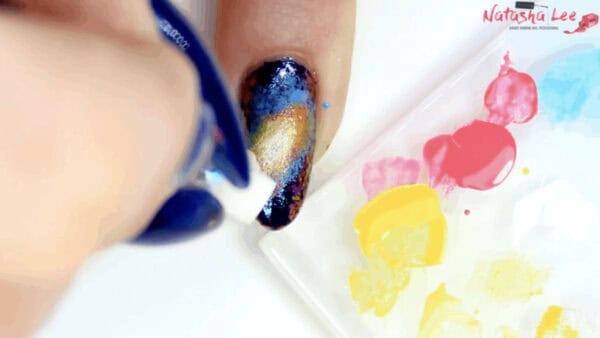
Continue sponging using pink and yellow lacquer shades to build up a three dimensional effect.
Step 6
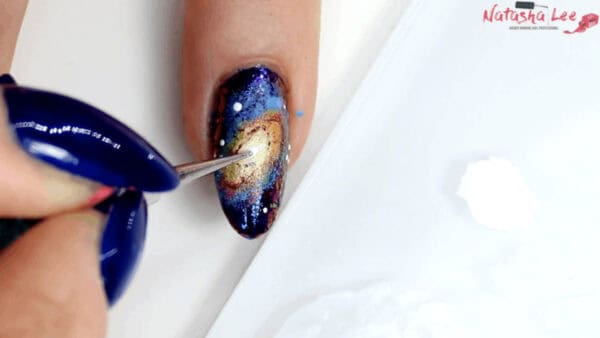
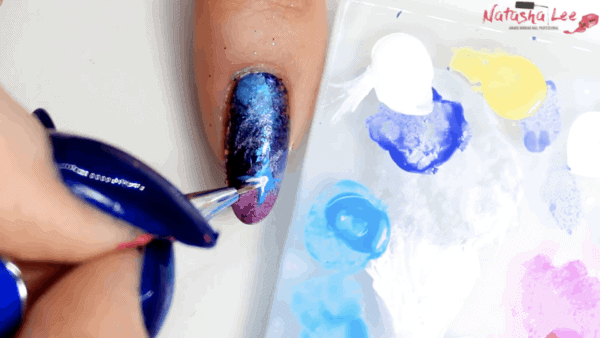
Add some swirling detail effect to the galaxy using a fine detail brush and a burgundy lacquer. Using a needlepoint or fine dotting tool, add small dots of white lacquer randomly to look like stars. This completes the feature nail.
Step 7
On the other nails, add some white lacquer with the sponge, followed by individual colours like pink and blue sponged over the top of the white. Using a fine detail brush, add some simple cross-like stars.
Step 8
Add a scattered holographic glitter top coat (optional) followed by your usual top coat, curing each layer if applicable.