
Galaxy foil nails

Step by Step
This gorgeous galaxy foils step by step was created by Kirstan Hart of Nail Hart using SNA Professional Foil Fix.
Step 1
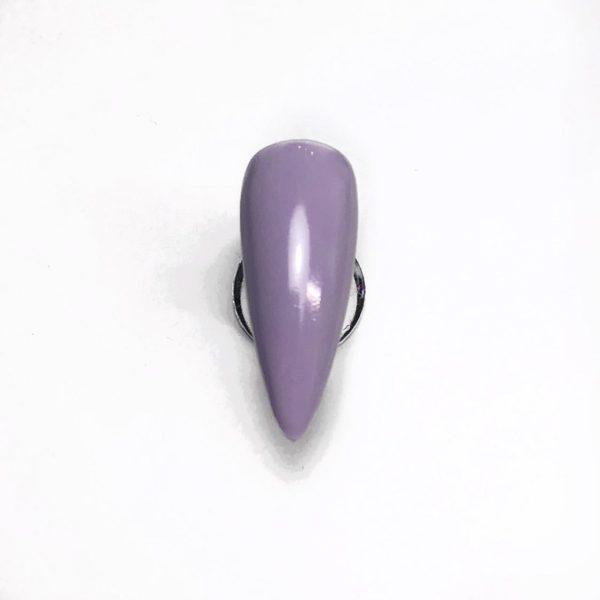
Apply a base colour similar to your foil colour and cure.
Step 2
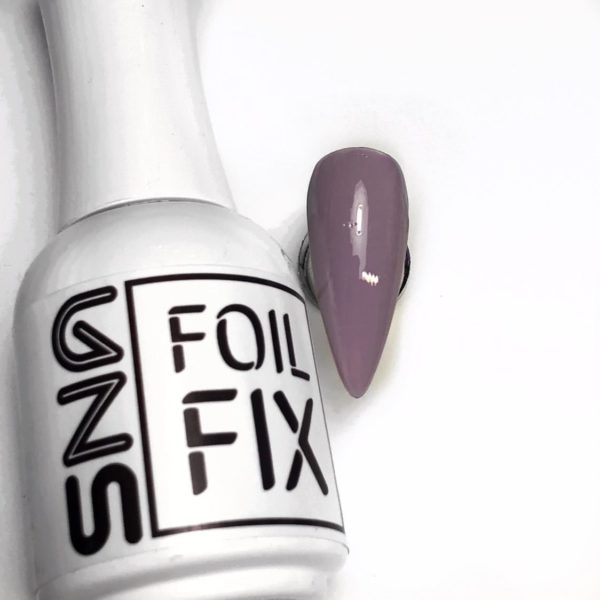
Apply a layer of SNA Professional's Foil Fix and cure for 30s.
Step 3

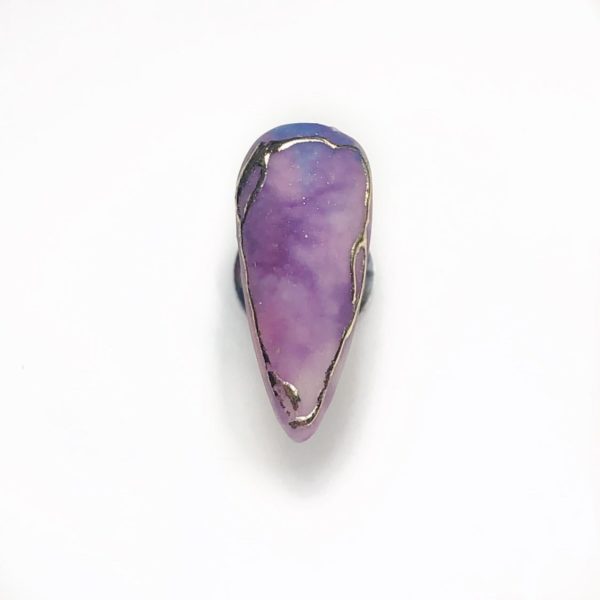
I used a beautiful galaxy foil from SNA Professional.
Step 4

Press this onto the nail and push out any creases.
Step 5

Do a thin layer of Astonishing matte and cure then use some Foil Fix to create a frame around the nail and cure for 30s.
Step 6
Press on some gold foil. Finally, finish with Astonishing’s Matte top.

Read the latest issue