Flowing Florals
Step by Step
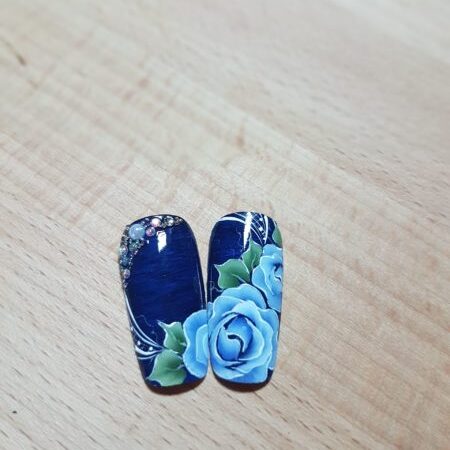
Create a consistent, flowing design across multiple nails, as shown here by international master Crystal Nails educator, Paulina Zdrada…
Step 1
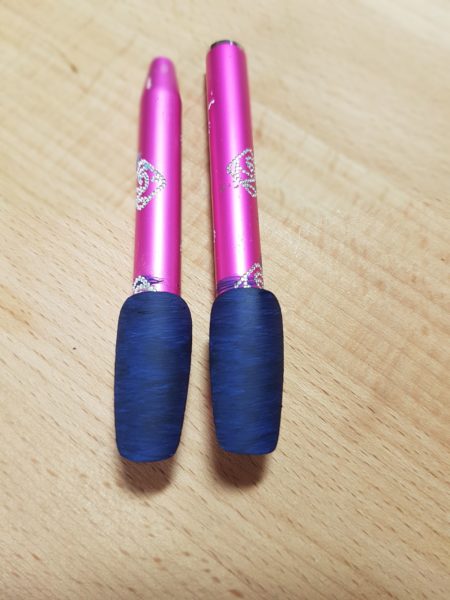
Paint the background with a dark navy acrylic paint. If creating this design on a client's nail, use a gel colour instead.
Step 2
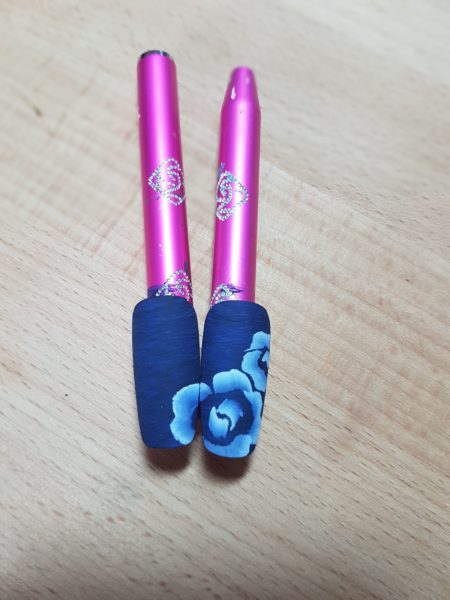
Pick up white and dark blue (two thirds blue and one third white) on a one stroke brush; blend the colours on your hand. Using the one stroke technique, paint two roses - one bigger and one smaller - starting with the outside petals and the centres.
Step 3
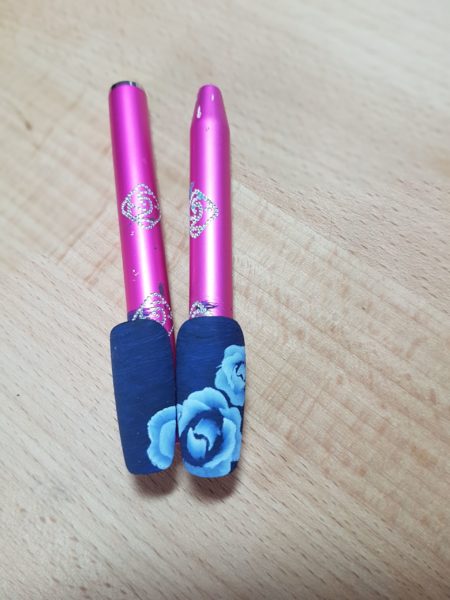
Add a second layer of petals, making sure you paint them on the inside of the first layer slightly odd centre, so that the inner layer of petals covers the gaps between the petals of the outer layer. Use white and blue in half and half proportions so the second layer is slightly lighter than the first.
Step 4
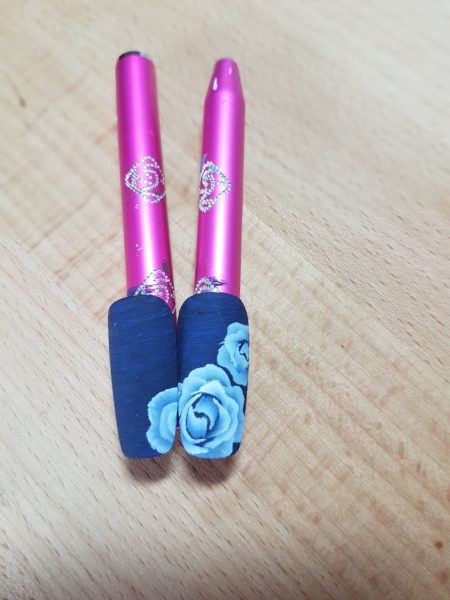
Add more petals to fill empty spaces. Pick up two-thirds white and one-third blue to achieve a light shade, which will make the petals stand out.
Step 5
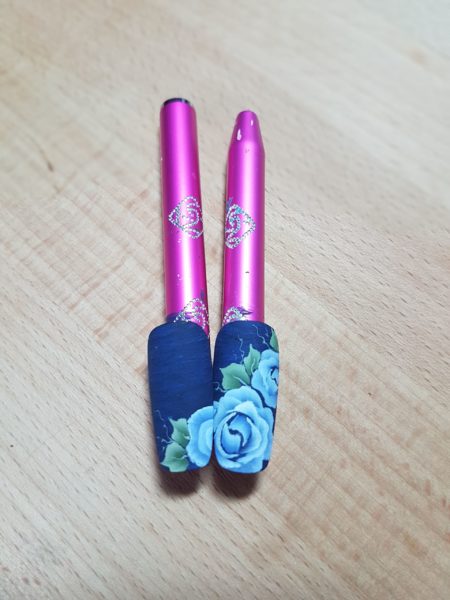
Pick up a dark green and a light green on your brush and blend the colours together. Paint leaves close to the roses. Make sure that the leaves are coming out from the same point but pointing in opposite directions. Use a detailed brush and add vines using the light green colour.
Step 6
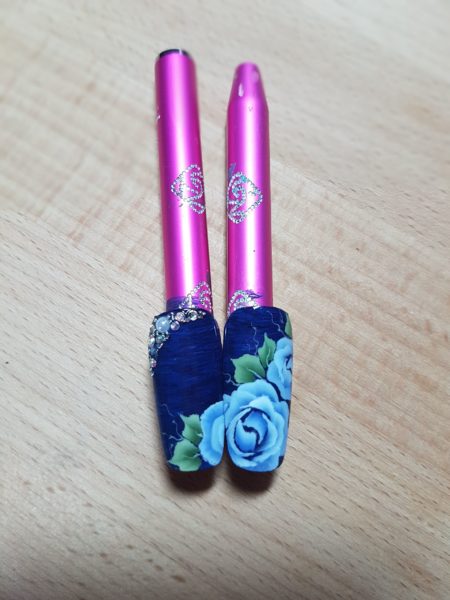
Apply no wipe top coat and place crystals of various sizes in the empty corner of the design. Cure fully.
Step 7
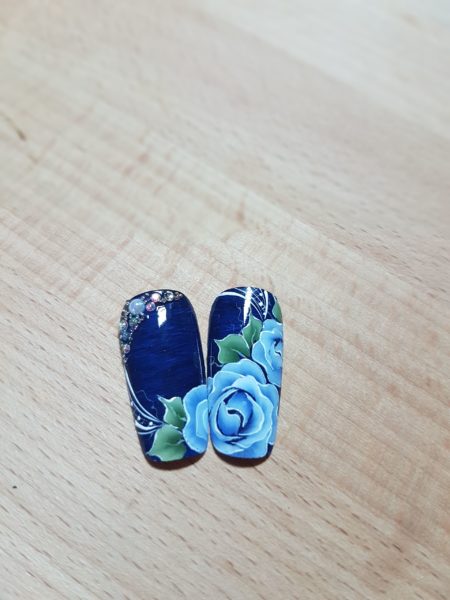
Using white art gel and a size 0 brush, highlight the petals and leaves. Paint the lines a tiny bit thicker in those areas where the petals are folding in. Add extra detail to make the design more interesting. Cure fully. Don't top coat.

Read the latest issue


