How to create mix & match French nail tips for Easter
Seasonal & Occasions, Step by Step
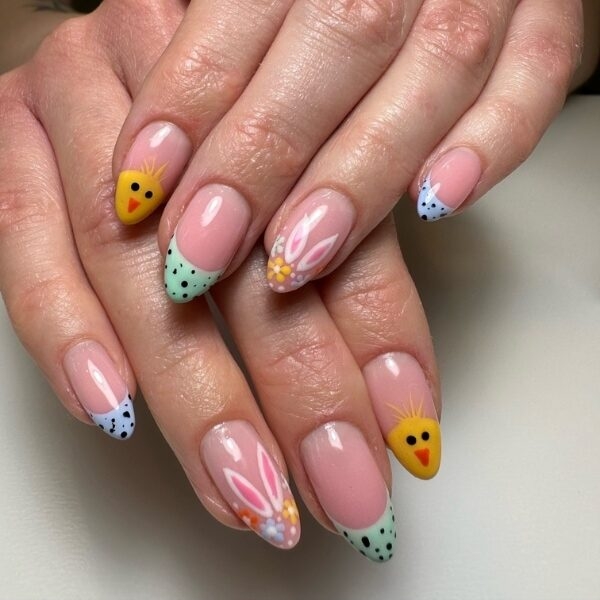
Caroline Roberts, owner of The Nail Fairy, Shropshire, has created this trendy mix and match French manicure, ready for Easter.
The design was originally created using GELLUX.
Step 1
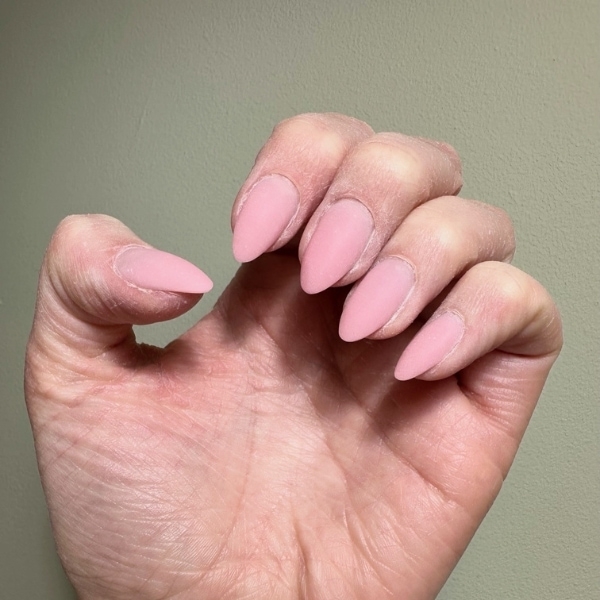
Prep the nails. Apply two thin layers of pink builder gel and cure. Lightly buff the nails for a matte look, then use a nail brush to remove any dust.
Step 2
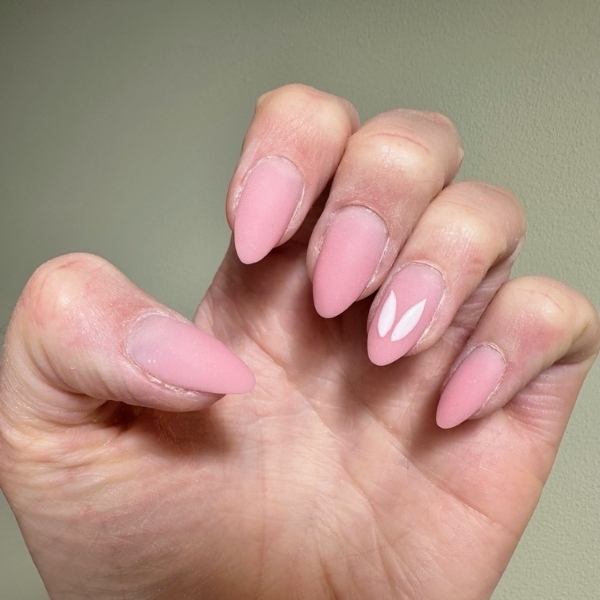
Using a thin liner brush, apply white gel paint to the ring finger, creating a pair of bunny ears. Cure.
Step 3
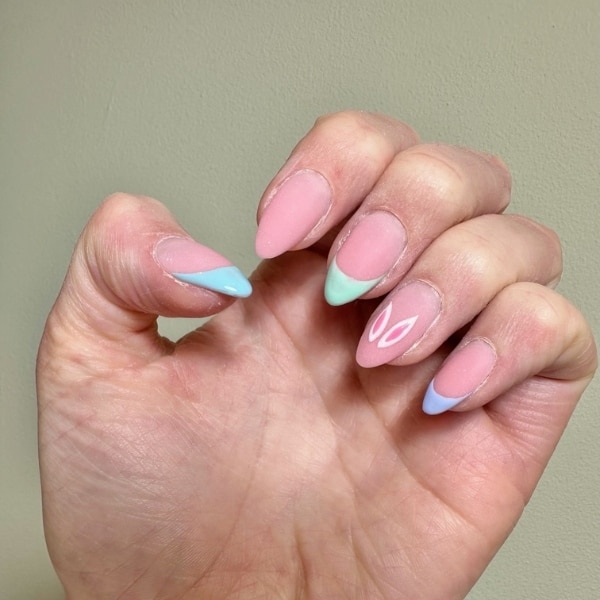
Using a thin art brush, create French tips on the pinkie, middle finger and thumb using three different gel polish colours of your choosing. Apply a small amount of pink gel polish into the middle of the bunny ears. Cure.
Step 4
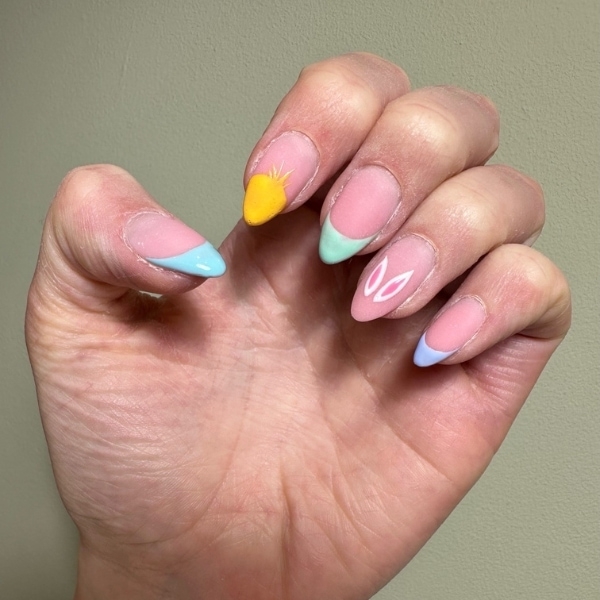
Apply a bright yellow gel polish to the index finger, using a thin liner brush to create a semicircle which will become a chick. Drag some of the colour at the top to create tufts of hair. Cure.
Step 5
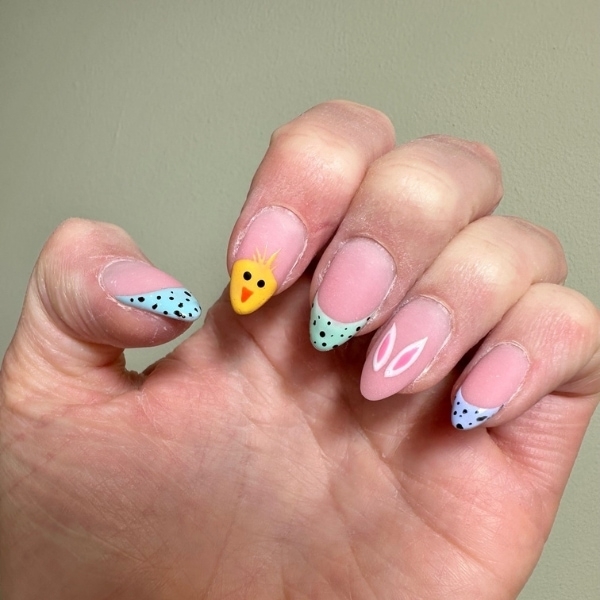
Create a speckled look on the French tips using the end of a cocktail stick dipped into a black gel polish. Using the gel polish with a dotting tool, apply two dots to the index finger, creating eyes for the chick. Cure.
Step 6
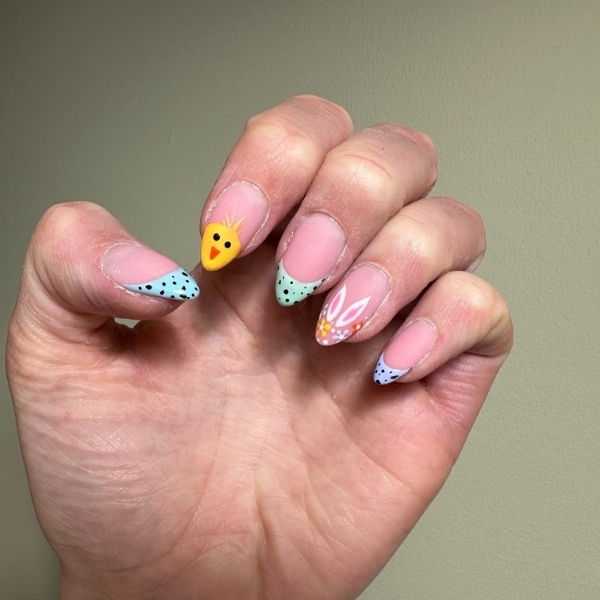
Using a dotting tool, apply different gel polish colours on the ring finger to create flowers around the bunny ears. Cure, then add white gel paint to the middle of the flowers and cure again. Create a beak for the chick using an orange gel polish with a thin liner art brush. Cure.
Step 7
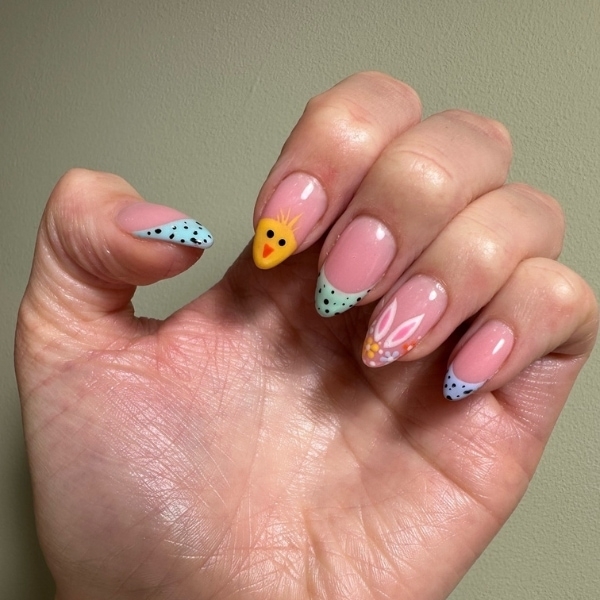
Apply a glossy top coat and cure. Apply cuticle oil to finish.

Read the latest issue


