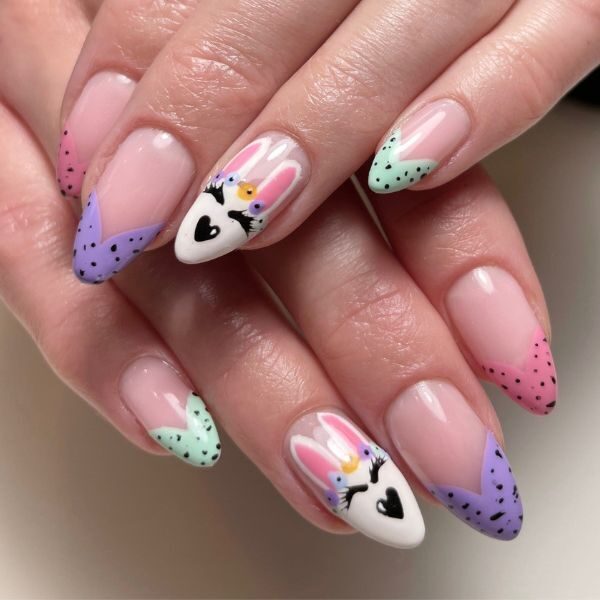
Nail art tutorial: Easter bunny mix & match nails
Seasonal & Occasions, Step by Step
Caroline Roberts, owner of The Nail Fairy, Shropshire, shares how to create this fun Easter nail art style.
The design was originally created using GELLUX.
Step 1
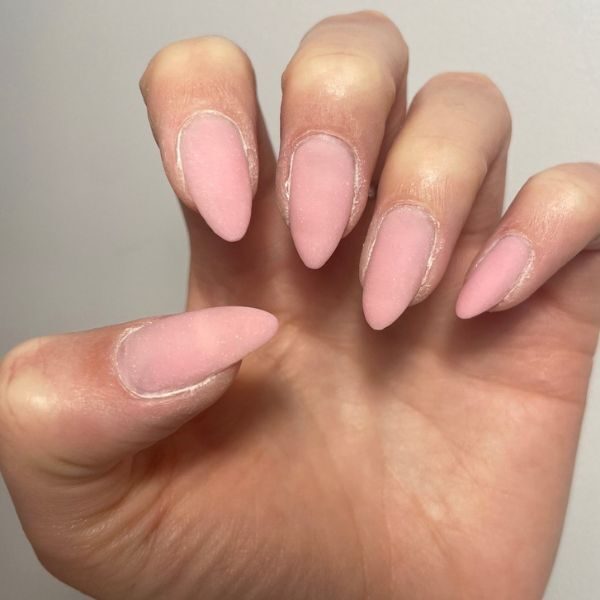
Prep the nails, apply the base shade and cure.
Step 2
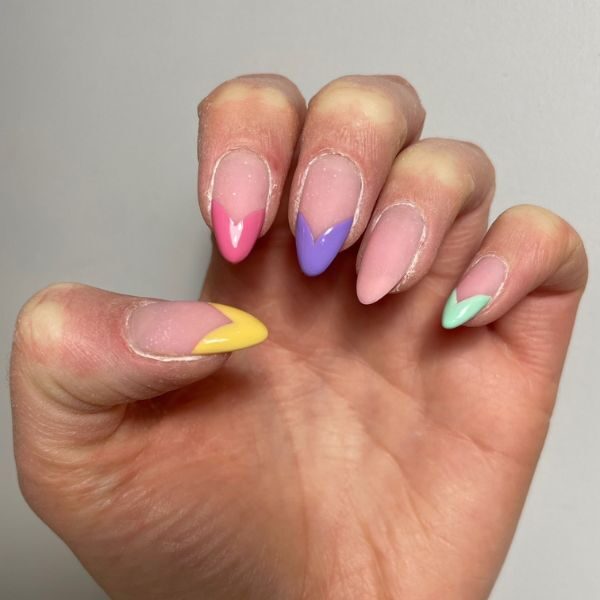
Paint V-shaped French tips on each finger except the ring finger, using a different gel polish colour for each. Cure.
Step 3
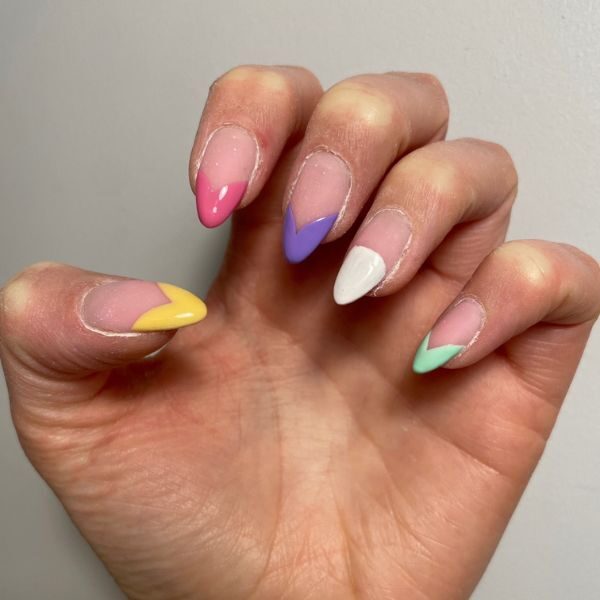
Using a gel brush, apply a white gel polish to the ring finger, covering the tip of the nail almost like a half moon. Cure.
Step 4
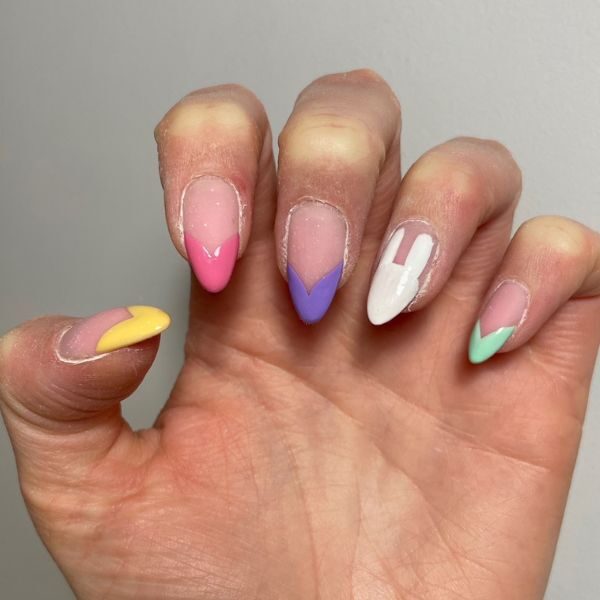
Use a thin liner brush to create two white oval shapes on the top of the half moon, which will become bunny ears. Cure.
Step 5
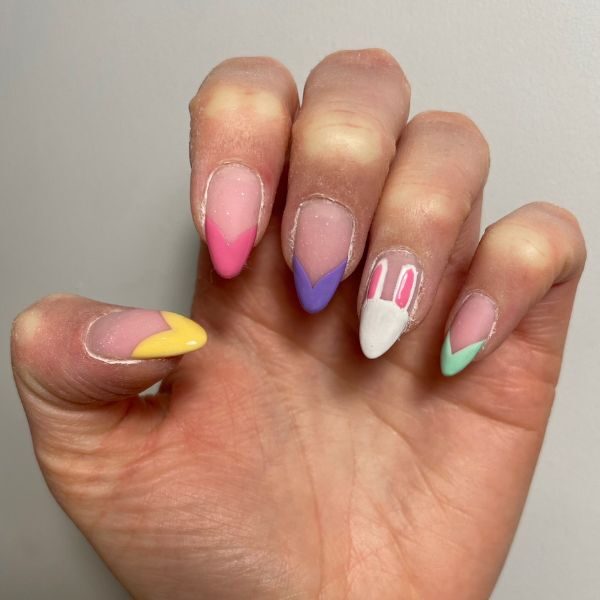
Using a thin liner brush, apply a pink gel polish hue in the middle of the bunny ear shapes and cure.
Step 6

Using a black gel polish and thin liner brush, paint eyelashes and a heart-shaped nose on the bunny face. Cure.
Step 7
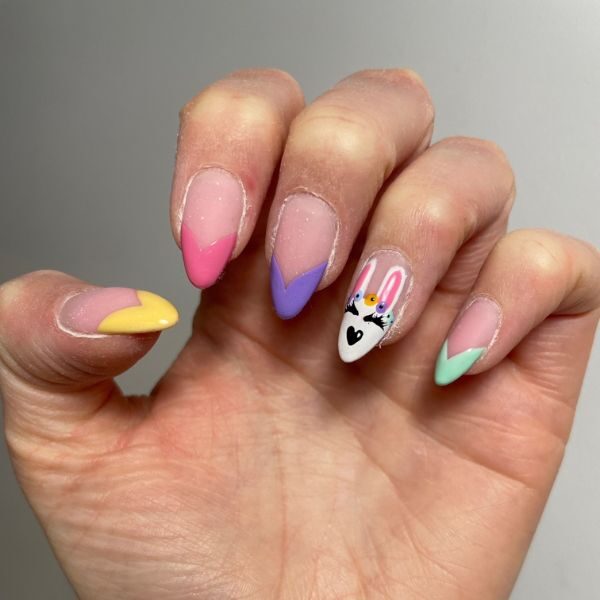
Use a dotting tool and gel polish colours of your choosing to create little flowers across the top of the bunny’s head. Cure, then add tiny black gel polish dots into the middle of the flowers. Cure.
Step 8

Using the black gel polish and a small dotting tool, apply spots to the French tips to create a speckled effect. Cure.
Step 9
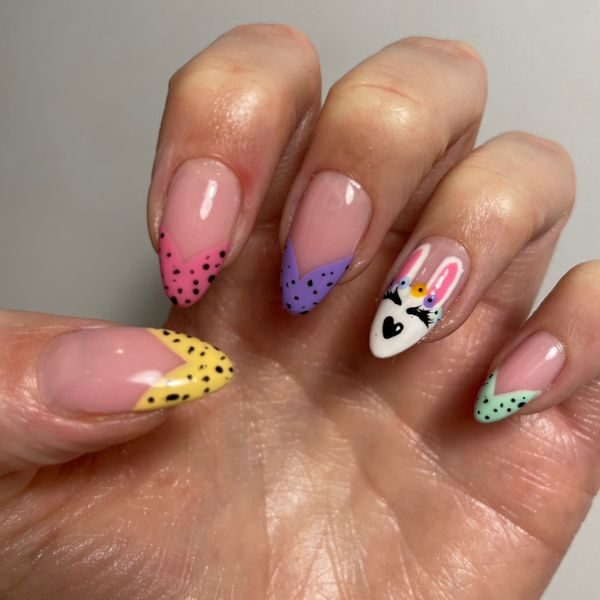
Apply a glossy top coat and cure. Apply cuticle oil to finish.

Read the latest issue


