Disney nail art tutorial: 6 steps to create a magical Mickey Mouse design
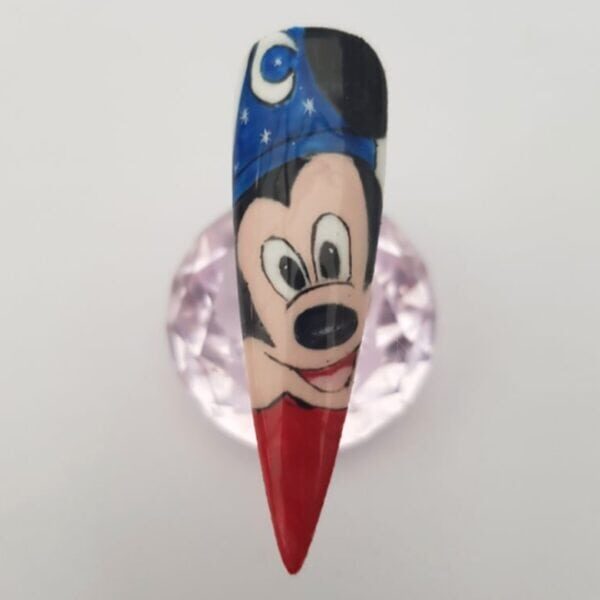
Step by Step
Session nail stylist, salon owner & educator, Marie-Louise Coster, shares how to paint Mickey Mouse on nails, using Artistic Nail Design. The brand is available in the UK via Sweet Squared.
Step 1
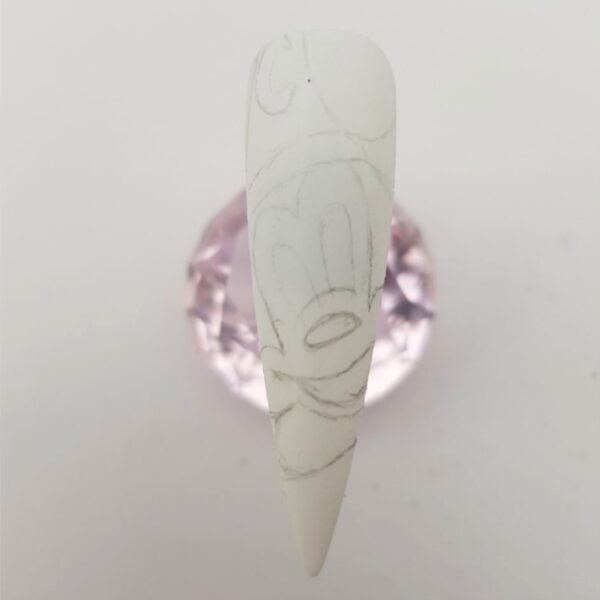
Apply two coats of Artistic Nail Design Colour Gloss Gel Polish shade, Bride, curing each for 30 seconds. Apply two coats of Artistic Colour Gloss Matte Top Coat, curing each for 30 seconds, creating the right surface for sketching the design. Wipe over the nail with nail cleanser to remove any dust particles and sketch a Mickey Mouse outline onto the nail. Ensure the proportions are equal.
Step 5
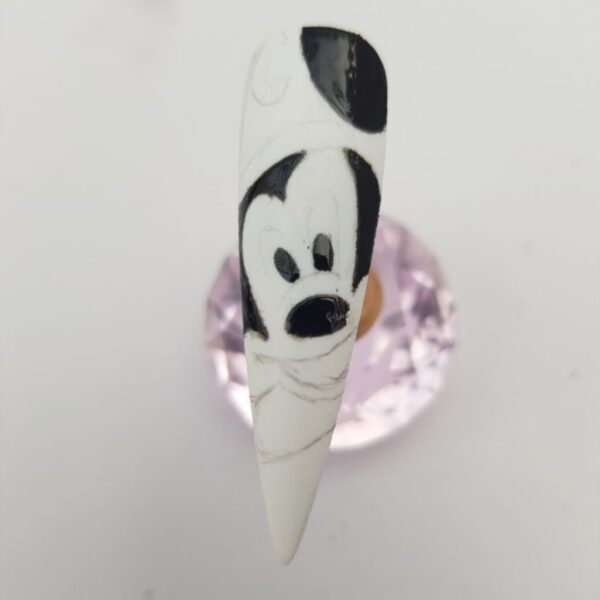
Paint the black parts of Mickey first: the ears, nose, eyes and outer part of the face. I did this using Artistic Colour Gloss shade, Swag. Flash cure and apply a second coat, if required, for depth of colour.
Step 3
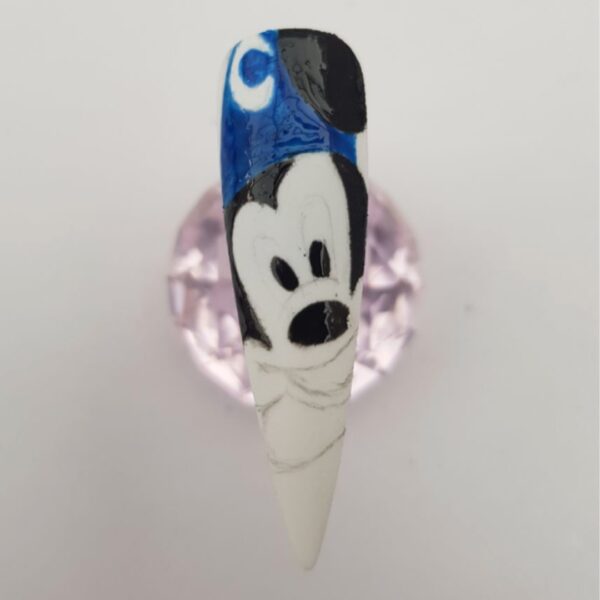
Paint the blue of Mickey's hat. I mixed several shades of blue gel polish to create the right hue. Don't fill in the moon shape in the hat. Flash cure.
Step 4
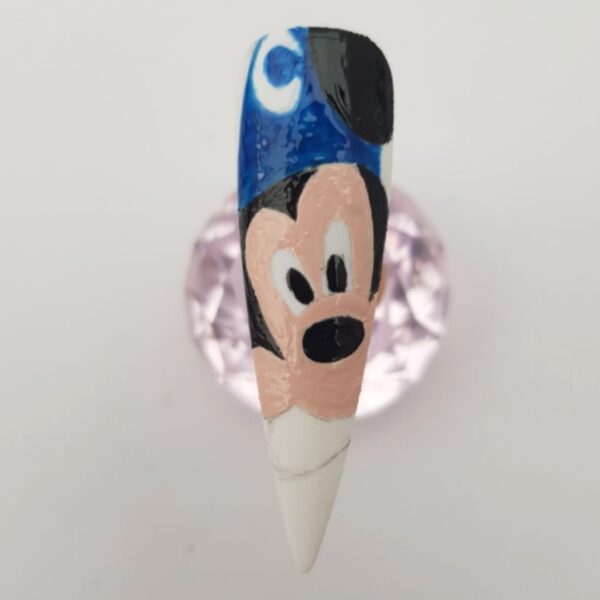
Paint the flesh colour of Mickey's face. Again, I mixed several colours to create the right shade. Always apply layers of gel polish thinly, curing these and gradually building up the colour.
Step 5
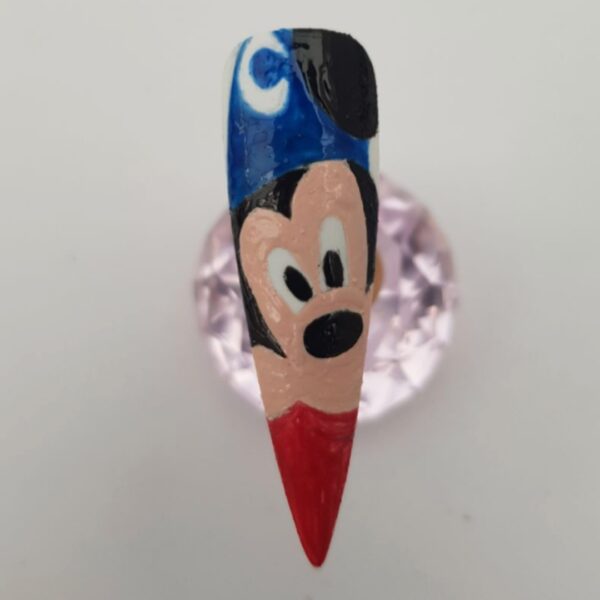
Using Artistic Colour Gloss shade, Hotzy, paint Mickey’s robe. Flash cure.
Step 6
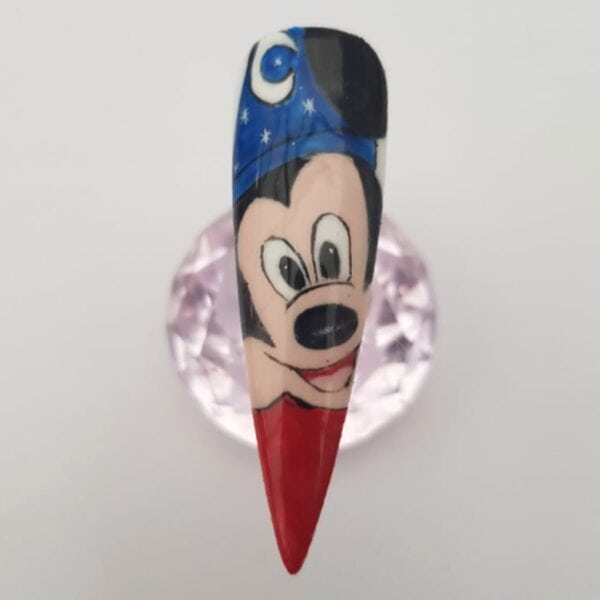
Add all of the final details, such as outlines, the stars on the hat, the mouth etc. Always flash cure in between applications, if you are using more than one colour in the same vicinity. Once happy with the design, cure completely. Apply Artistic Glossing Gel Top Coat and cure, then remove the inhibition layer.

Read the latest issue


