Cute as a Pumpkin

Step by Step
Recreate this super cute pumpkin design using Gellux shades by Salon System nail expert, Jaz Moger…
Step 1
Prep the nails, file to shape, push back the cuticle and buff the nail plate. Cleanse nails with Gellux Prep + Wipe and apply Gellux Fast Bond.
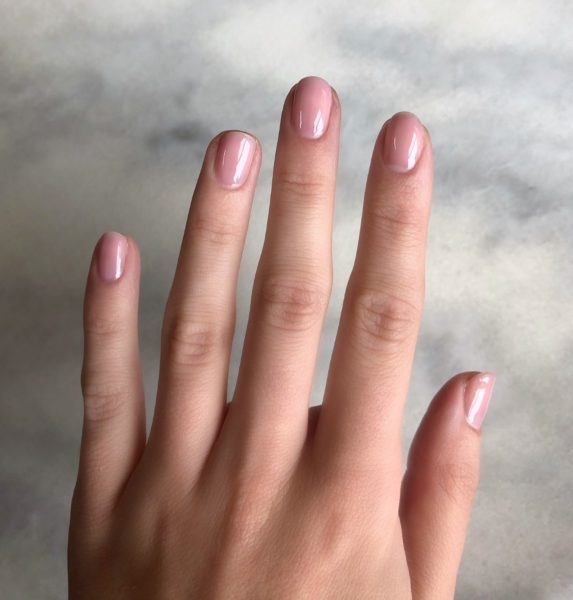
Apply one coat of Gellux Cover Pink Base Coat and cure.
Step 2
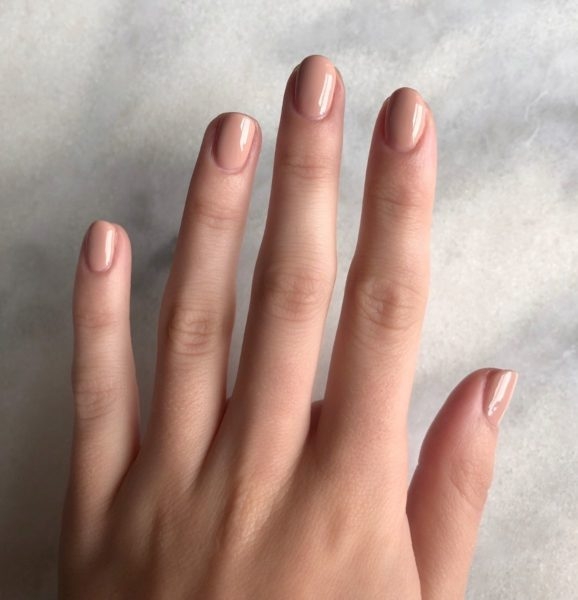
Apply two coats of Gellux Independence, curing in between each coat.
Step 3
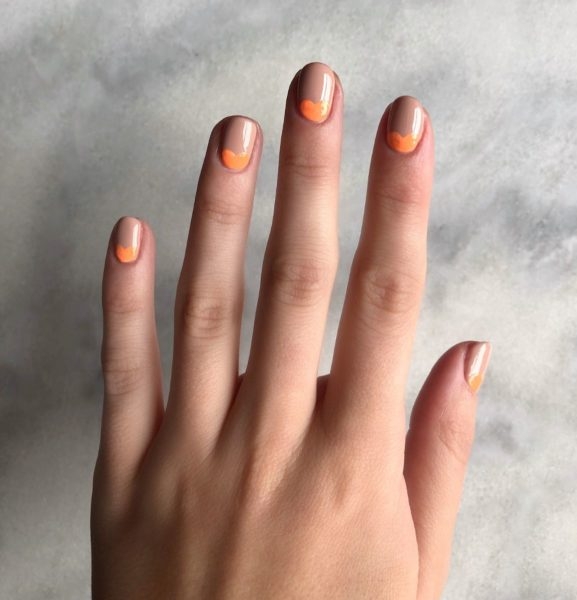
Mix together a small amount of Gellux Orange-A-Peel and Gellux Peach Perfect to get the perfect shade for the pumpkin, create a ‘squashed heart shape’ at the bottom of the nail and cure.
Step 4
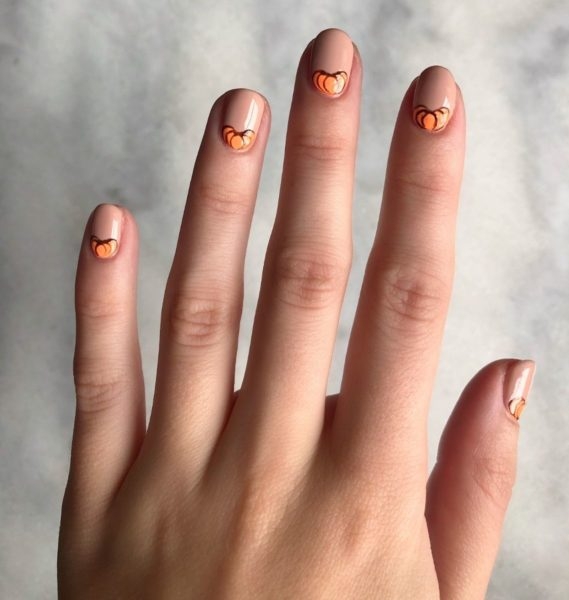
Using a fine liner brush, paint the outlines of the pumpkin with Gellux Rocking It and cure.
Step 5
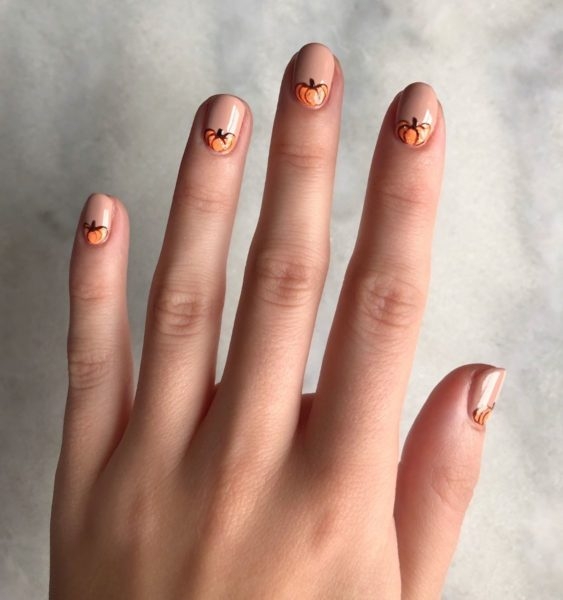
Still using Gellux Rocking It, paint on the pumpkin stalk and add a small amount of Gellux Diamonds & Pearls over the pumpkin to add a touch of sparkle, then cure.
Finish with Gellux Super Shiny Top Coat and cure. Wipe with Gellux Prep + Wipe.

Read the latest issue