Colourful mount nail art

Step by Step
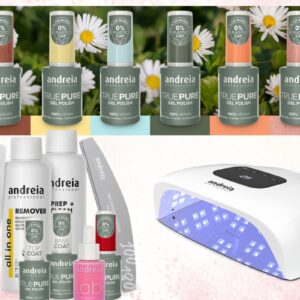
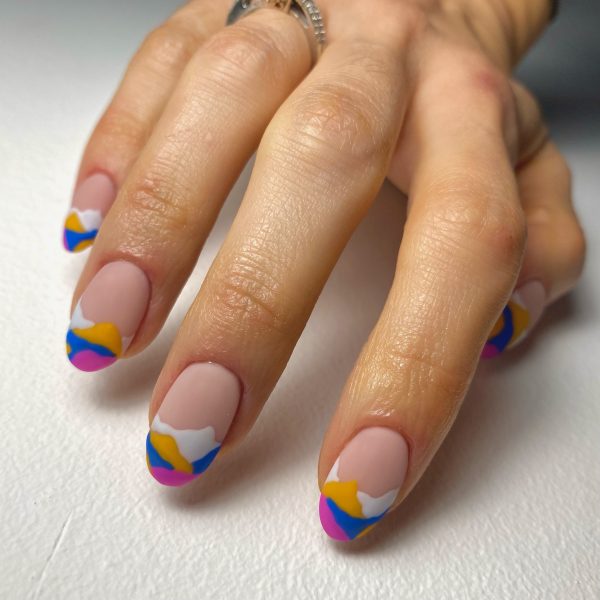
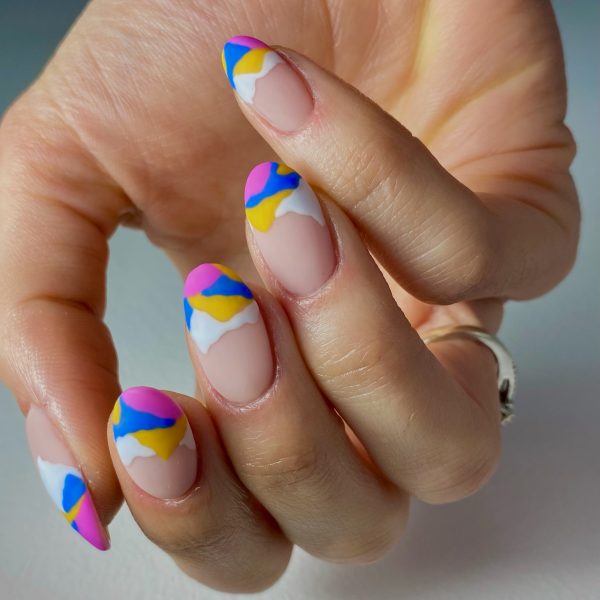
Salon System nail expert, Julie-Anne Lariviére, has created a colourful mounts step-by-step, using shades from her GELLUX Free Spirit collaboration.
GELLUX products are available from wholesalers nationwide.
Step 1
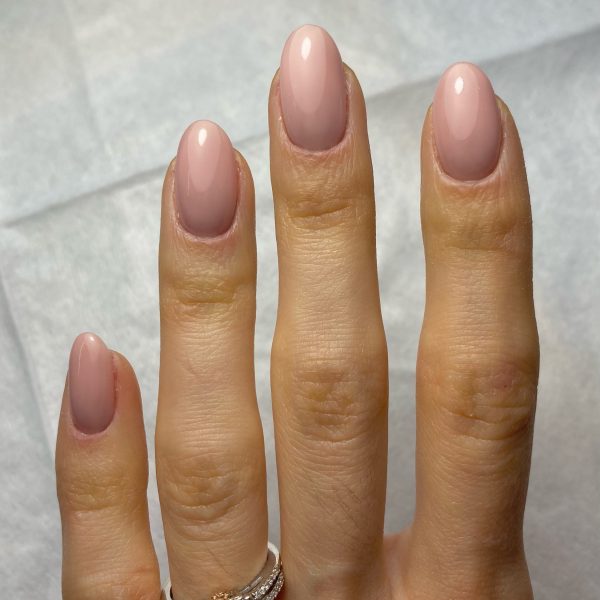
Prep the nails by pushing back the cuticles, trimming excess, shaping the free edge, and buffing the nail plate with a white block. Dust well and wipe thoroughly with GELLUX Nail+File Spray. Apply GELLUX Fast Bond, let dry for 30 seconds then apply two coats of GELLUX Light Pink Builder Gel, curing for 60 seconds in between layers.
Step 2
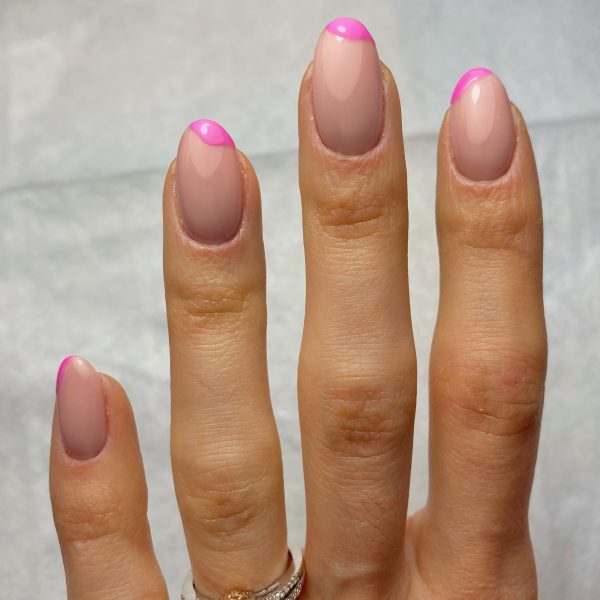
Using a liner brush dipped in GELLUX Glorious & Free, paint random little mounts of colour at the tip of the nails, curing for 30 seconds.
Step 3
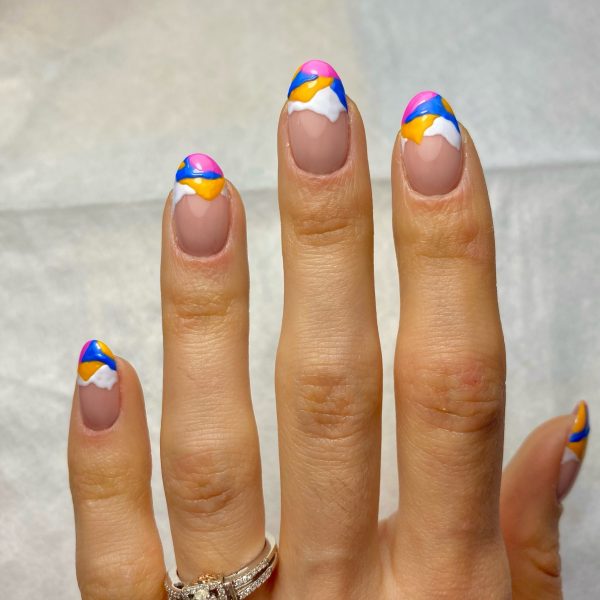
Repeat the same process using GELLUX Be-A-Maize-ing and cure again. And do the same again, using the GELLUX Joie de Vivre and lastly Free Spirit, curing for 30 seconds in between each colour.
Step 4
Apply GELLUX Matte/Base Top Coat and cure for 60 seconds.
Step 5
Wipe nails with GELLUX Prep+Wipe and apply cuticle oil.

Read the latest issue