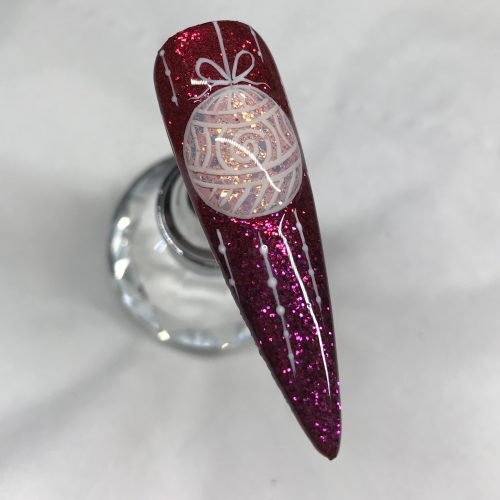
How to create an intricate, 3D Christmas bauble nail design
Seasonal & Occasions, Step by Step
Recreate this ornate bauble design by Magpie Beauty educator, Sophie Hudd, for the Christmas season by following her steps below…
Step 1
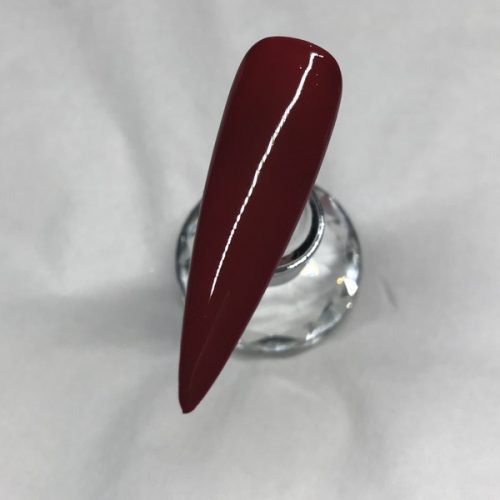
Start by prepping nails for Magpie Beauty Gel Colour application. Apply two coats of shade, Mona Lisa, and cure.
Step 2
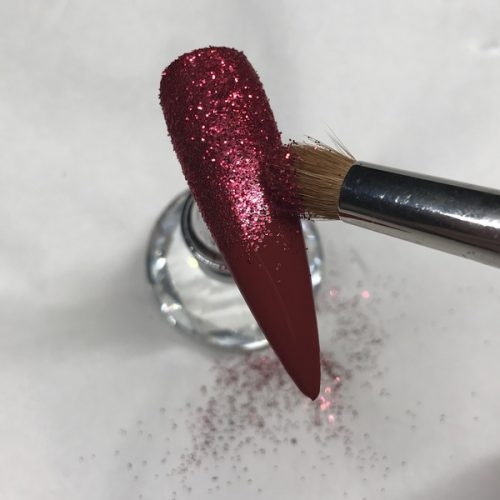
Using Magpie Beauty Nail Glitter in Ruby, create an ombré from the top of the nail to the centre.
Step 3
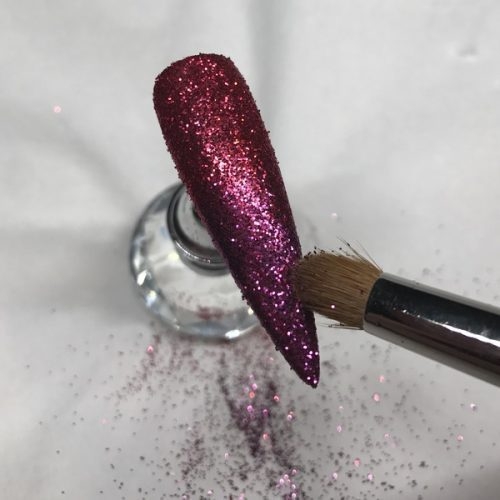
Apply Magpie Beauty Nail Glitter in Sidonie to the free edge and fade it to the centre of the nail. Gently blend together the two glitters.
Step 4
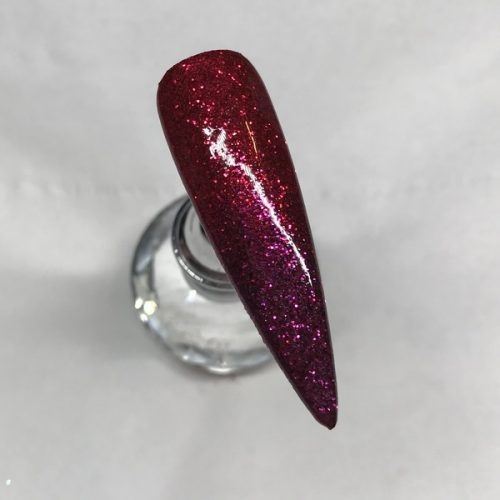
Dust away the excess glitter. Top coat the entire nail and cure.
Step 5
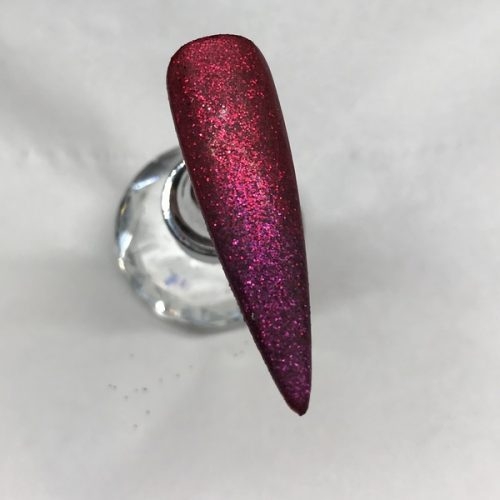
Remove the inhibition layer and buff the top coat to create a base for nail art.
Step 6
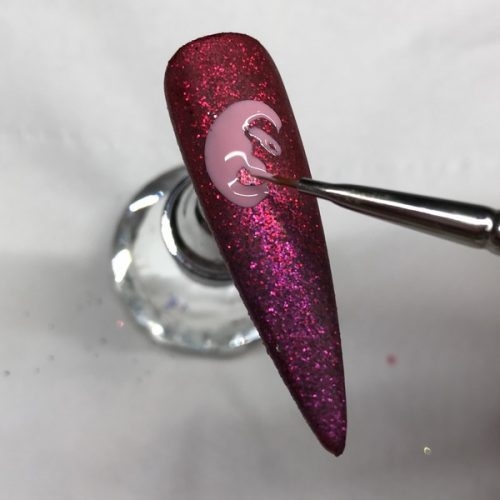
Using Magpie Beauty Gel Colour in Cotton Candy and the Illustrator Brush, paint a circle towards the top of the nail and cure.
Step 7
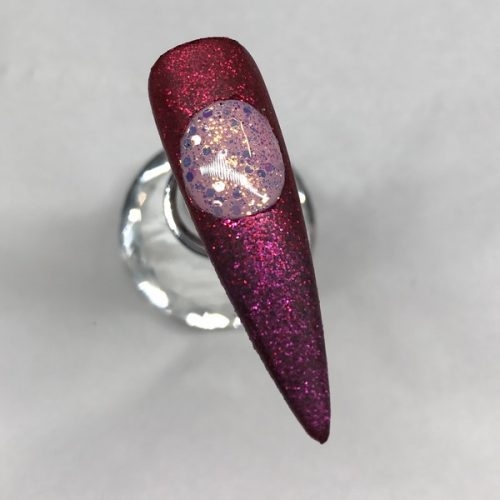
Apply Magpie Beauty Nail Glitter in Flossy to the tacky layer of the circle, and apply top coat over the circle. Cure.
Step 8
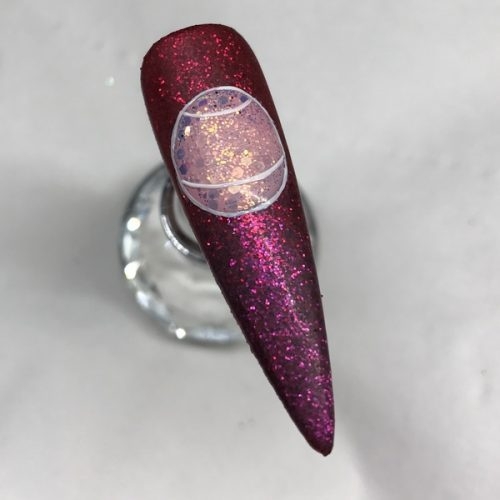
Lightly buff over the circle to prepare the shape for nail art. Taking Magpie Beauty Gel Colour in Plain Jane and the Magpie Detailer Brush, outline the circle and add bauble details.
Step 9
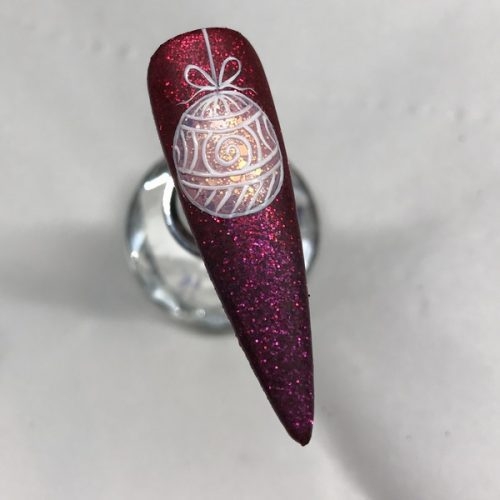
Paint some string and a bow at the top of the bauble in Plain Jane.
Step 10
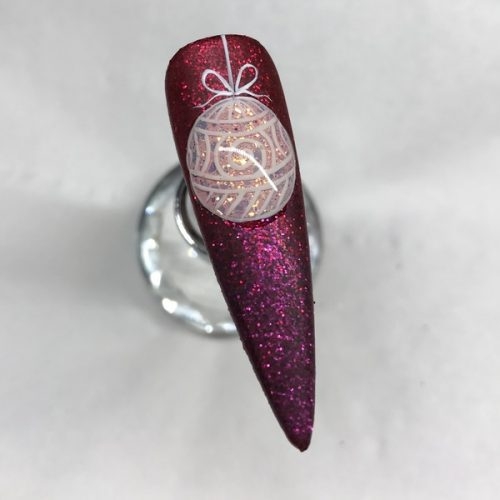
Using Magpie Beauty Give Me Strength (Clear), build up thin layers on top of the circle to create a dome.
Step 11
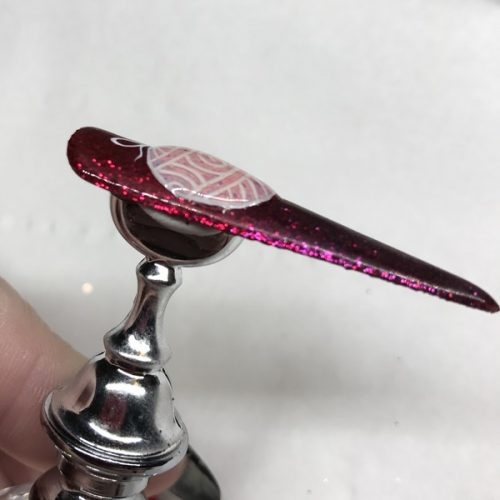
Continue to build up the 3D shape.
Step 12
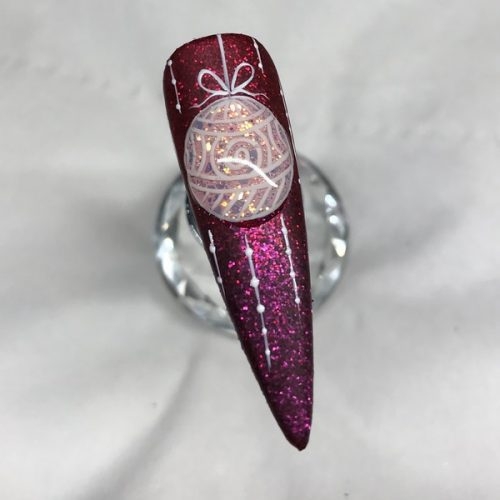
Add some thin Plain Jane lines and dots in the design's background with the Magpie Nail Striper Brush. Apply top coat over the whole design to finish.

Read the latest issue


