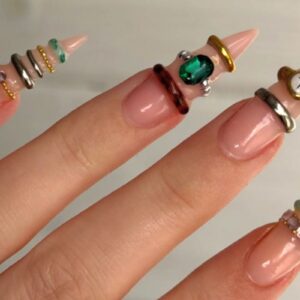
Chinese New Year lucky bag nail art

Seasonal & Occasions, Step by Step
Jello Jello educator, Choi Jiwoo, celebrates the Chinese New Year with this 3D lucky bag nail design. Check out the step-by-step below…

Choi Jiwoo
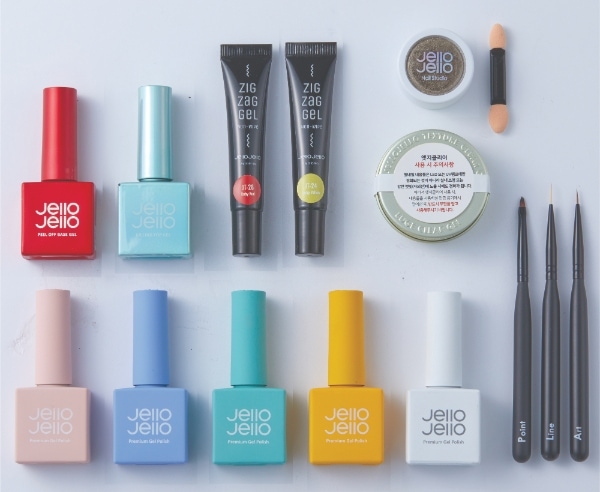
Products used:
- Nail file.
- Jello Jello Peel-Off Base Gel.
- Jello Jello Killing Top Gel.
- Jello Jello Edge Clear Gel.
- Jello Jello Color Gel in JC-01, JC-72, JC-73, JC-74 & JC-75.
- Jello Jello Zigzag Gel in JT-24 & JT-28.
- Jello Jello Edge Beam Powder in JP-01.
- Jello Jello Flexible Gel Brush in Art, Line, Point.
- Jello Jello Rose Water Gel Nail Cleanser.
- Jello Jello Dust-Zero Easy Gel Wiper.
- Jello Jello I’M PRO Premium LED Lamp.
Step 1
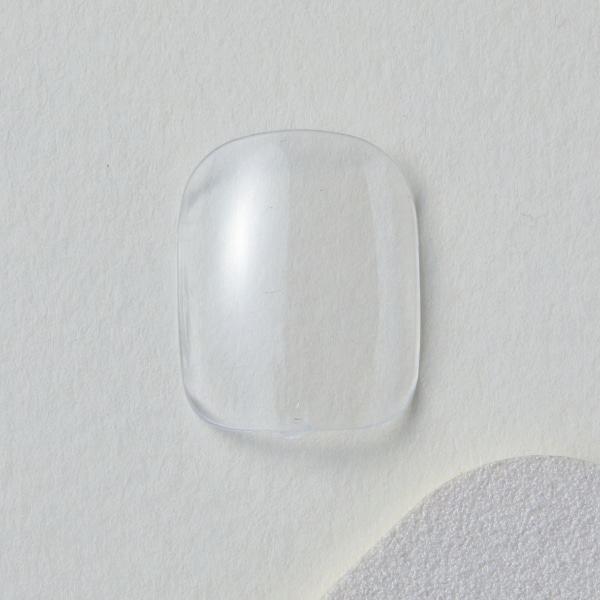
Prep the nail for application.
Step 2
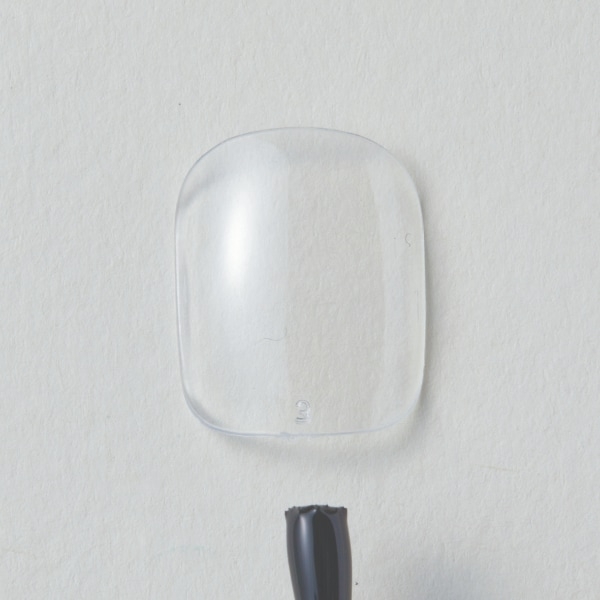
Apply base coat then cure.
Step 3
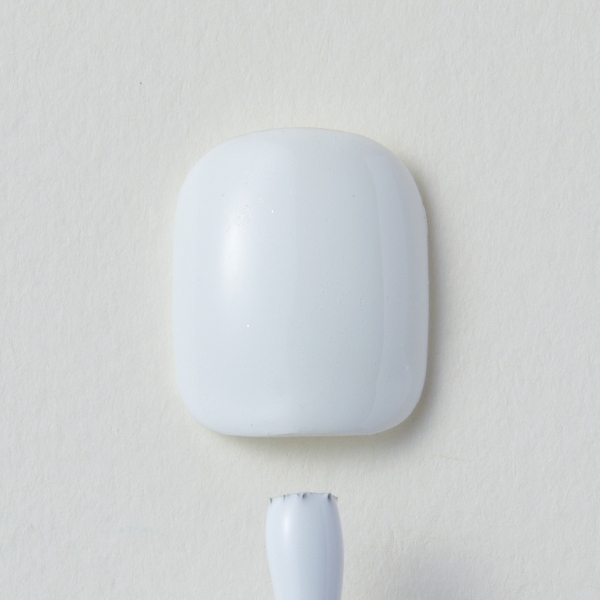
Apply a white base shade and cure.
Step 4
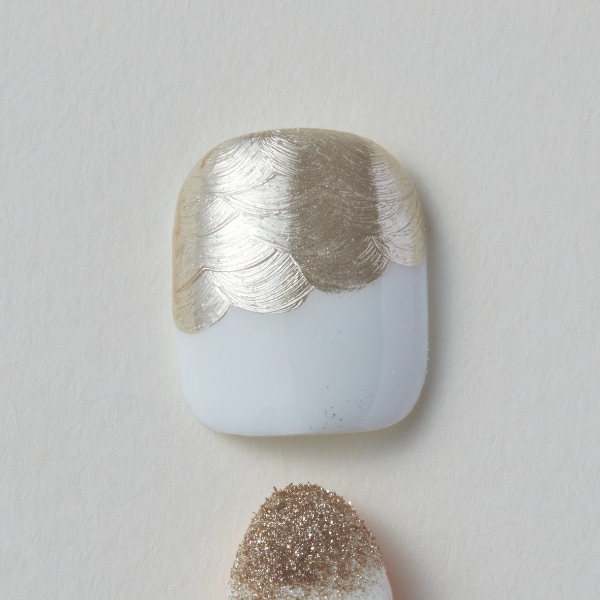
Apply clear gel unevenly for chrome application and cure. Apply the chrome.
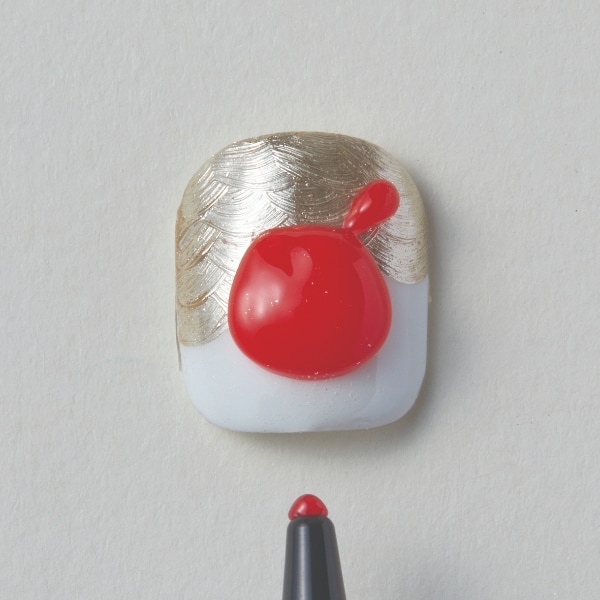
Step 5
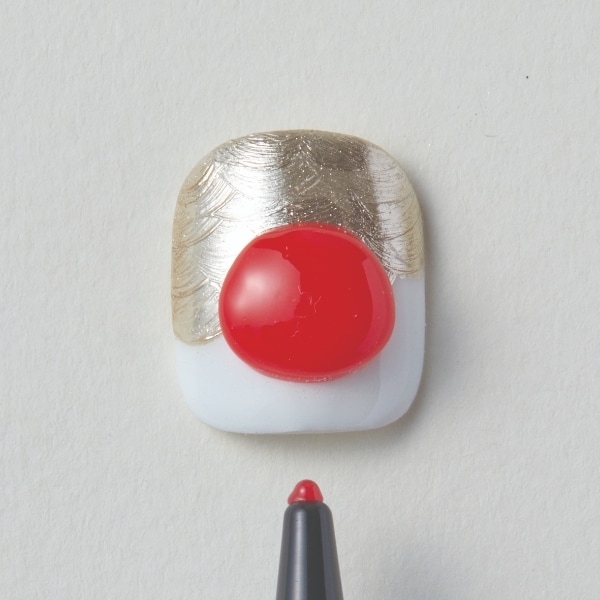
Using a red gel shade, create the shape of the lucky bag and cure.
Step 6
Using the same red shade, create the bag closure and cure.
Step 7
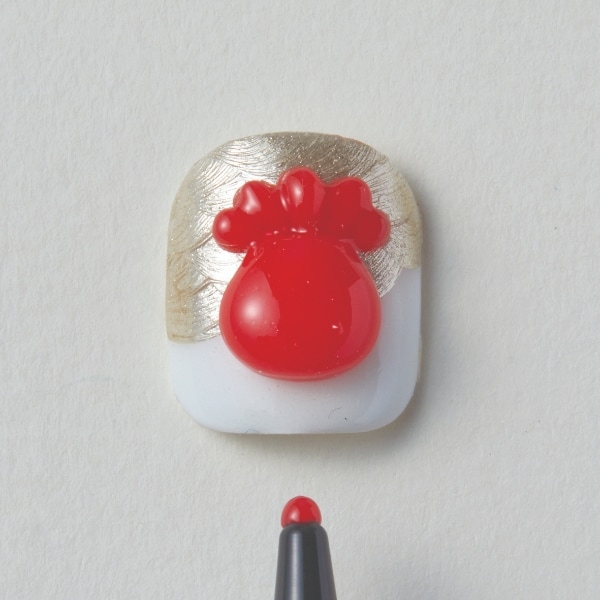
Repeat step six across the bag to complete the bag closure and cure.
Step 8
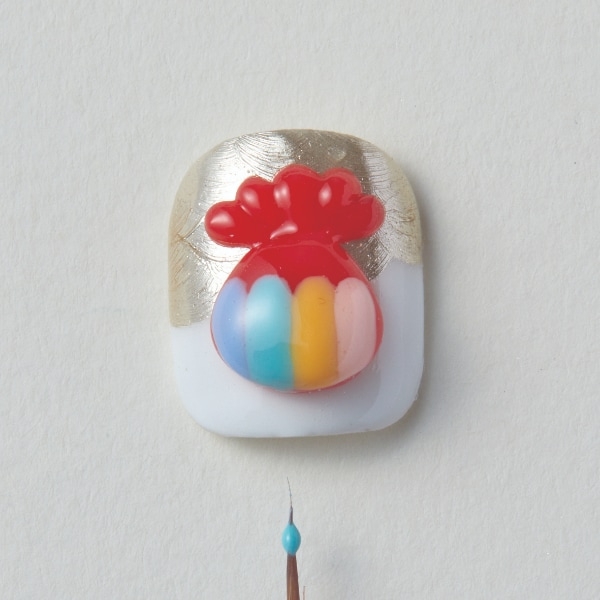
Take four shades to colour the lucky bag.
Step 9
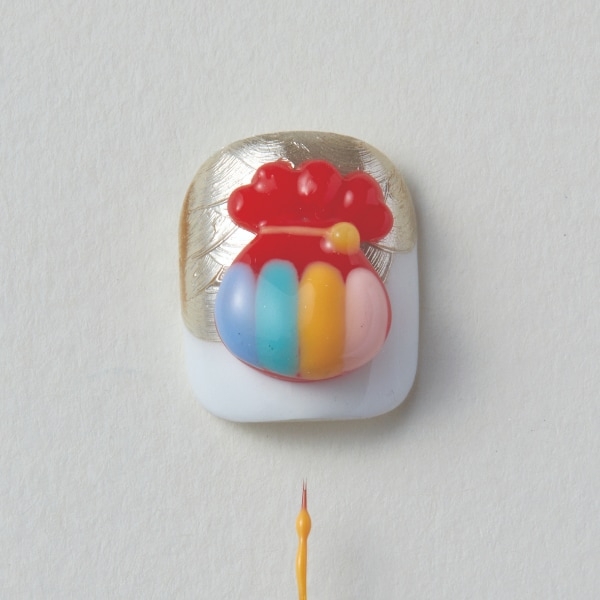
Use a yellow shade to draw a horizontal line and design a 3D button, then cure.
Step 10

Apply top coat and cure.

Read the latest issue