Abstract animal print nails
")
Step by Step
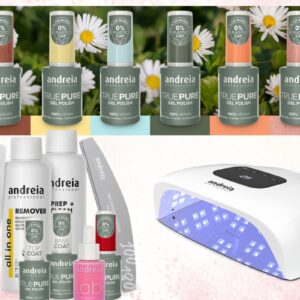
Salon System nail expert and owner of Golden Triangle Nails, Natalie Farrow, has created a step-by-step for these abstract animal print nails, using GELLUX’s Free Spirit collection.
GELLUX products are available from wholesalers nationwide.
Step 1
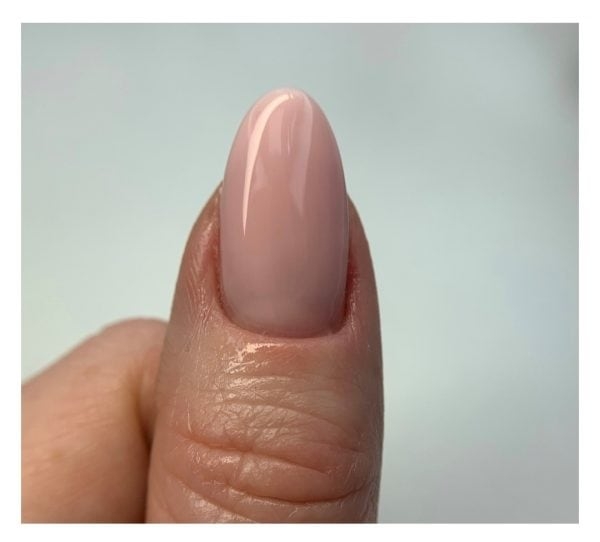
Prep the nails by filing to shape, pushing back the cuticle and buffing the nail plate. Cleanse nails with GELLUX Prep + Wipe and apply two coats of GELLUX Light Pink Builder Gel, curing for 60 seconds between each layer.
Step 2
For the three animal themed nails on each hand, use a fine liner brush and GELLUX Untamed to colour the cuticle section of the nail. Apply two coats, curing in between.
Step 3
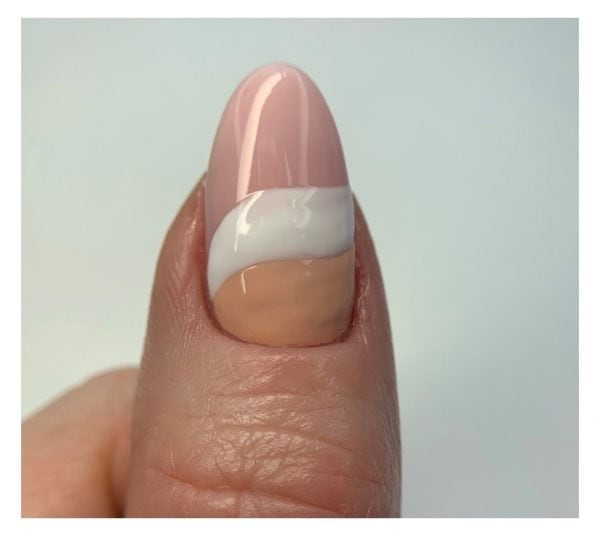
Using GELLUX Purely White, apply a ‘swoosh’ section in the middle of the nail, again using the fine liner brush.
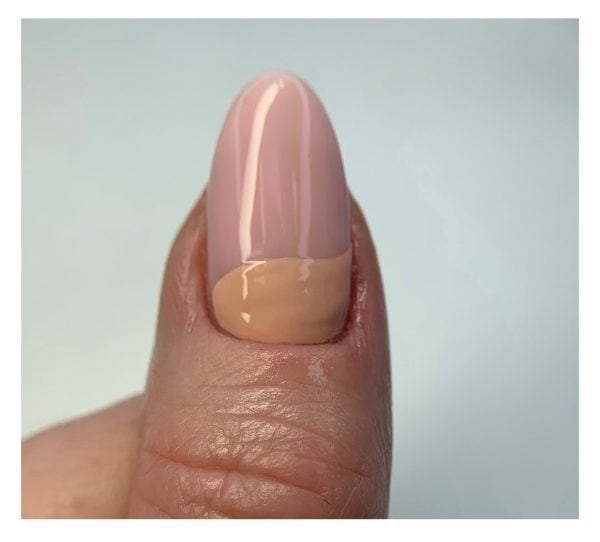
Step 4
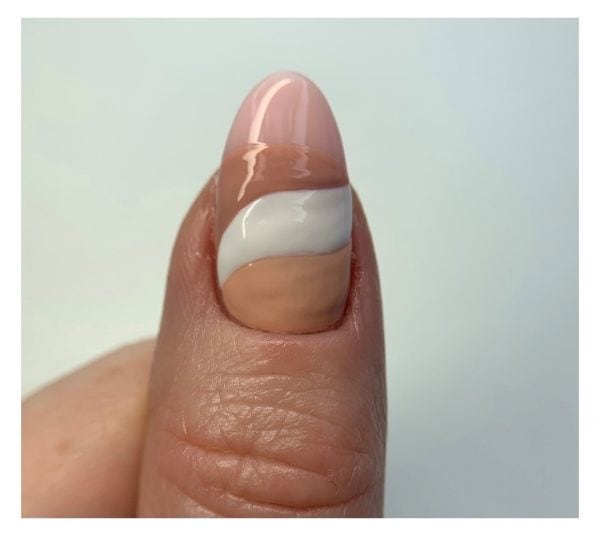
Apply GELLUX Secure In The Nude to the next section.
Step 5
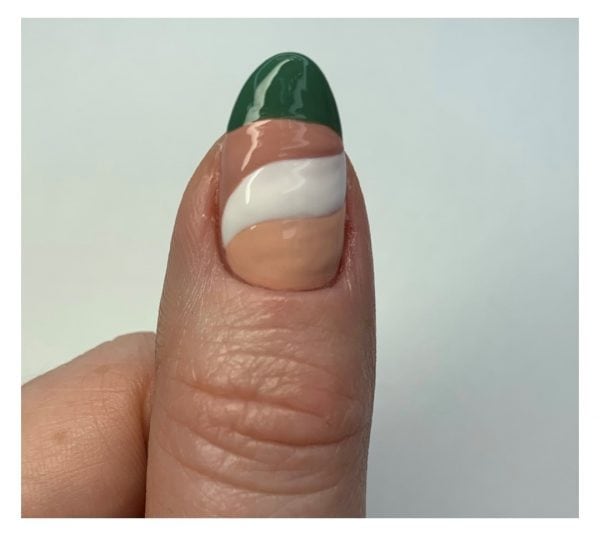
Using GELLUX For-Ever Green, colour in the tip of the nail, making sure to leave enough space for leaf nail art.
Step 6
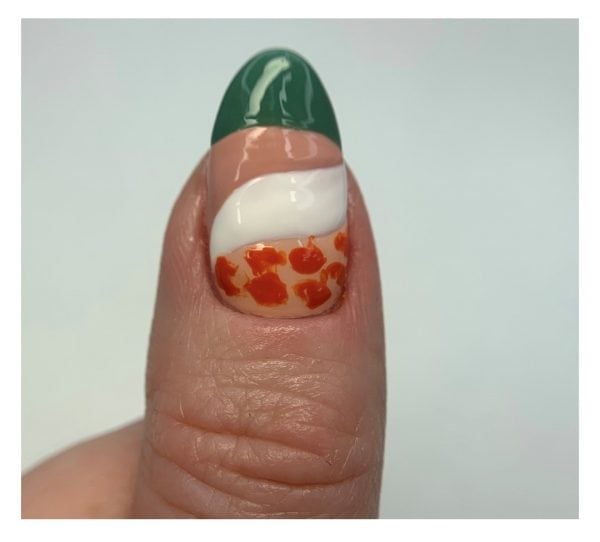
In the Untamed section, apply a thin layer of GELLUX Clear Base/Top Coat but do not cure. With a dotting tool and Maple Dreams Come True, paint giraffe prints across the nail and watch them bloom.
Step 7
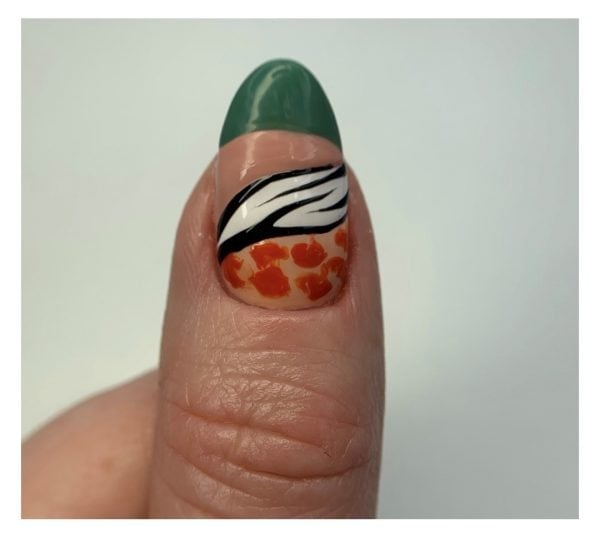
In the Purely White section, use GELLUX Black Onyx to paint zebra stripes. These don’t have to be perfect, and thick and thin lines add variety and depth.
Step 8
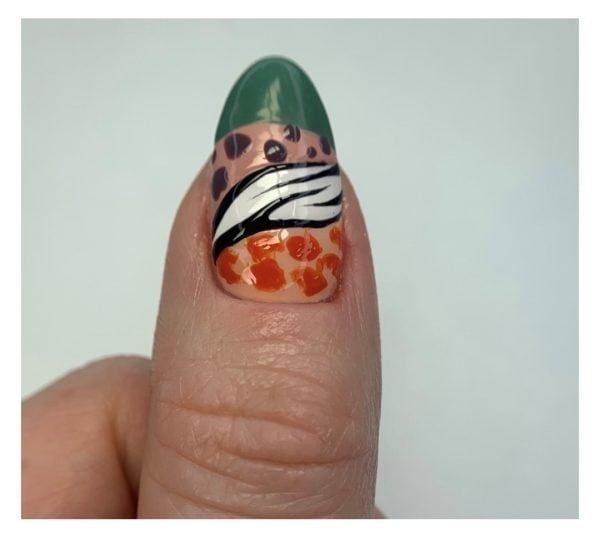
In the Secure In The Nude section, use a dotting tool and GELLUX Playful Plum to paint the leopard print dots. Cure before doing the outer leopard print details.
Step 9

Using GELLUX Black Onyx, paint the outer details for the leopard print, then paint leaf designs over the whole length of the top section of the nail. Use a fine brush for the line and tiny blobs of colour that can be dragged away to create the leaf shapes.
Step 10
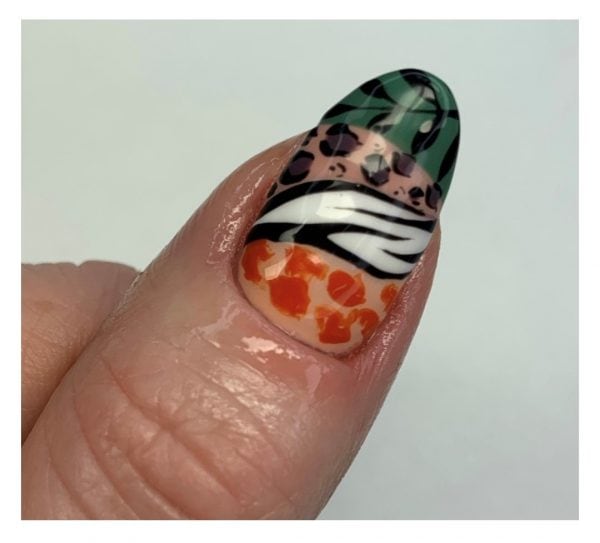
Apply two coats of For-Ever Green to the little finger and Maple Dreams Come True to the index finger, curing for 60 seconds. Apply GELLUX Matte Top Coat and cure. Finish with a coat of GELLUX Super Shiny Top Coat, cure for 60 seconds and wipe over the nails with GELLUX Prep + Wipe, before oiling the cuticles.

Read the latest issue