A Sparkling Statement Piece

Step by Step
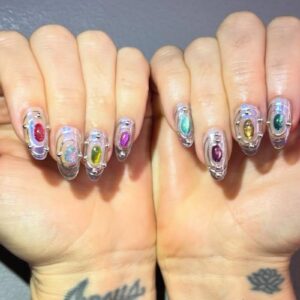
Try your hand at this pink nail design and matching ring by Anastasiia Morozova that uses nail art foil to imitate the deep, glittering effect found in precious stones…
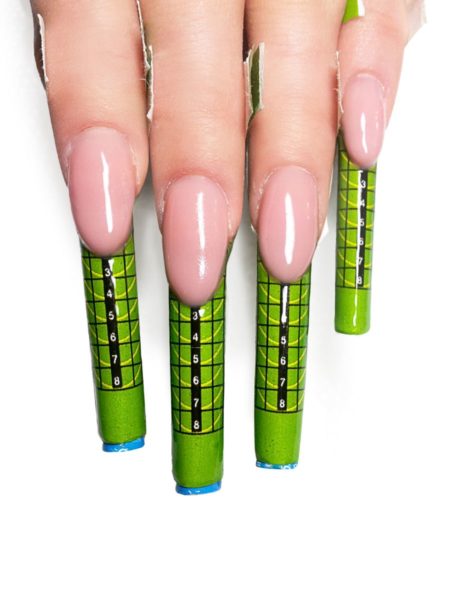
Step 1
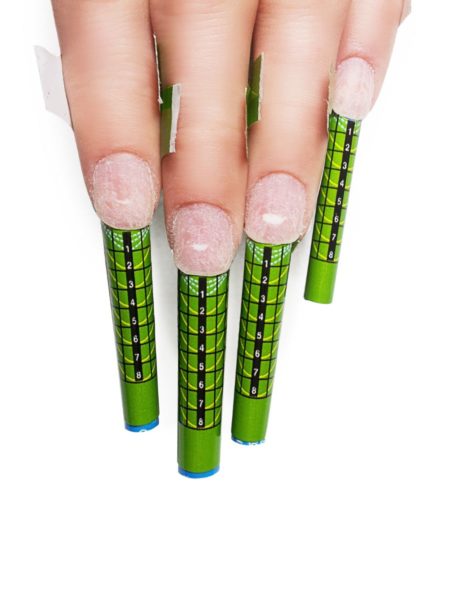
Prepare the natural nail for enhancements and apply forms.
Step 2
Create a thin extension using builder gel. Cure
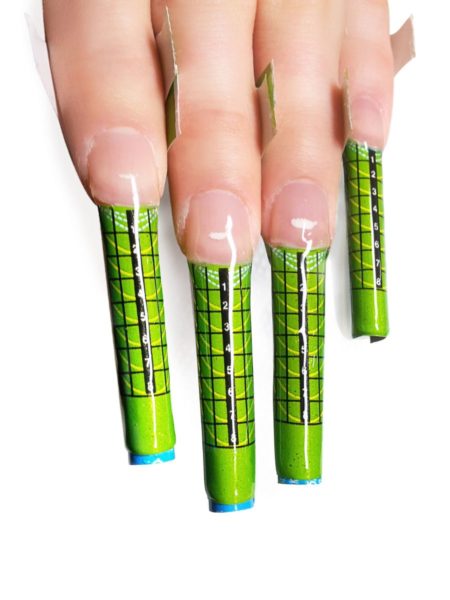
Step 3
Using a cover pink builder gel, elongate the nail bed. Cure
Step 4
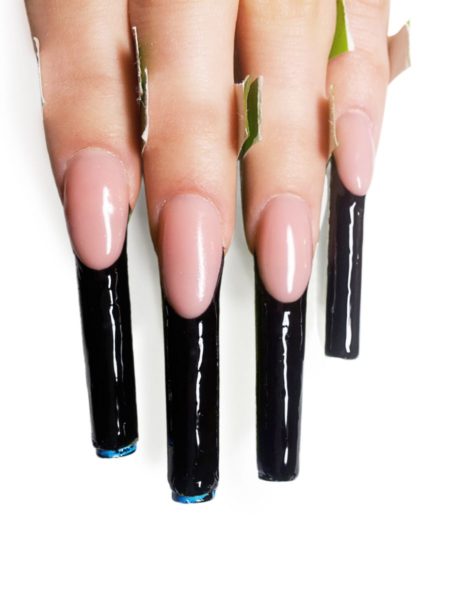
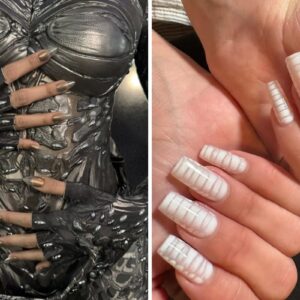
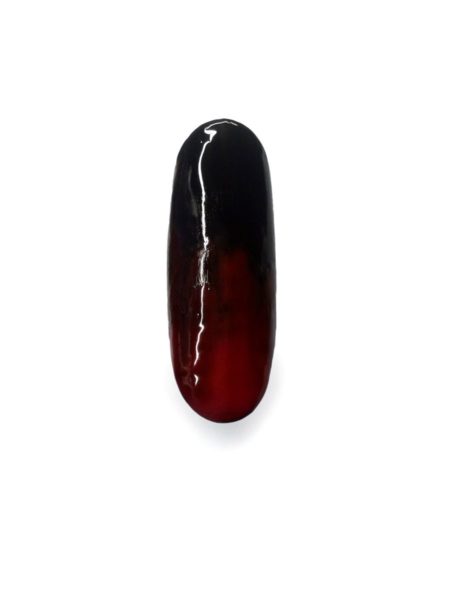
With a black art gel, create a smile line and the tip of the enhancements. Cure.
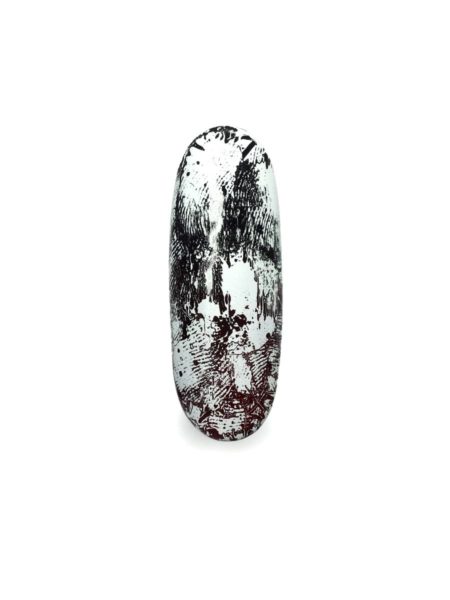
Step 5
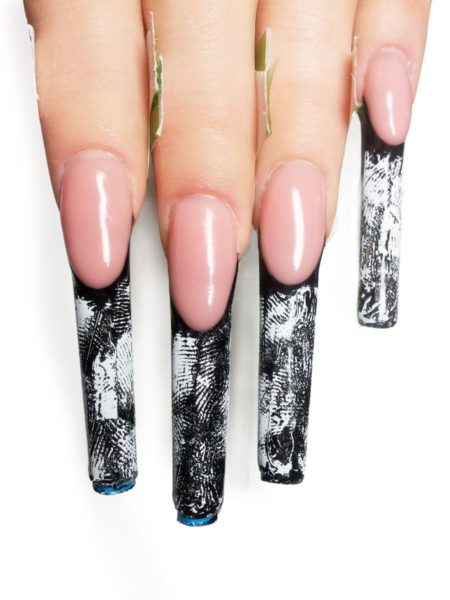
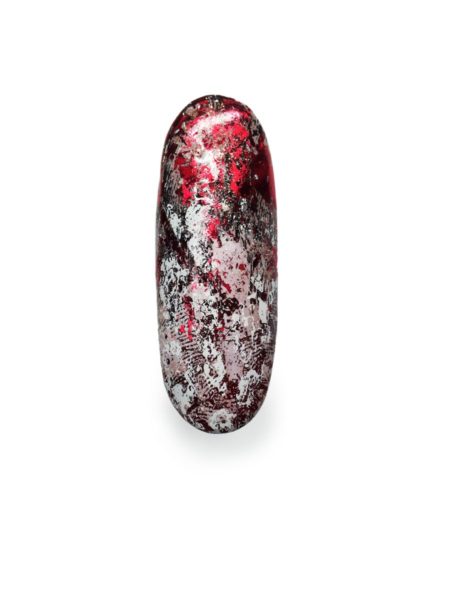
Apply a white matte nail art foil to the tip of the nail.
Step 6
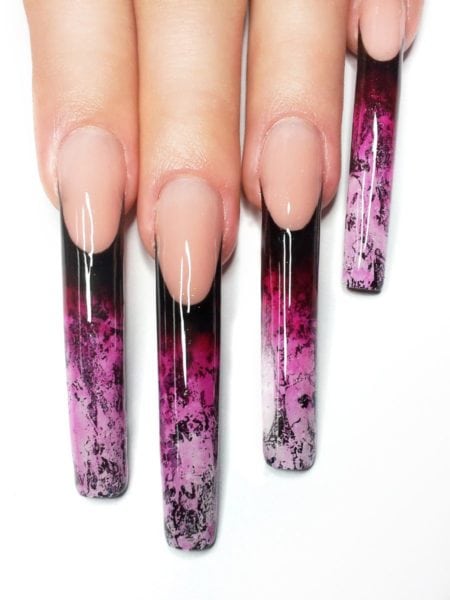
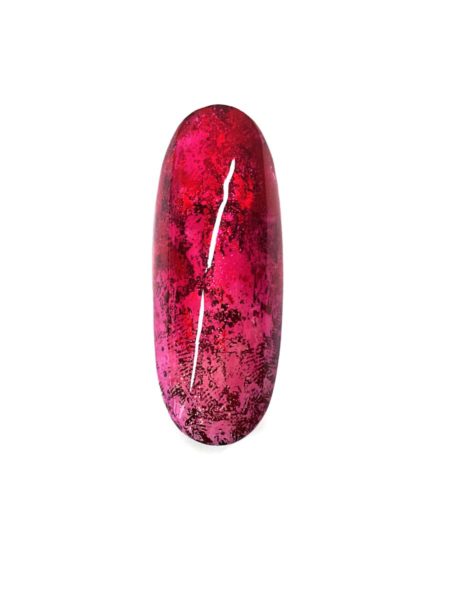
Apply a dark red transparent gel polish over the foil. Create an ombré effect by applying a thinner layer towards to the free edge before curing. Apply a clear builder gel and cure. File and refine the nail before applying top coat.
Step 7
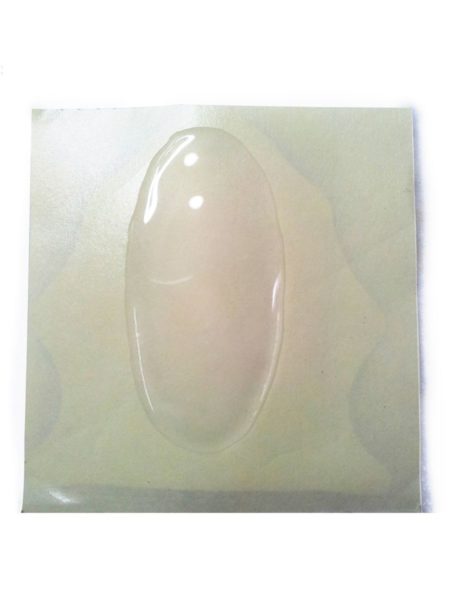
Create the shape for the top of your ring. You can create any shape.
Step 8
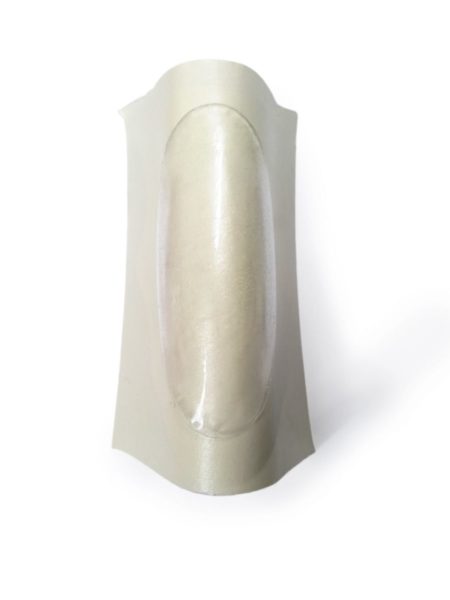
Use a metal tube to create a curve in the product. Cure.
Step 9
Paint half of the shape with black gel polish and the other half in a dark red shade. Cure.
Step 10
Apply white matte nail art foil.
Step 11

Apply a thin layer of red transparent gel polish and cure.
Step 12
Next, apply a red holographic nail art foil to some sections.
Step 13
Apply another layer of red transparent gel polish. Try to keep one side of the shape light in colour with a thinner application to create an ombre effect. Cure. Refine and buff the shape, before applying a top coat.
Step 14
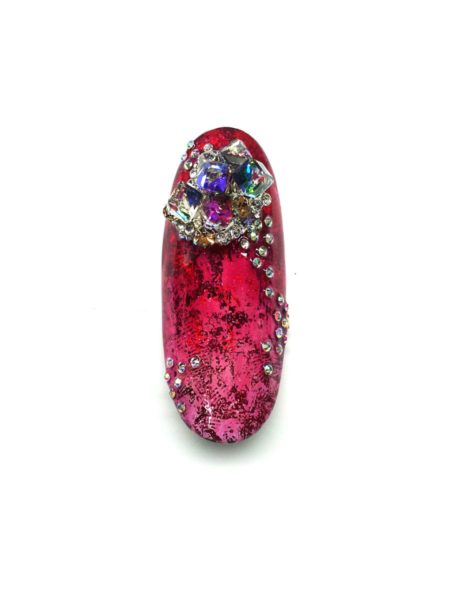
Add gemstone to frame your shape using a thicker gel, and cure. Apply your top coat. Attach to your chosen ring to use.

Read the latest issue