A Colourful Combo
![Final Final](https://cdn.scratchmagazine.co.uk/wp-content/uploads/bb-plugin/cache/Final-366x600-square-4934b562ebcd3e1071c23848394e7e97-5a6f4ffc620a7.jpeg)
Autumn/Winter, Step by Step
Anastasiia Morozova shares this colourful design…
Read more from Anastasiia in the January issue of Scratch!
Step 1
![](https://cdn.scratchmagazine.co.uk/wp-content/uploads/2019/01/1-600x486.jpg)
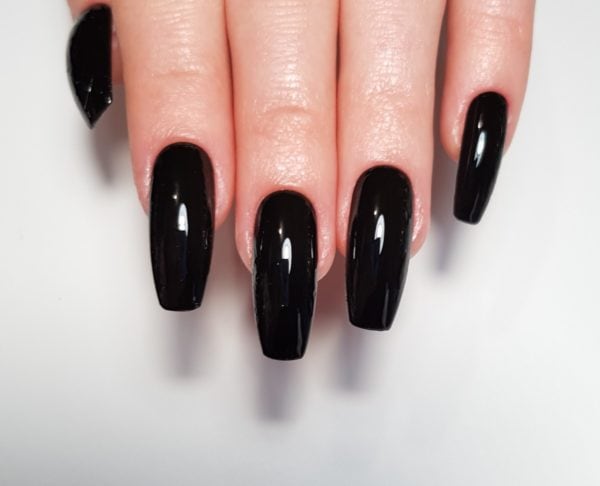
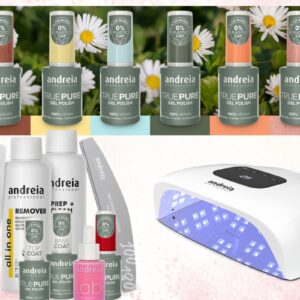
Prepare nails for a gel polish application. Apply a layer of black gel polish to all nails. Cure and repeat if needed
Step 2
![](https://cdn.scratchmagazine.co.uk/wp-content/uploads/2019/01/2-1-600x461.jpg)
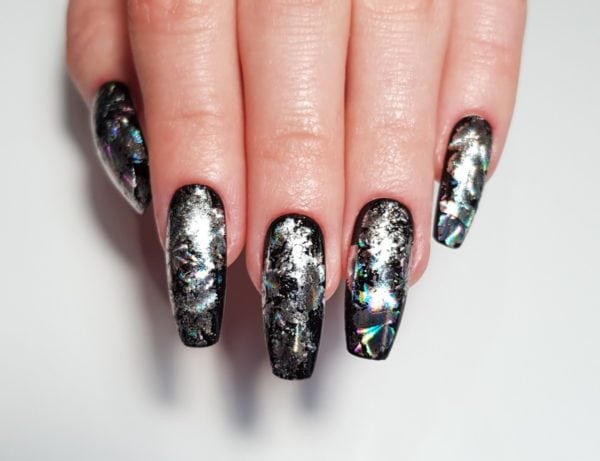
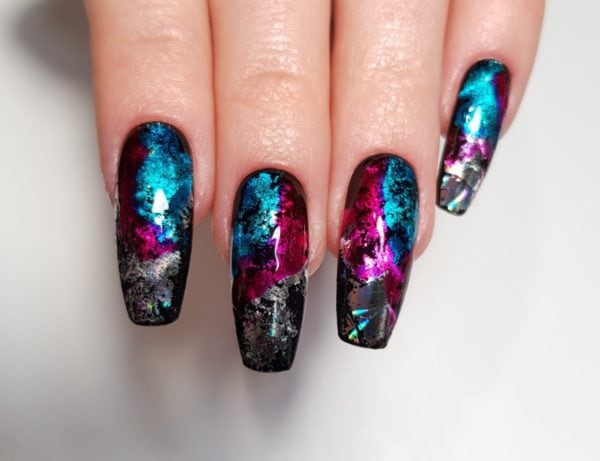
Apply silver holographic foil across the nail in patches.
Step 3
![](https://cdn.scratchmagazine.co.uk/wp-content/uploads/2019/01/3-1-600x471.jpg)
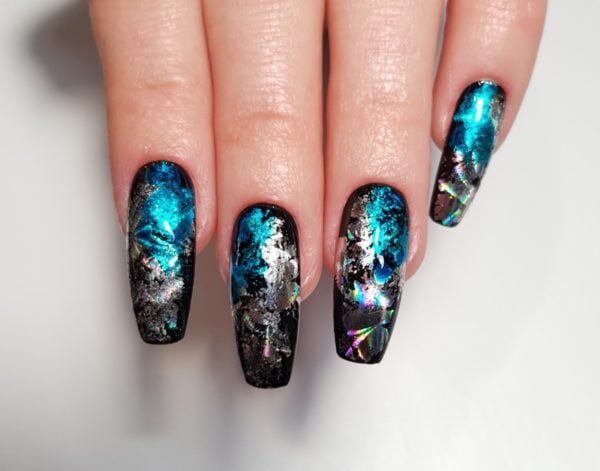
Apply a blue translucent gel to sections of the nail. Don’t cure.
Step 4
![](https://cdn.scratchmagazine.co.uk/wp-content/uploads/2019/01/4-1-600x461.jpg)
Next, apply a pink translucent gel close to the blue gel. Again, don’t cure.
Step 5
![](https://cdn.scratchmagazine.co.uk/wp-content/uploads/2019/01/5-1-600x504.jpg)
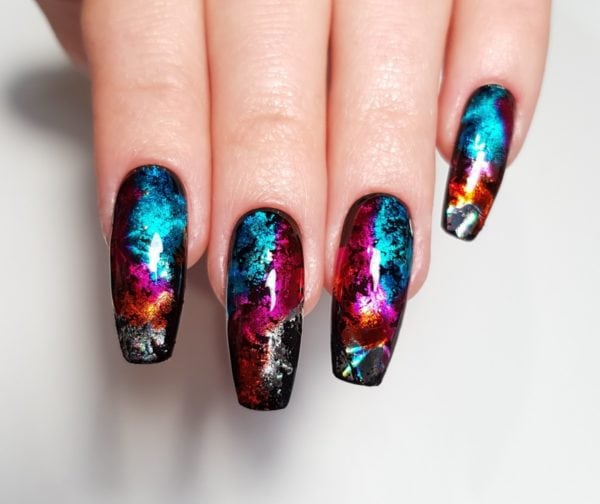
Apply an orange translucent gel next to the pink. Leave uncured.
Step 6
![](https://cdn.scratchmagazine.co.uk/wp-content/uploads/2019/01/6-1-600x450.jpg)
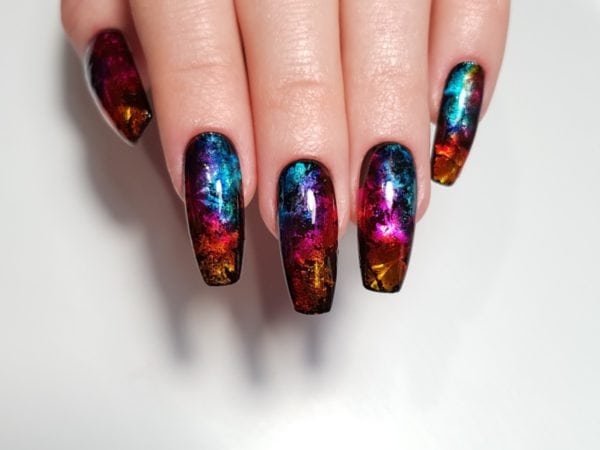
Lastly, apply a yellow translucent gel towards the end of the nail. Blend all the colours to make a smooth ombré effect. Cure your design.
Step 7
![](https://cdn.scratchmagazine.co.uk/wp-content/uploads/2019/01/7-1-426x600.jpg)
Apply your top coat and cure.
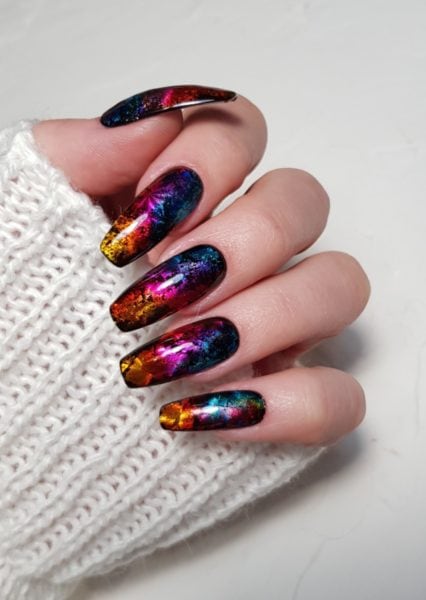
Step 8
![](https://cdn.scratchmagazine.co.uk/wp-content/uploads/2019/01/Final-366x600.jpeg)
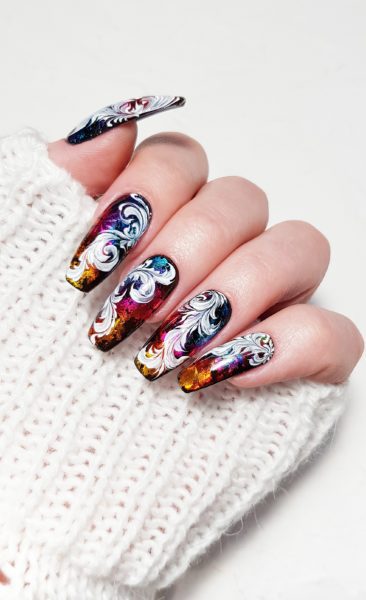
If you want to add something extra, try adding a few flourishes to frame the nail. I used a white, non-sticky nail art gel paint.
![FEB25 low res cover Scratch for web Feb25 Low Res Cover Scratch For Web](https://cdn.scratchmagazine.co.uk/wp-content/uploads/2025/01/FEB25-low-res-cover-Scratch-for-web.jpg)
Read the latest issue