1920s Art Deco nails

Step by Step
This design was created by Diana Pajeva, Georgie Smedley Group brand ambassador, using the Aeropuffing technique.
Step 1
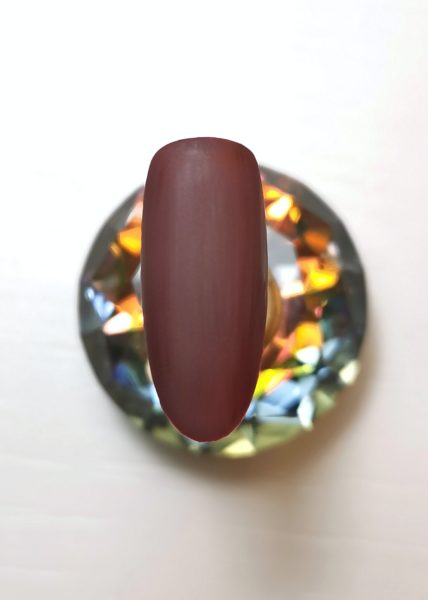
When working on nails, use your usual steps of applying the base coat, colour coat and top coat. Here, I applied the Gelish in The Camera Loves Me and used the Aeropuffing No Cleanse Matte Top Coat.
Step 2
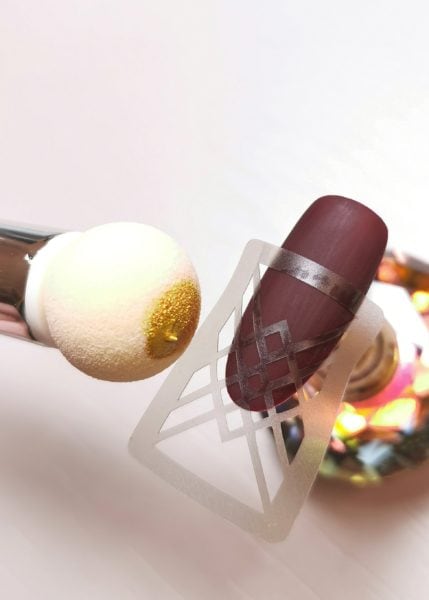
I used stencils from Aeropuffing for this design. Carefully stick the stencil over the nail so it sits tight in order to get crisp lines.
Step 3
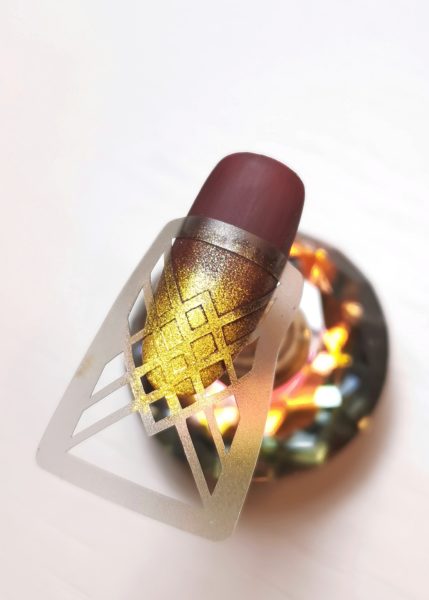
With the help of the Aeropuffing Puffing Sponge, I applied gold gel paint over the stencil. Carefully remove the stencil and cure the design in LED/UV light (30 seconds/2 minutes).
Step 4
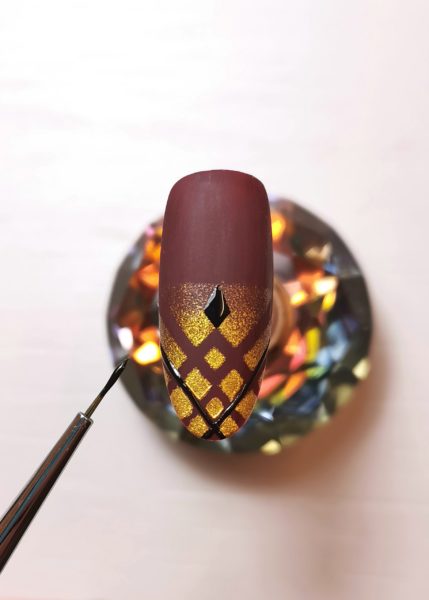
Using black gel paint, add more details to your design.
Step 5
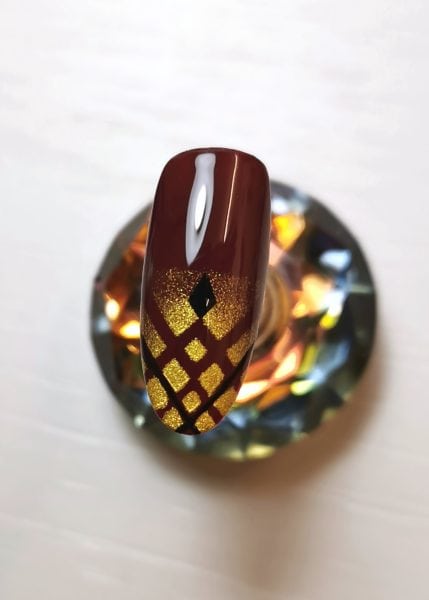
At this stage you can use either a matte or glossy top coat. I opted for a shiny top coat from Gelish,
Step 6
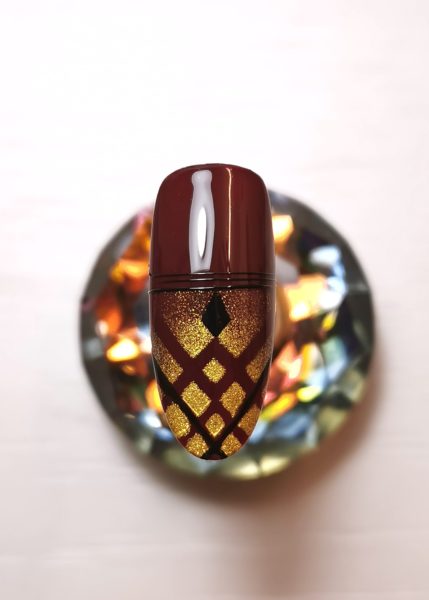
Finally, add a few lines of spider gel to give the design a nice final touch.

Read the latest issue