To pinch or not? Katie Barnes on nail enhancements
By Helena Biggs | 23 June 2017 | Expert Advice, Feature, Technique
Salon owner, educator, former Scratch columnist and award-winning nail stylist, Katie Barnes, reveals how and when to use pinching tools…
There is often a debate within the industry about whether or not you should pinch L&P and gel enhancements. I think there are situations where it is necessary and others where it is not so essential.
An important element of nail structure is the C-curve. Without a C-curve ranging from 25 – 50%, the nail enhancement structure won’t be at optimum strength. Think of an arched bridge; the curve on the bridge works by transferring the weight outward, away from the bridge itself. The C-curve on a nail structure acts the same to keep it strong, which is why strong lateral side walls are also paramount. A flat nail is much more likely to break.
Whether you tip or sculpt, you can pinch an enhancement. If tipping, the key is to blend the tip and thin it so it is pliable – even competition tips often don’t have enough of a C-curve and can be prone to bouncing out after product application.
Familiarising yourself with the tools
There is an array of different tools and gadgets in all sorts of shapes and sizes out there to pinch nail enhancements from just your fingers, to clamps and C-curve sticks. Here’s how and when I use each tool:
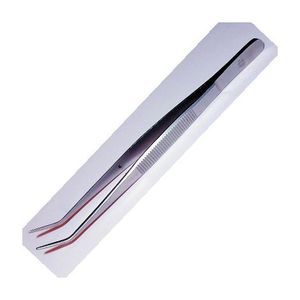
Pinching tweezers and tool
I tend to use these as a pre-pinching tool. I use the lighter ones for gel enhancements and stronger ones for L&P to mould the product before applying my clamp or clip while the product fully cures and hardens into shape.
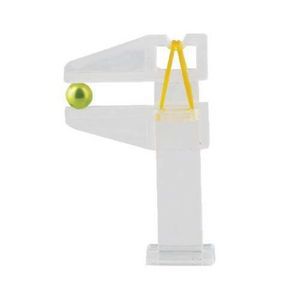
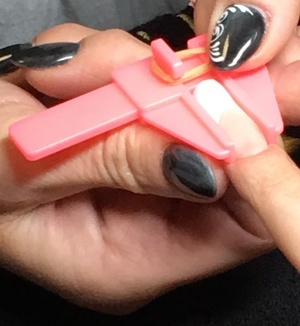
Pinching clamps and clips
Pinching clamps often have an adjustable strength and pressure so you can control how deep a curve you want to achieve. Many clamps come with an elastic band which can be tightened. I purchase stronger ones, designed for plaiting horse’s tails to give a stronger pinch.
Clamps and clips come in a clear or coloured plastic or metal. I use the plain ones for working with L&P and clear when working on gel as the clear will allow all sides of the gel to cure. If you experience problems with the clips staying in place when working on gel, attach a thin layer of tape or material plaster to grip. As a 50% curve in competitions is paramount – I always use these in competition work.
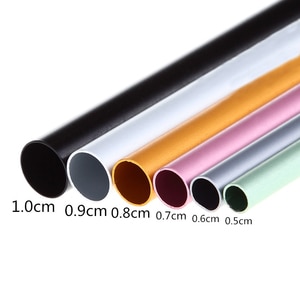
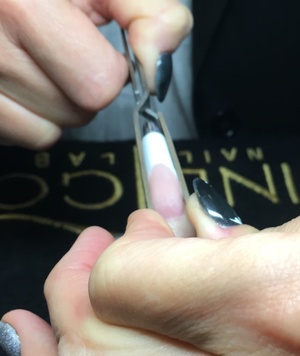
C-curve sticks
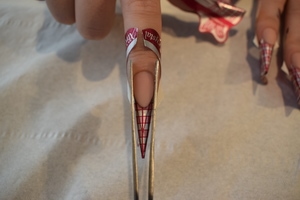
C Curve sticks are great if consistency is an issue as it ensures that all the C-curves are the same. They come in different sizes and it is important to match up the right size to the lateral side walls of the natural nail. Don’t be tempted to select a smaller size as this will weaken the enhancement. C-curve sticks can be used in several ways: to mould your form around prior to fitting or to hold under your form when pinching with tweezers, clips or clamps to give a perfectly symmetrical curve without the worry of over pinching.
Form fit
I rarely pinch nails in the salon, as I can achieve a deep C-curve and different shapes, including extreme shapes with form fitting itself. If you don’t want to and aren’t confident enough with pinching, this is the perfect method for you. For more tips on this read my previous Scratch blog on form fitting.
Nailing your timings
Pinching at the right time is absolutely paramount, which is often why it can be considered an advanced technique. Master and brush up on your knowledge with the curing stages of gel and acrylic and this won’t be an issue. If you pinch too soon, then you will dent the product, causing weakness to your lateral sidewalls and if you pinch too late, it will have no effect and not to mention, cause discomfort to your client. Don’t forget to use even pressure on both sides for a symmetrical and beautiful curve.
Love Katie B x

Read the latest issue


