
How-to: L&P acrylic with Halo
By Guest Writer | 19 February 2021 | Expert Advice, Feature
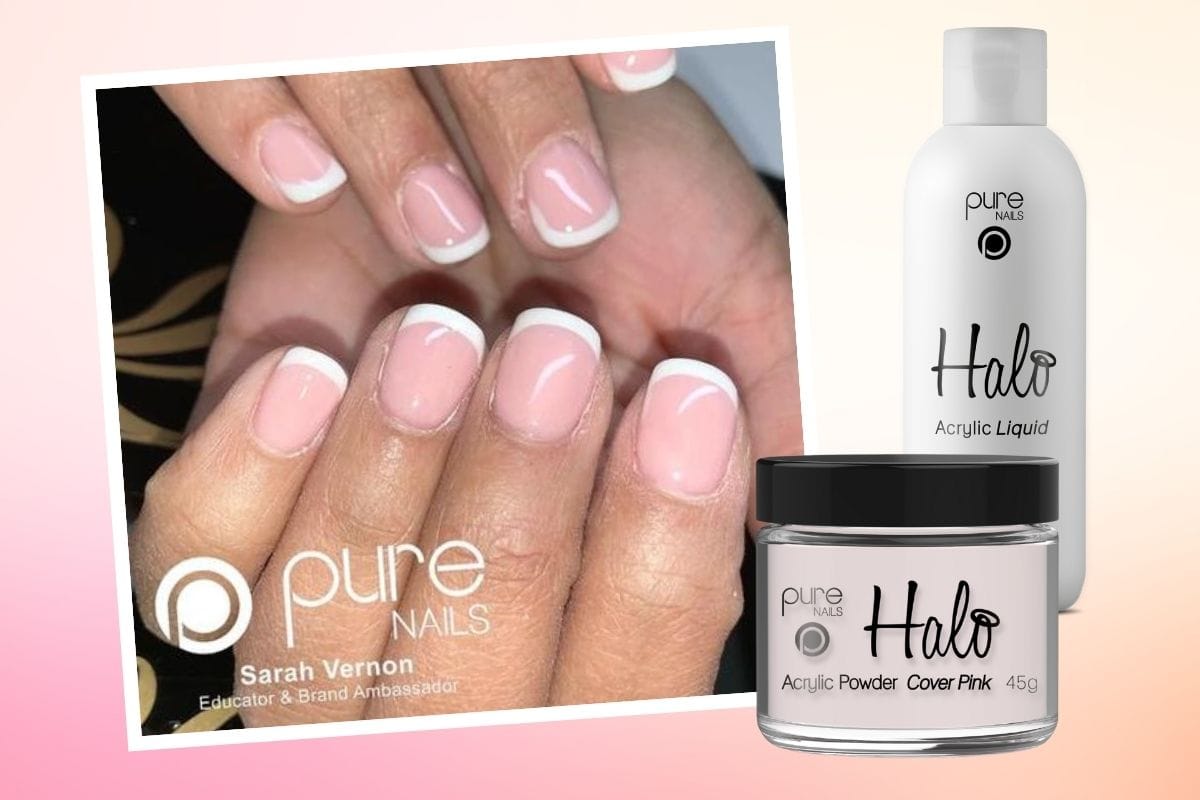
Tina Bell, head of education for Pure Nails & owner of Totally Polished Academy, shares how to create an L&P nail using Halo’s L&P acrylic system…
 L&P acrylic enhancements maintain their popularity with clients due to the length L&P can achieve, its strength and its durability. However, without the correct training and guidance, it can be one of the hardest systems to perfect.
Finding a training academy that will not only guide you through the initial course but will offer you continuous support after your qualified is of utmost importance.
At Totally Polished Training Academy, we pride ourselves on offering you 24/7 support, once qualified, with every Pure Nails training course.
Step 1: Prep

With any service, prep is by far one of the most important steps. Taking your time to prepare the nail will ensure you get long-lasting nails that will keep your clients happy and keep them returning time after time. Check out some prep tips, here.
As a rough rule, we suggest that prep should take no less than 10 minutes (one minute per nail). Removing the nails natural oils along with dead cells and debris will allow the product to adhere correctly. Once you have correctly prepped the nails, we should then dehydrate the nails using Halo Prep & Scrub- the nails should now have an all-over chalky appearance, this means that you are ready to move onto the next step.
Step 2: Tip/Form Fitting
Choosing the correct tip for your client and/or correctly fitting a form will give you the foundation to build a beautiful nail extension. Having been in the industry for over 30 years, I have always struggled to find the best nail forms, however, working alongside Pure Nails, I have helped to create the perfect forms which are so simple to use and look beautiful on every client. The dual forms can be used for extreme length and/or salon nails- they are so versatile!
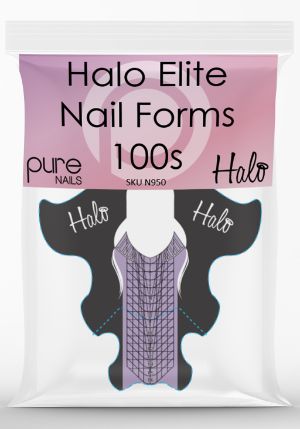
If the form isn’t fitted correctly, it will create issues on application and weakness in the extension itself. It is vital to get this step correct, so take your time!
If using tips, ensure the tip is fitted correctly and suits the shape of the nail- shorten, shape and blended to remove bulk. Once completed, use Halo’s Prep & Scrub and your Halo Plush Brush to remove any dust. Now Halo Mega Bond Primer should be applied only on the natural nail (the primer should be applied after tip application or your form application, just before your about to apply the acrylic to ensure maximum bond.)
Step 3: Ratio & Application
Spending time with your acrylic and choice of liquid is so important. Get to know your brush, the ratio and how long you need to apply the acrylic, as this will help you to work out which acrylic liquid is most suitable for you.
Pure Nails offers two liquids along with a selection of powers; the original monomer which is the slower setting of the two, making it perfect for beginners and also perfect for hot salons/warmer weather.
Pure Nails Liquid Pro is a faster setting monomer which is ideal for when the weather is colder/once you become more advanced in working with acrylic and feel the need to speed up your application. I also love it for 3d work, the faster setting creates beautiful and quick forming beads allowing you to get amazing definition in the work.
Making sure your ratio is correct is also another important part. At Totally Polished Training, we suggest working with a 3 to 1 ratio. This means that once your brush is loaded with monomer, you then need to wipe it once on the glass Dappen Dish, then go to your acrylic powder and pick up three times (bounce your brush in the powder and count to three).
We also like to teach the three-ball method. This means, working with smaller beads, giving you more control when first learning about the product and structure of the nail. We start at the tip of the nail; patting and pushing the acrylic from side-to-side to ensure we receive an even coverage over the nails, we then blend it down towards the cuticle and middle of the nail. Your second bead will be placed here (on the blend), you will then start to pull back to overlap where you place your first bead, now blend it to where the third bead will be placed.
With your third bead, you need to make sure you start to build strength in the nail and the apex. The last bead (the smallest of the 3), is placed on the where we blended the second bead, we will then gently push down to the cuticle area keeping it thin and even, not allowing the product to flood the cuticle area or touch the skin.
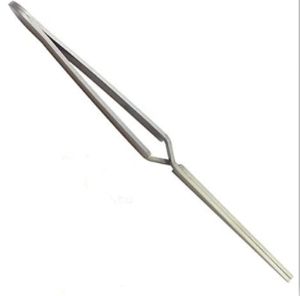
When all product is applied, you’re happy with the results and the product has set- it is now time to pinch with the Pure Nails Pinching Tool to obtain that beautiful C curve.
Step 4: Filing & Finishing Techniques
Once the structure is in place, it’s time to perfect the shape and buff the enhancement.
Using the correct file is of utmost importance. Using a grit too harsh, will put too much pressure on the enhancement and can create stress fractures which will lead to problems for the client further down the line. For this purpose, we suggest using the Halo Elite Half Moon 180 Zebra File and the Halo Elite 100/180 Buffer.

The way to file all depends on the style and shape the client has chosen. We have shared some filing techniques videos on our YouTube channel to guide you on different way to shape your client’s nails. We do also offer an Advanced Shaping and Filing course, so feel free to drop us a message to find out more- we’d love to see you!
Once all filed in, go over the nails with your 180 Halo Elite Buffer. Now remove the dust with Halo’s Prep & Scrub and your Plush Brush- you are now ready for colour!!
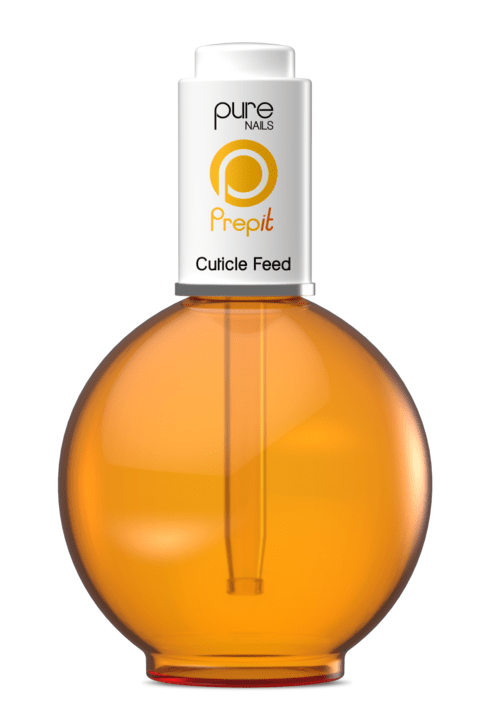
Don’t forget to finish off any set of nails with Pure Nails Cuticle Feed. Retailing oil to your clients will help clients keep their enhancements looking their best between maintenance appointments – it’s also a way to earn some extra money!
Make sure you follow us and give us a tag on Instagram @purenailsuk. We look forward to you joining our Halo family!
For training enquires, email purenails@totallypolishedtraining.co.uk or for technical support email me on nailtechsupport@purenails.co

Read the latest issue


