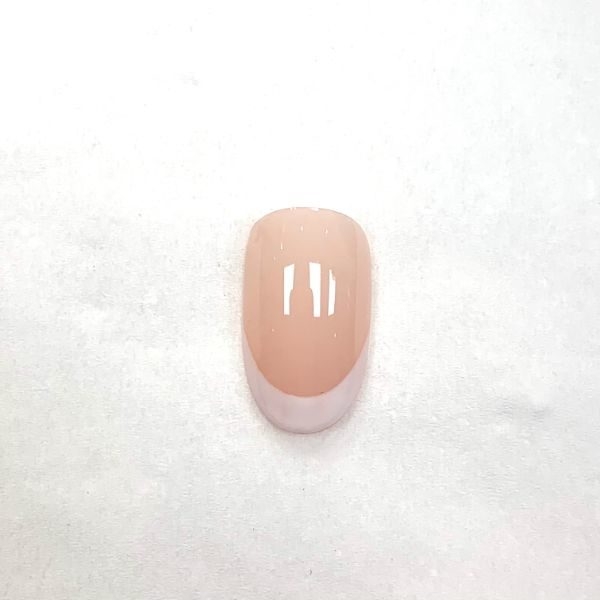
How to create a crisp smile line with the gel system
By Katie Barnes | 21 January 2020 | Expert Advice, Feature
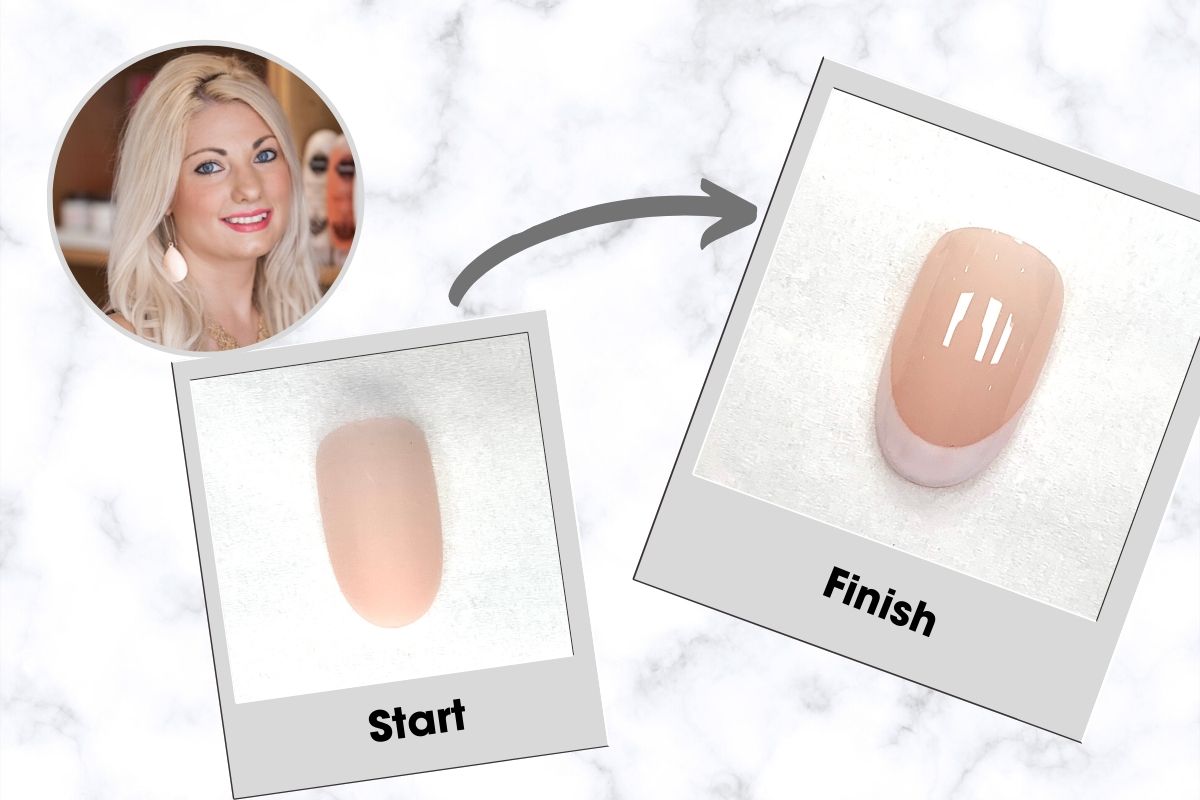
Smile lines can be a nail tech’s nemesis. With the introduction of gel paint and gel polish, the need for sculpted smile lines has faded. While I love the look of a crisp, sculpted smile line, time constraints and trends means that more and more clients are requesting varied finishes; from ombré to plain colour and pink & white nails – with smiles.
When you have a client that enjoys different finishes, creating the base colour in cover pink allows for quicker maintenance services by only needing to remove the finish, infill and replace with the next design. If sculpting a smile line or ombré as your base service, when the client wants a completely different effect, a full removal and full set is required, resulting in more time and a higher cost.
As well as being beneficial over enhancements, the perfect painted smile line can also be challenging to techs offering natural nail services such as manicures and gel polish.
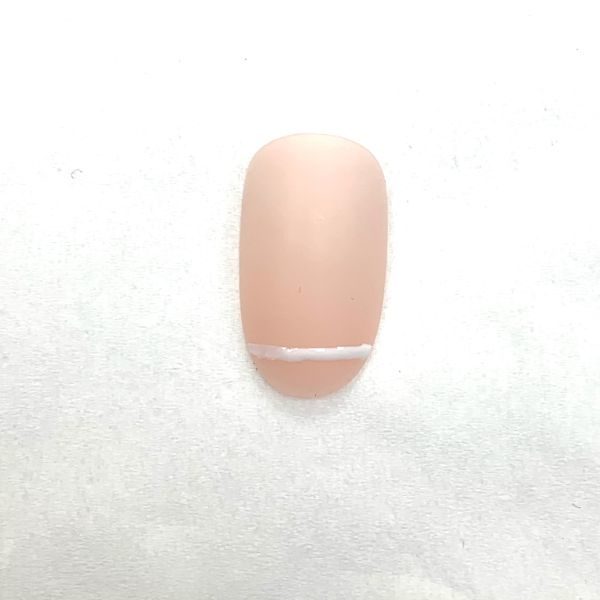
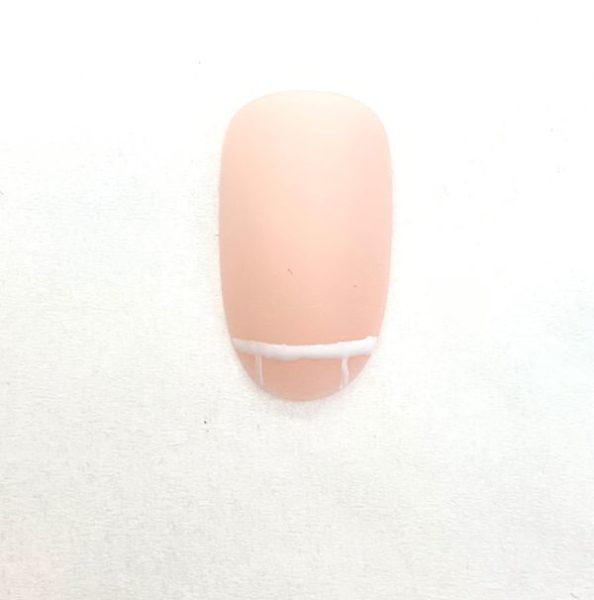
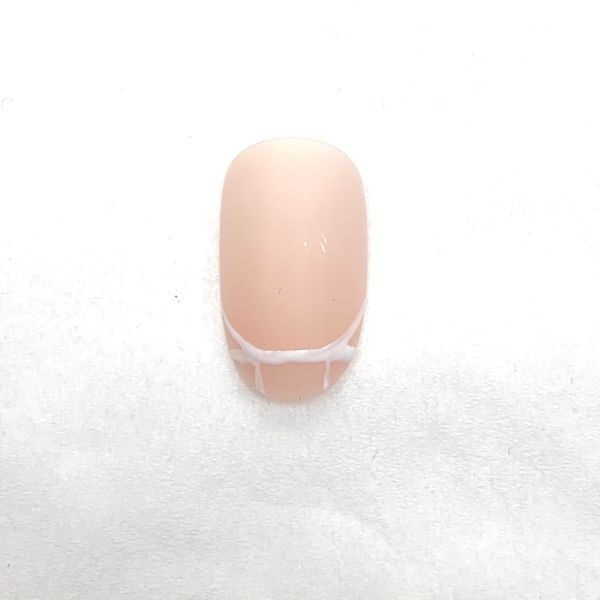
Some techs favour painting a smile line freehand with the polish brush, while others prefer to use a fine line brush or a dotting tool. It is important to ensure that the corner points of the created smile line start at the same point and the angles are symmetrical. One of the easiest ways to achieve this is to use a brush to grid out the free edge. This way you can also correct any imperfections on the client’s natural nail, too.
When deciding what shape to create the smile line, mirror the shape of the client’s cuticle as this will always be flattering to that client.
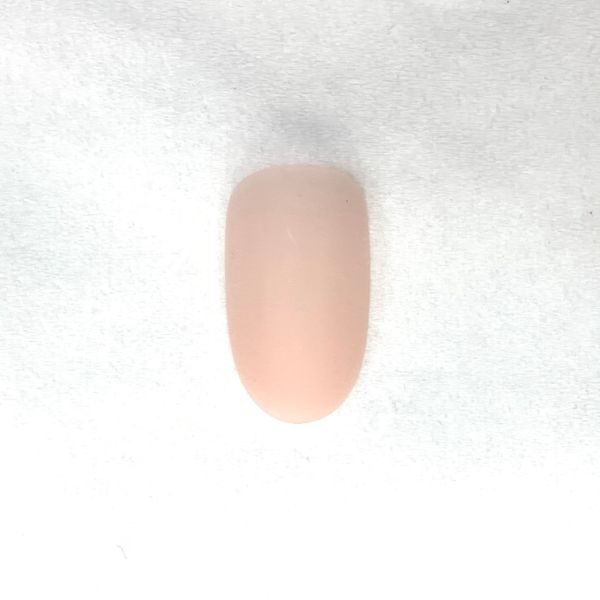
A pink & white French finish is a timeless look that is going nowhere so rather than fear a smile line, perfect your skills and offer it to your clients with confidence – and check out my step-by-step guide, below.
Love Katie B x

Read the latest issue


