A guide to taking care of your nail tools & brushes
By Scratch Staff | 15 August 2024 | Expert Advice, Feature, Technique

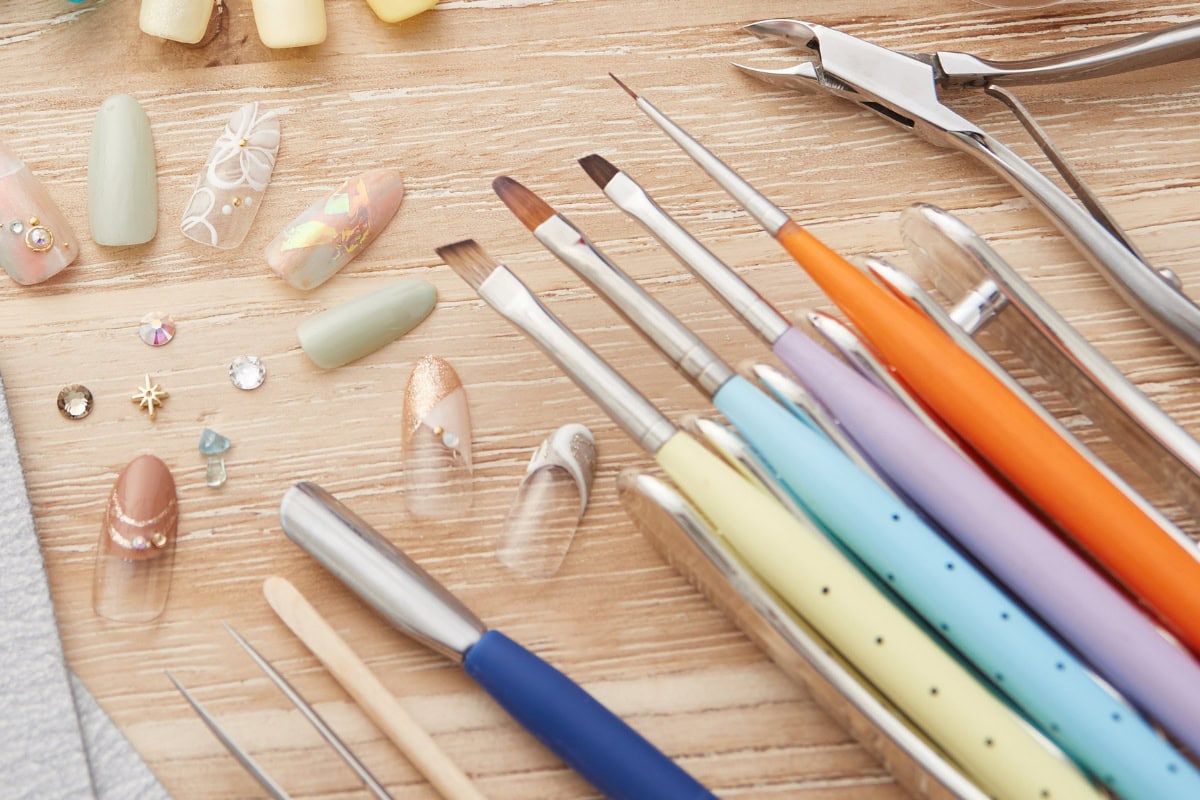
They’re the most essential items in your kit bag, so refresh your knowledge on storing, cleaning and maintaining nail tools and brushes…
 “With all tools, the general rule should be that if you can feel a loss of efficacy or you’re having to change your technique, it’s time to replace the tool,” comments Paulina Zdrada, founder of The Nail Lab UK.
“If you drop or compromise the quality of your tool in any way, you should replace it immediately rather than risk any damage to your client’s nail or cuticle.”

“Sharp tools are safer and more efficient to use than blunt ones,” notes Katie Clark, founder of Katie Barnes Tool Range.
“When a tool is blunt or thick, additional force is required to achieve the same results. Also, if you use your tools not for their intended purpose, you can shorten their life.”
 “Proper care extends the life of your nail brushes, saves buying replacements frequently and ensures that your designs are crisp,” adds Katy Pottle, the World’s Star Nail Artist 2023.
“The better you treat your tools, the better they’ll perform.”
Storage
Be mindful of where you put your tools down during each client’s service. Consider a tool rest as an attractive and useful addition to the nail desk. Otherwise, keep your tools in their protective box, case or holder when not in use.
“Never store scissors together or touching,” recommends Katie Clark. “Tips and blades should be carefully protected from damage using the protective plastic cap provided by your supplier. Never store them downwards or with tips or sharp edges resting on surfaces.”
“Store your brushes facing down, to prevent product from running into their metal bases and glue holding the hairs together,” advises Katy Pottle.
Cleaning
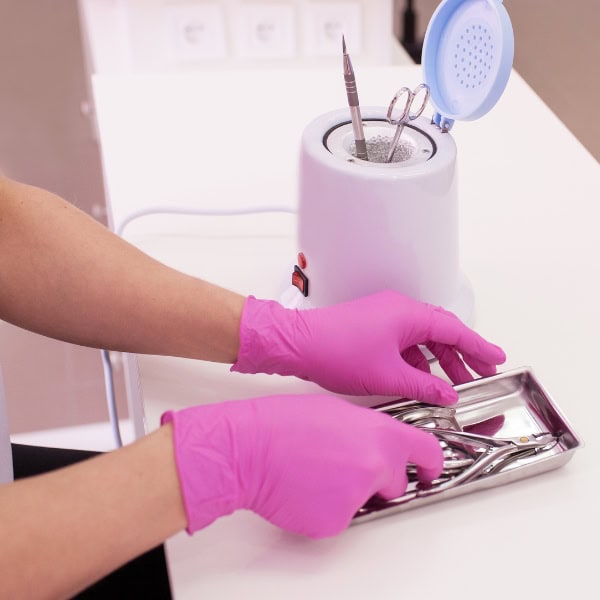
All tools that can be cleaned and reused must be sterilised/disinfected (strictly following the manufacturer’s instructions) using products that are tested to approved standards. Store your tools in a clean, dry environment until they are needed for use.

“To clean a brush after use, roll it through some clear gel and remove the excess on a paper towel or lint-free wipe,” shares Katy Pottle. “Repeat this until all the colour is gone. Do not use acetone, as it can damage the bristles.”
Preparing brushes
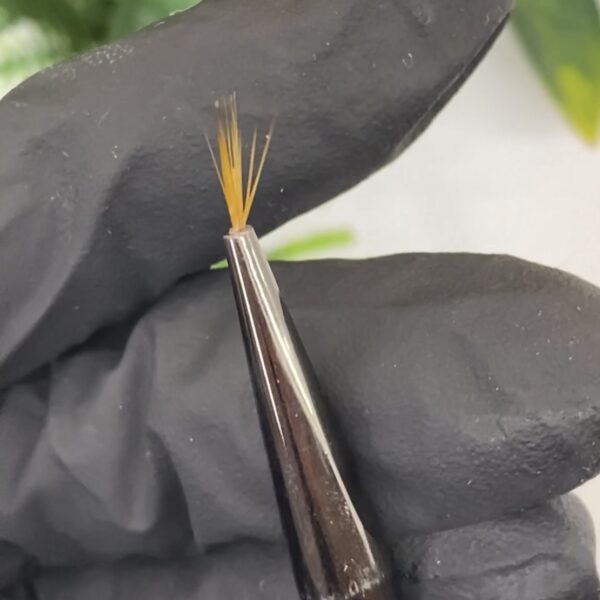
“To prep a brush for use, gently run your fingertip through the bristles to break the gum coating that keeps the bristles in place during shipping. You might need to do this a few times,” says Katy Pottle.
“Next, prime the brush. Place a small amount of clear gel onto a palette and run the bristles through it. Work the gel into the brush until all hairs are coated, reshaping as you go. Wipe off any excess on a paper towel.”
How to correct the shape of a brush
By Katy Pottle

-
Pour boiling water carefully into a pot.
-
Dip the damaged brush in and out of the water, submerging a tiny bit of the metal part.
-
Repeat step 2 until the bristles are straight and together.
-
Dry the brush on a paper towel or lint-free wipe.
-
Place some clear gel onto a palette and keep running the brush through it until the gel is in the bristles.
-
Remove the excess.

Read the latest issue


